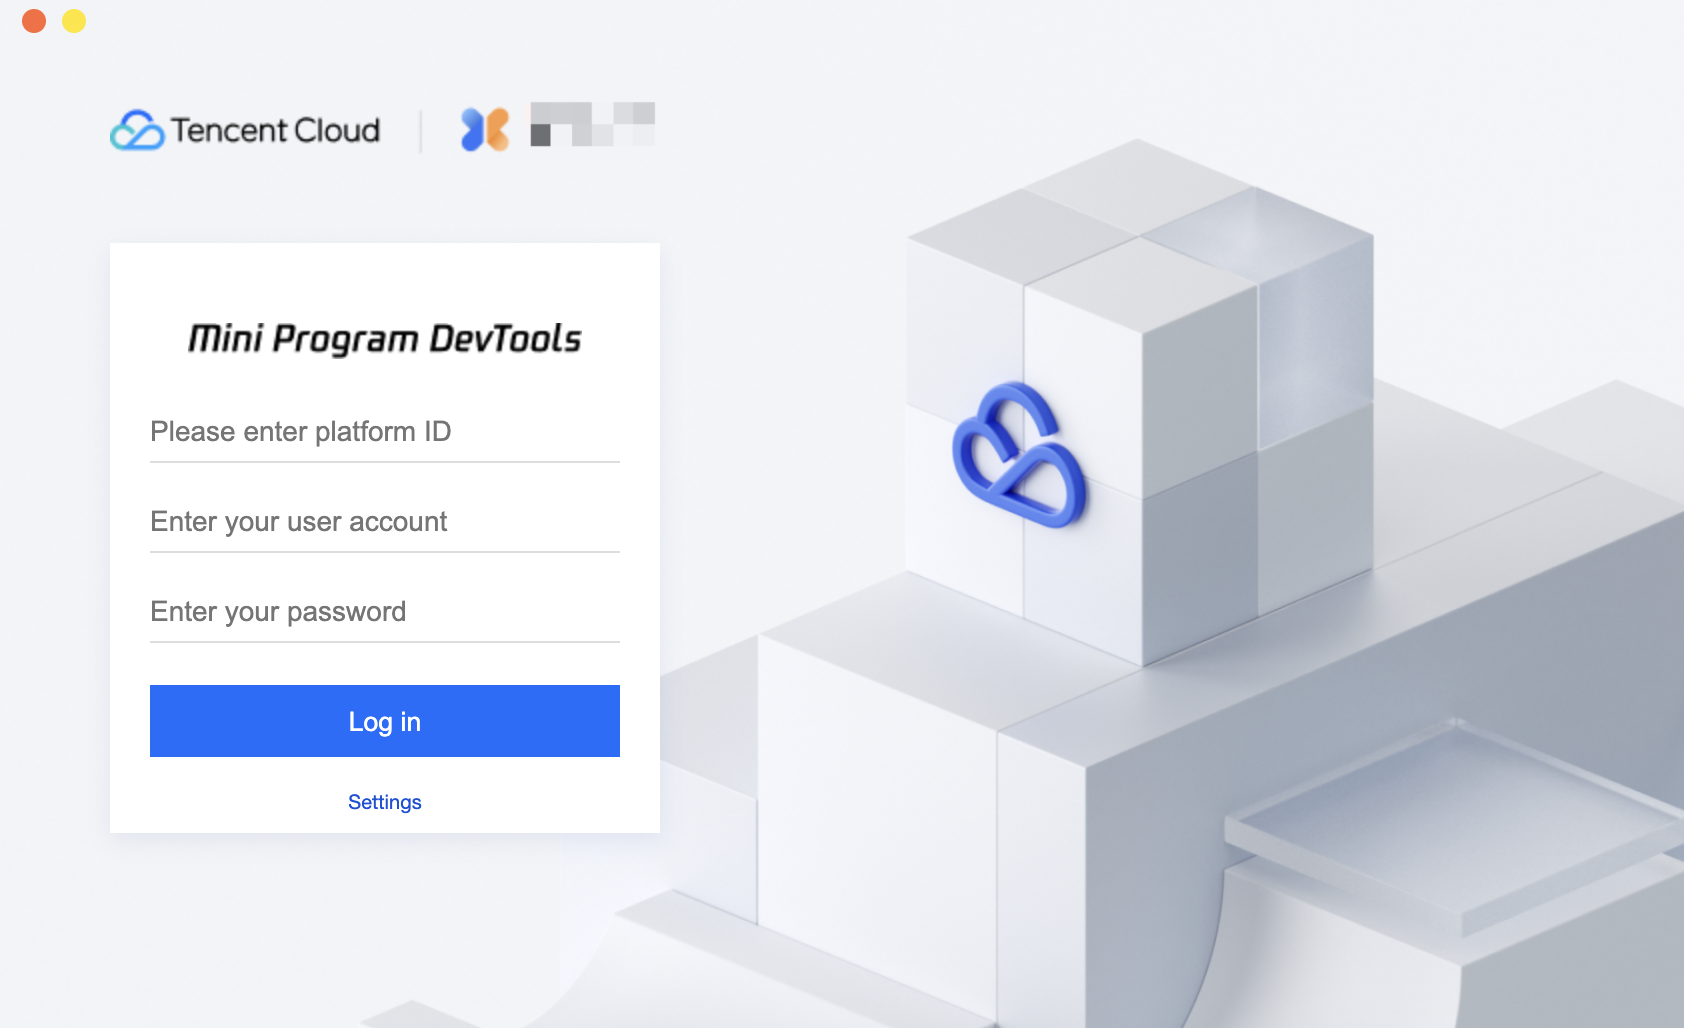
On the login page, users need to enter the platform ID (to distinguish different tenants), account, and password to log in. For branded versions of the IDE, users can log in directly with their account and password.
Project list
After a successful login, you will see a list of existing projects.
Creating a project
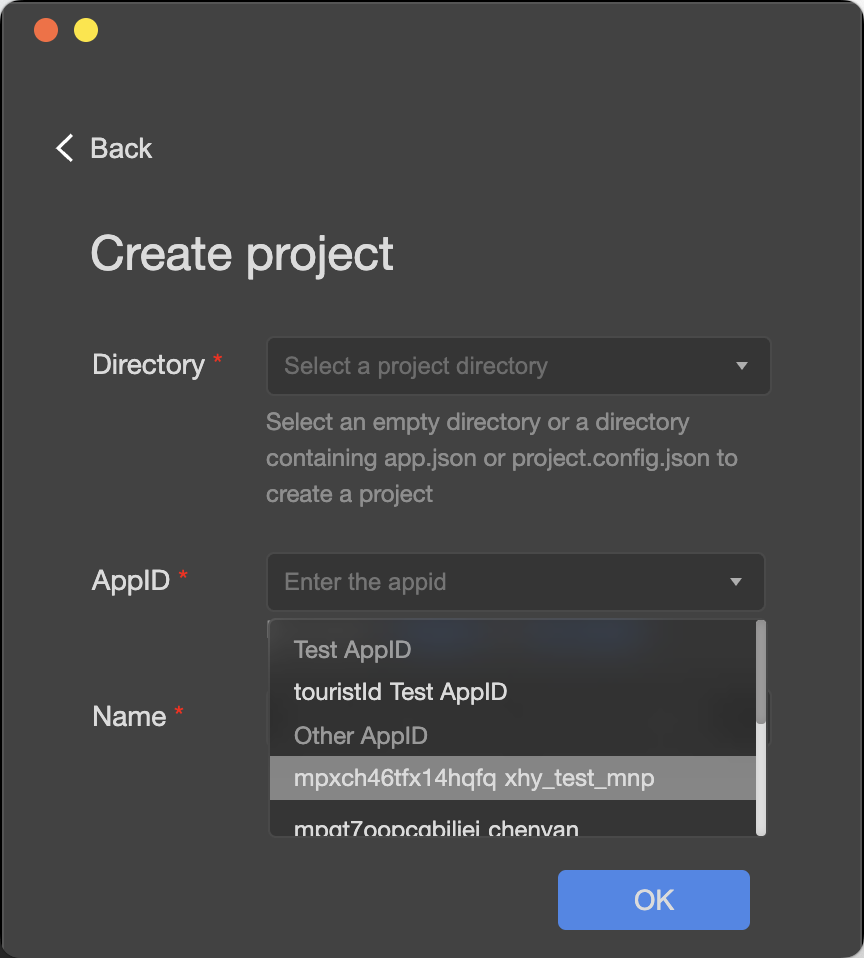
To create a local project, select an empty folder. A simple default project will be generated in this directory. If the folder contains app.json, the project will be opened directly.
When creating a new project, after confirming the path, you also need to fill in the AppId and local name.
The AppId can be manually entered or selected from the current user's existing mini program permissions, or you can use a test mini program AppId.
The name can be anything you choose (for local distinction).
Project management
You can delete or batch delete local projects (this will not affect the actual disk files, only the local project configuration).
Home page
Home page
Menu bar
Devtools
Switch account: Quickly switch the logged-in user.
About: Information about the developer tools.
Check for updates: Check for version updates.
Debug: Debug the developer tools and editor. If you encounter a suspected bug in the developer tools or editor, you can open the debug tools to check for error logs and provide feedback.
Restart: Restart the IDE.
Exit: Close the developer tools.
Editing
System built-in menu for common text editing operations.
Projects
Create a new project
Open a recent project
View all projects
Close current project
Tools
Compile: Recompile the project.
Refresh: Refresh the project.
Preview: Preview the project and generate a preview QR code.
Upload: Upload the mini program to the backend and open the upload window.
Build npm: Build the current mini program npm package. You can refer to NPM usage for details.
Global search: Entry point for global file search.
UI
Toolbar: Toggle to display and hide.
Simulator: Toggle to display and hide.
Debugger: Toggle to display and hide.
Editor: Toggle to display and hide.
Settings
Language: Switch languages.
Theme: Set theme mode, either dark or light.
Proxy: Set proxy.
Security settings: Enable server port.
Shortcut settings: Modify shortcuts.
Project settings: View project details panel.
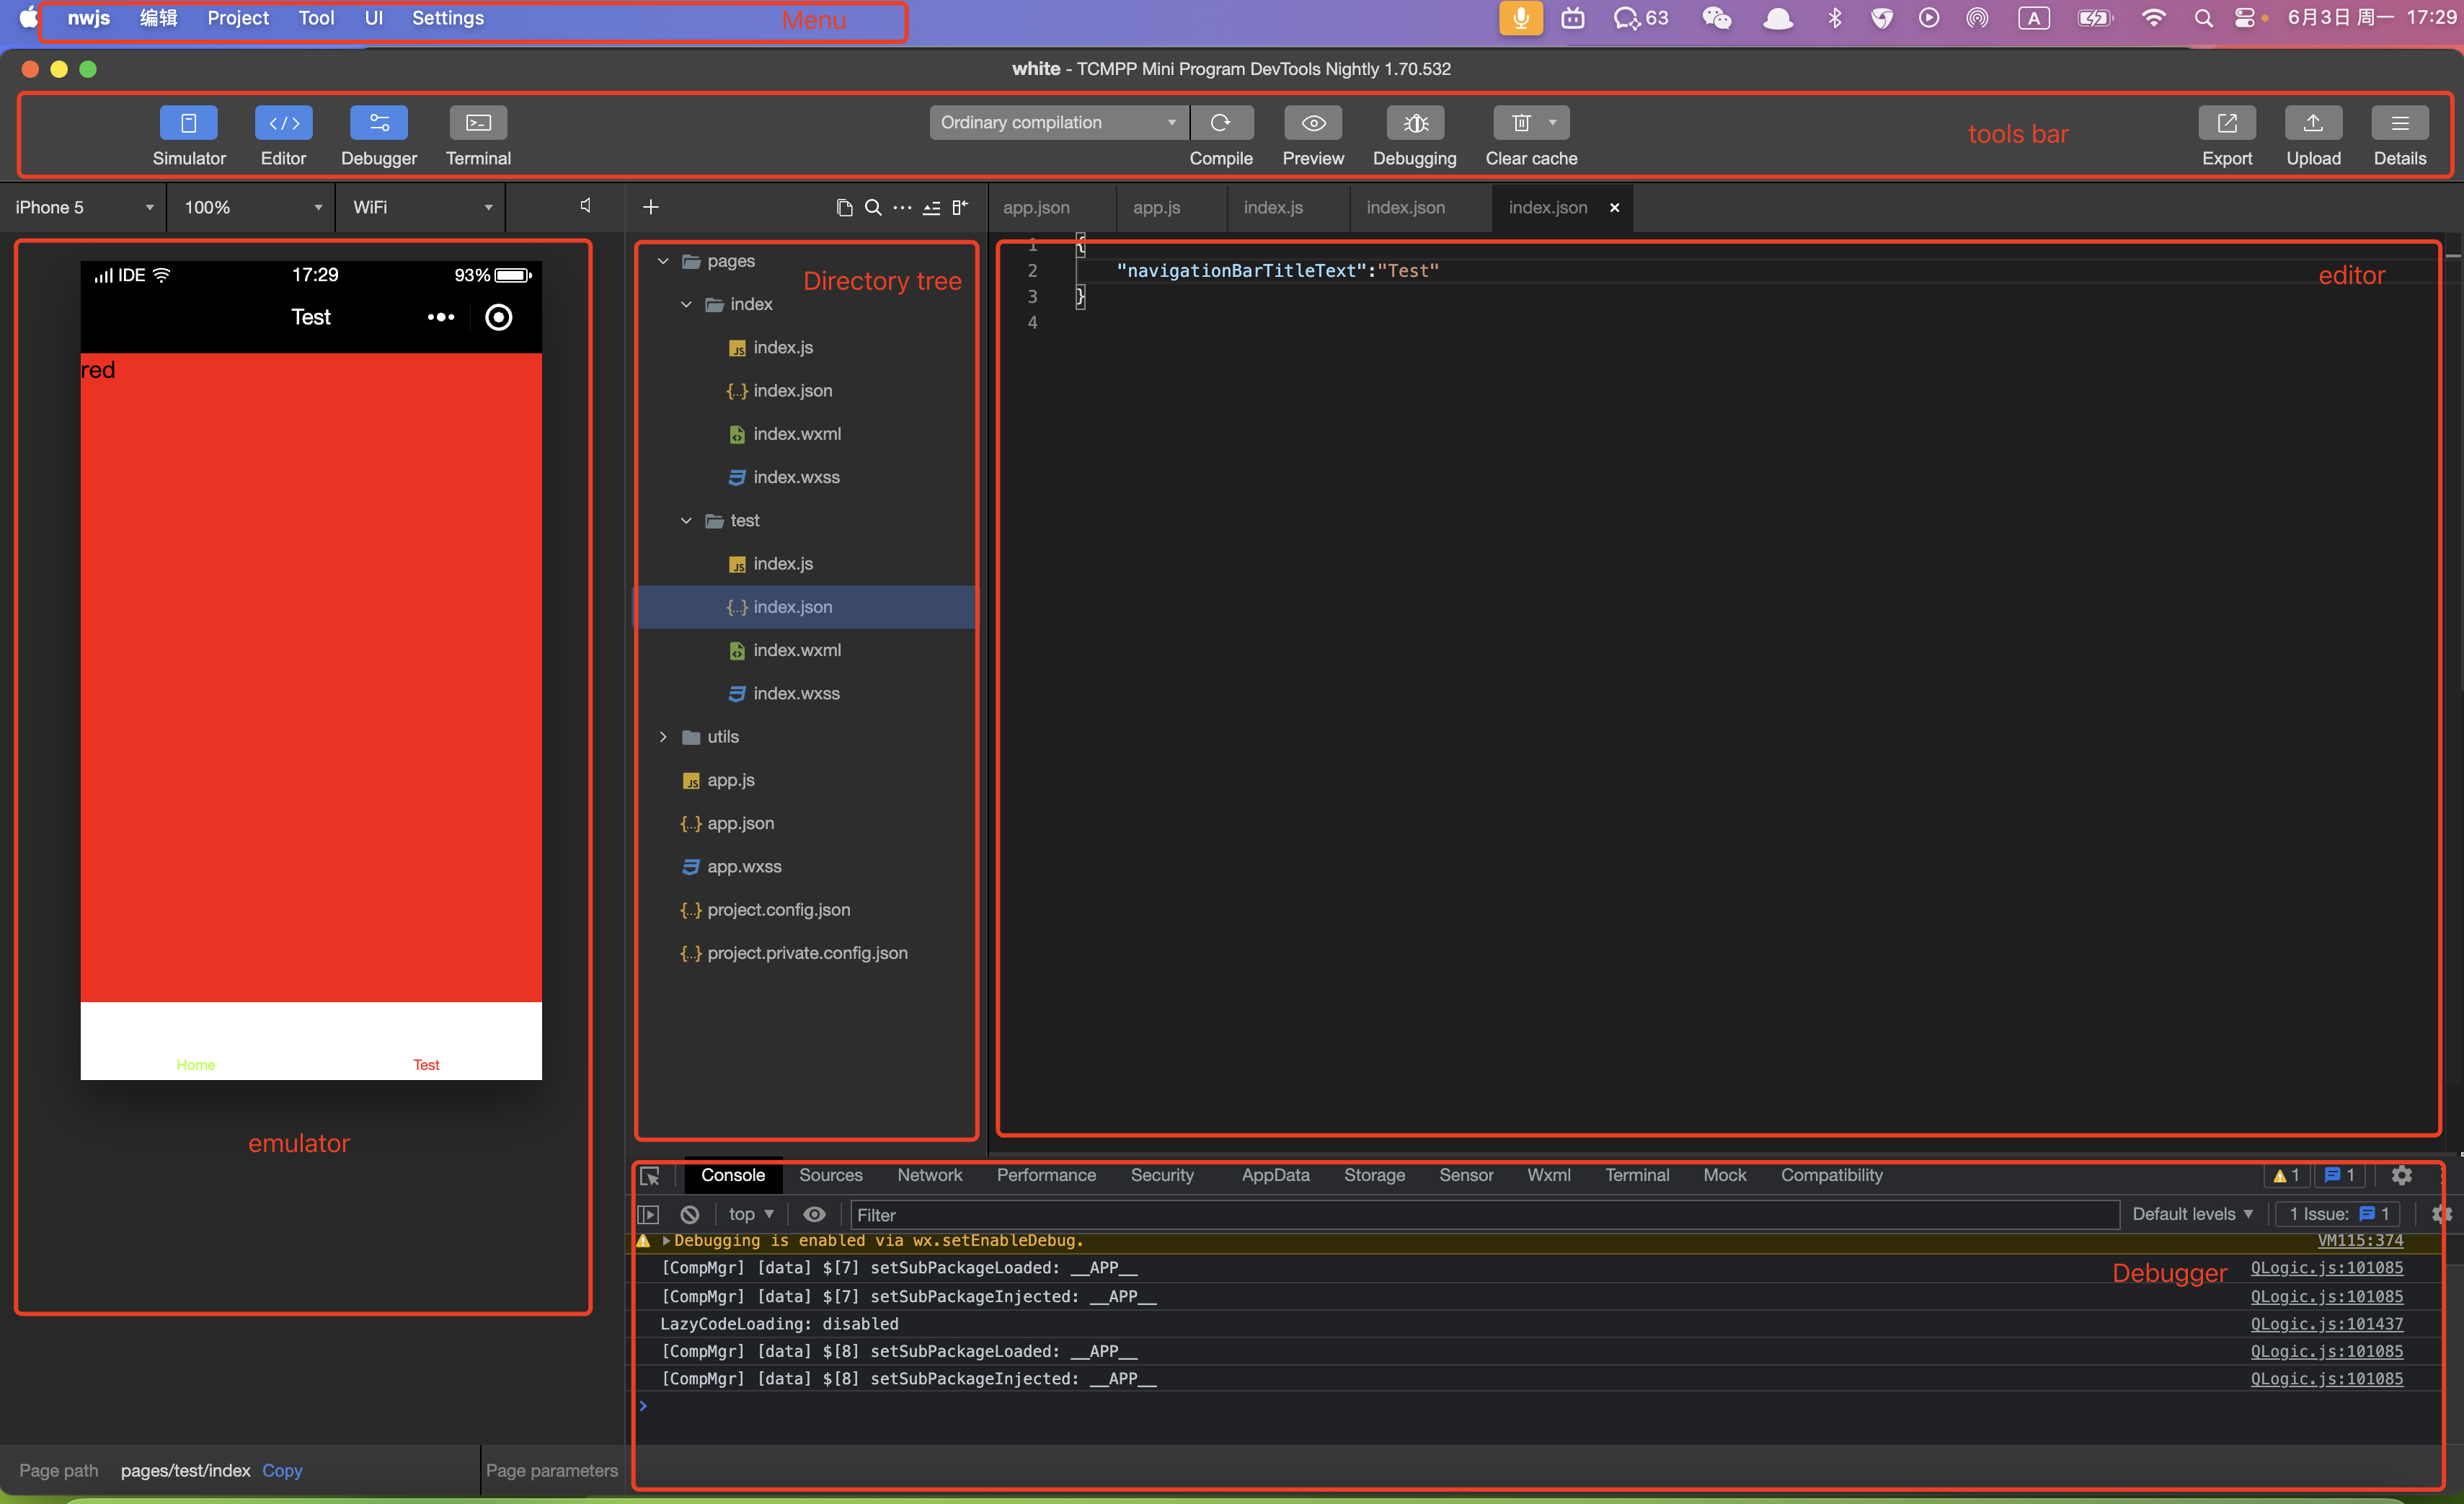
Toolbar
Simulator: Toggle to display and hide the simulator.
Editor: Toggle to display and hide the editor.
Debugger: Toggle to display and hide the debugger.
Terminal: Terminal shortcut.
Compile: Recompile the mini program.
Preview: Generate a preview QR code.
Real Device Debugging: Generate a real device debugging code, then scan with a real device to debug.
Clear Cache: Conveniently clear file cache, data cache, and backend authorization data on the tool, making it easier for developers to debug.
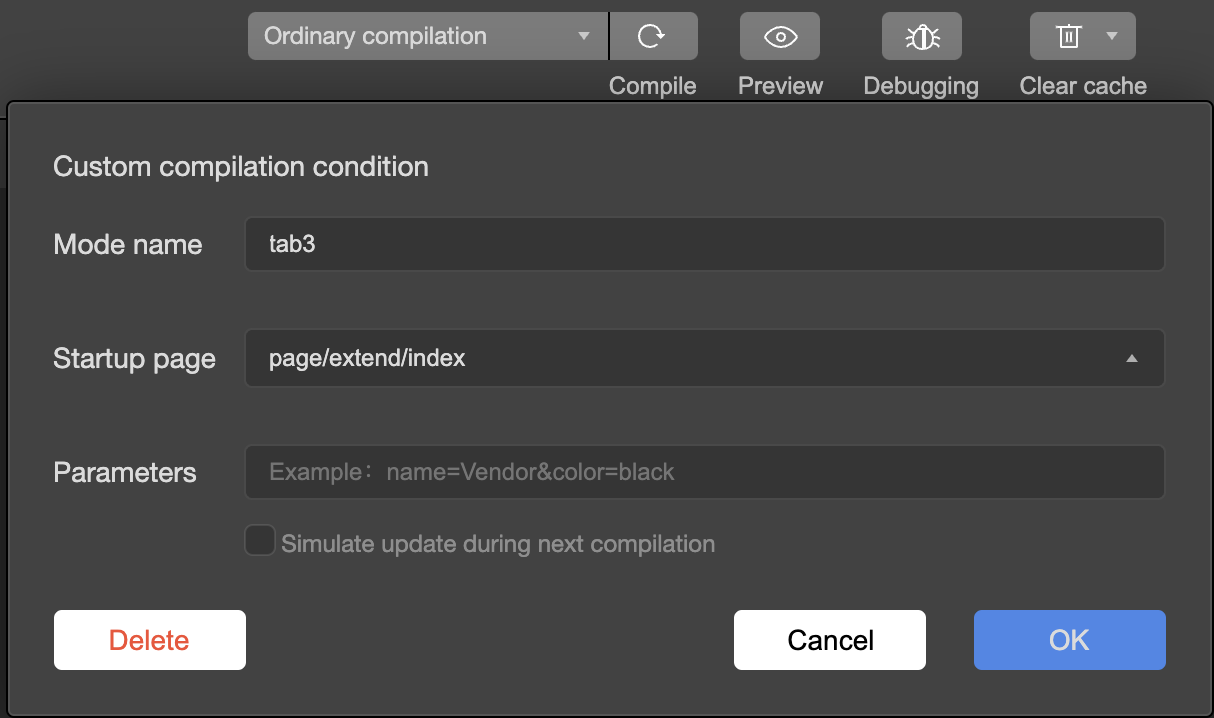
Add compilation mode: Quickly open a specified page and configure its startup parameters. Once this configuration is set, it will be saved in the project's project.config.json file. It is recommended to commit this file to your Git repository for easy switching of compile modes in the future.
Simulate update during next compilation: Automatically triggers an update request once, which will be automatically canceled the next time.
Export: Export the mini program package, typically used for uploading the mini program to the console.
Upload: Directly upload the current mini program to the backend.
Details: View the mini program details panel.
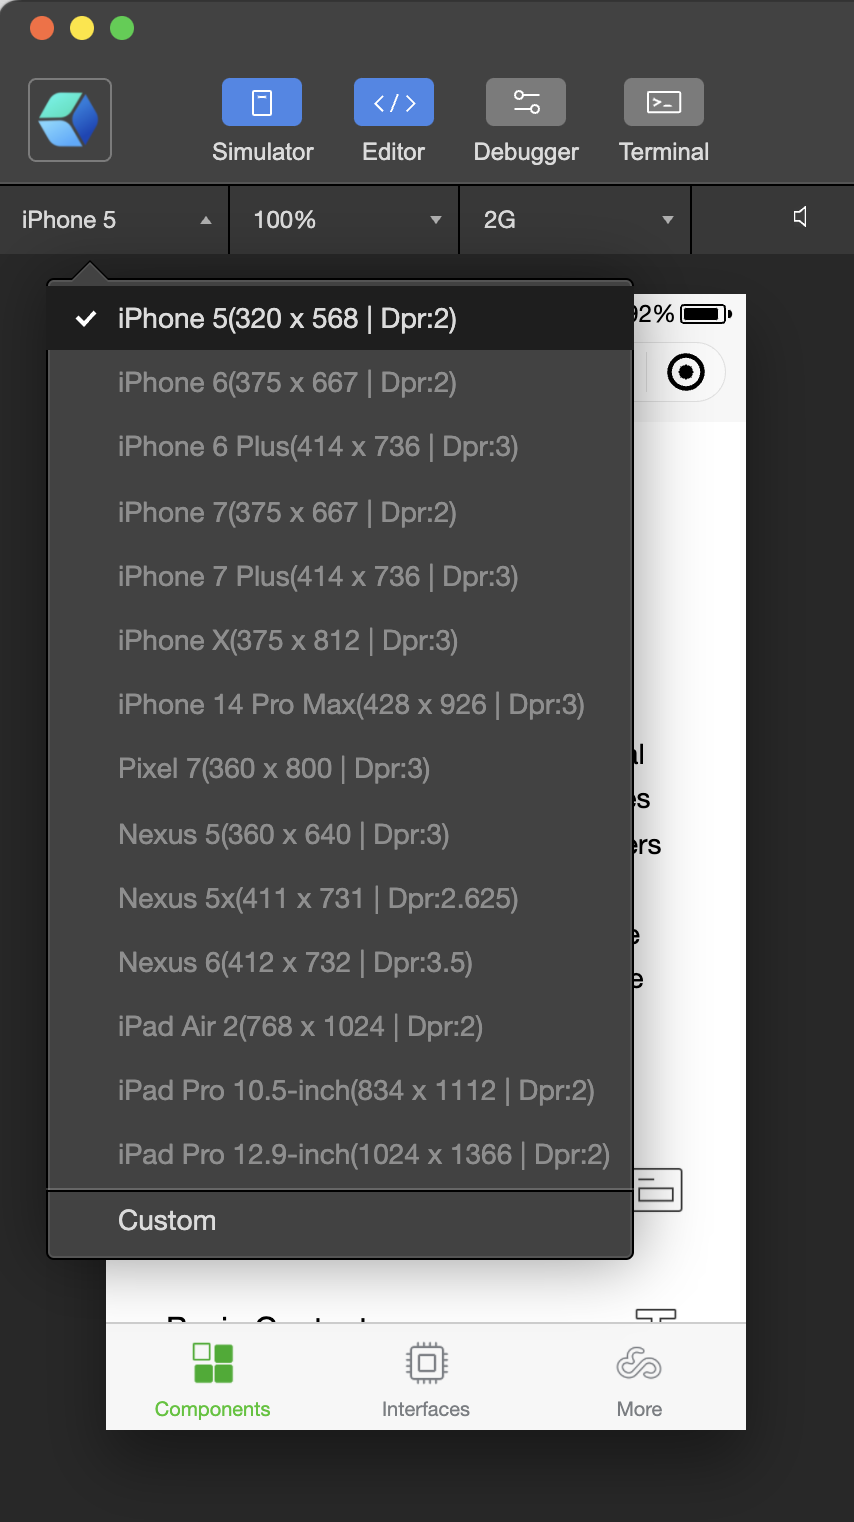
Simulator
The simulator can mimic the behavior of the mini program on a client. After compiling the mini program's code, it can run directly in the simulator. Developers can choose different devices or add custom devices to debug how the mini program adapts to different screen sizes.
At the bottom status bar of the simulator, you can clearly see the current page path and page parameters of the running mini program.
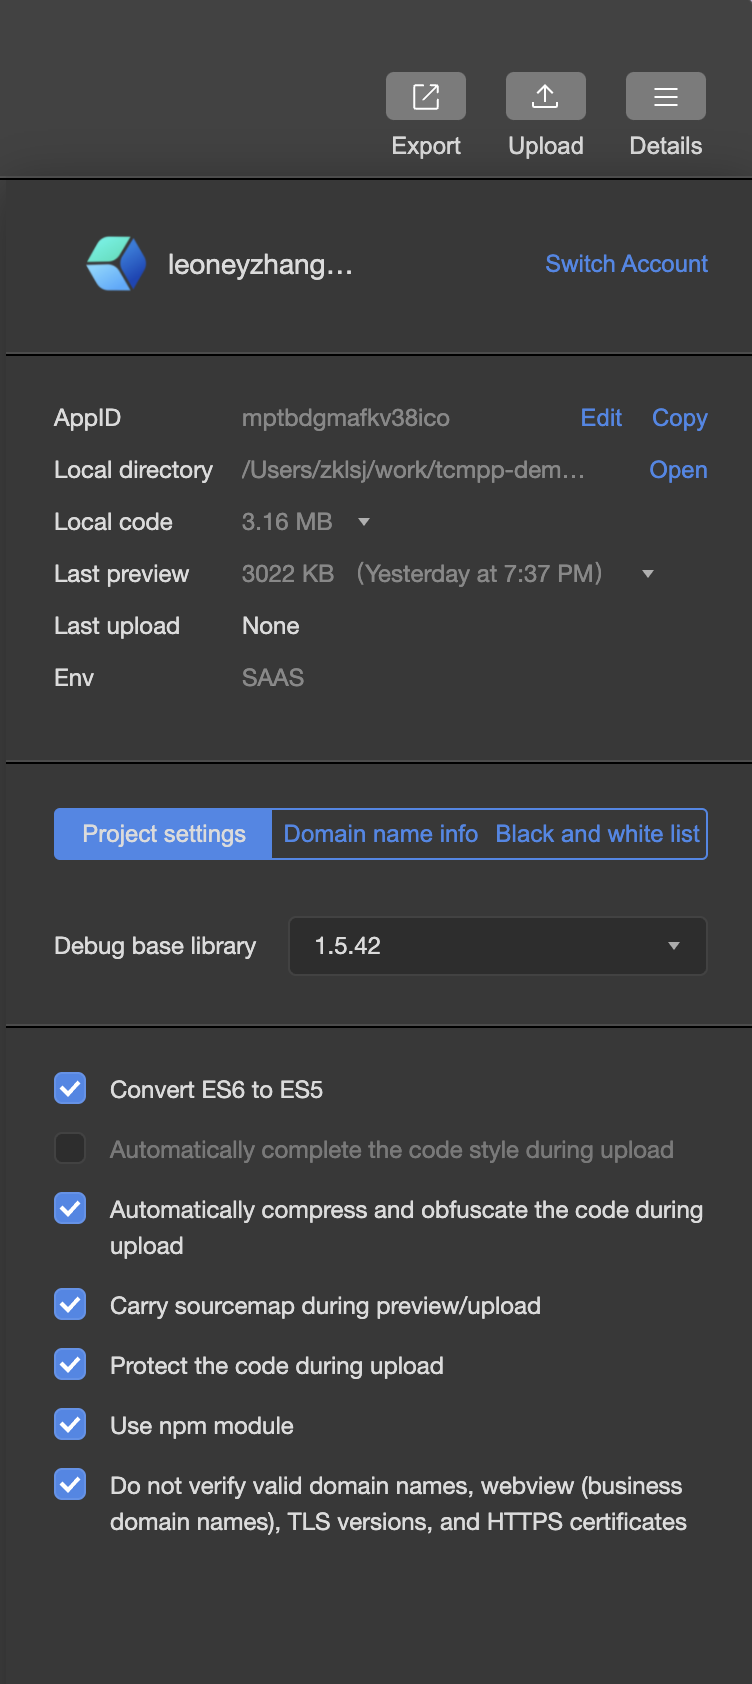
Project tab
The current panel displays basic information about the mini program, such as AppId, local directory, local code size, last preview, upload information, and current environment information.
Additionally, it shows the base library version, allowing developers to switch between different versions for development and adaptation.
Under domain information, developers can refresh the backend-configured domains. This feature works in conjunction with "Do not verify valid domains, WebView (business domains)." Normally, the request domain and WebView business domain of the mini program need to be configured in advance before going live. For details, see the domain information configuration guide.