This document provides an example of creating a CAM sub-account (user1) in the member account (member_1) with the same name as the Identity Management user (user1) by configuring CAM user synchronization.
The sub-account created through CAM user synchronization is granted with no permissions. You should grant permissions to the user in the CAM console for the member account.
Input enterprise employee information into User Management of the Identity Management by creating identity management users. Manual creation and SCIM synchronization are supported. The following example shows creating a user manually:
2. In the left sidebar, select User Management > Users and then click Create User.
3. On the Create User page, configure basic information of a user. For detailed operations, see Creating a User.
Note:
In this example, the username is set to user1.
Step 2: Configuring CAM User Synchronization
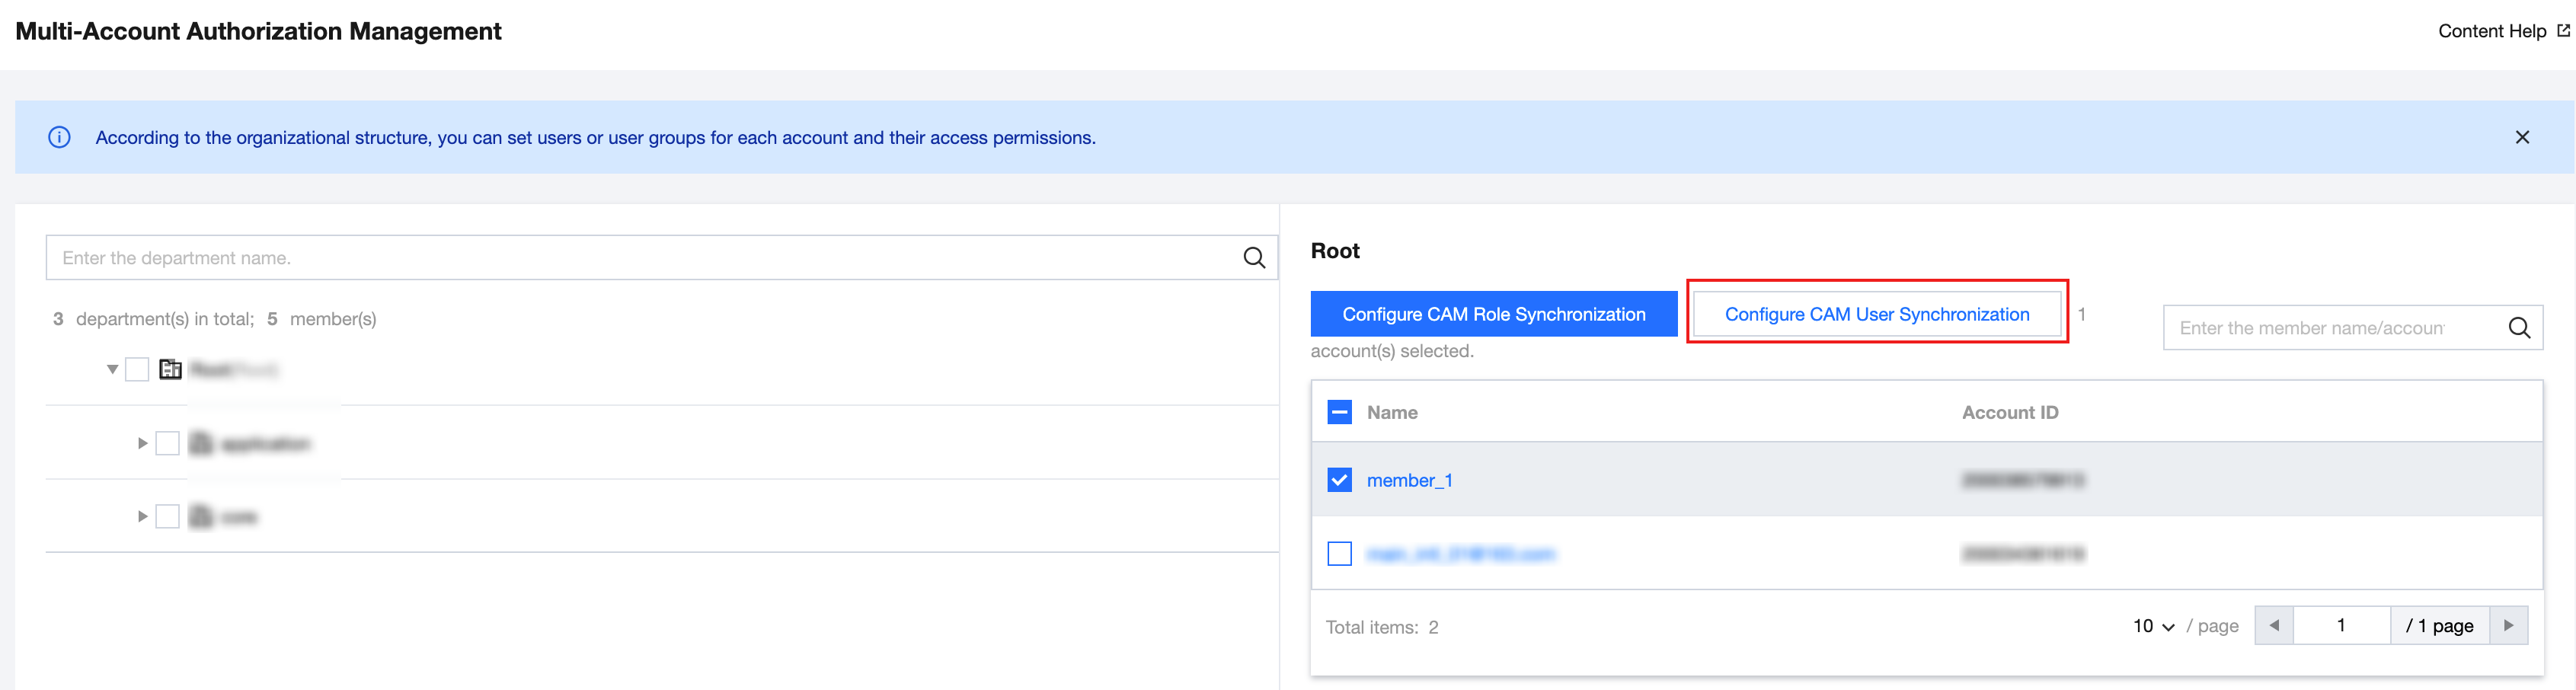
1. In the left sidebar, click CAM Synchronization > Multi-Account Authorization Management.
2. On the Multi-Account Authorization Management page, select a target account.
Note:
In this example, a member account (member_1) is selected.
3. Click Configure CAM User Synchronization.
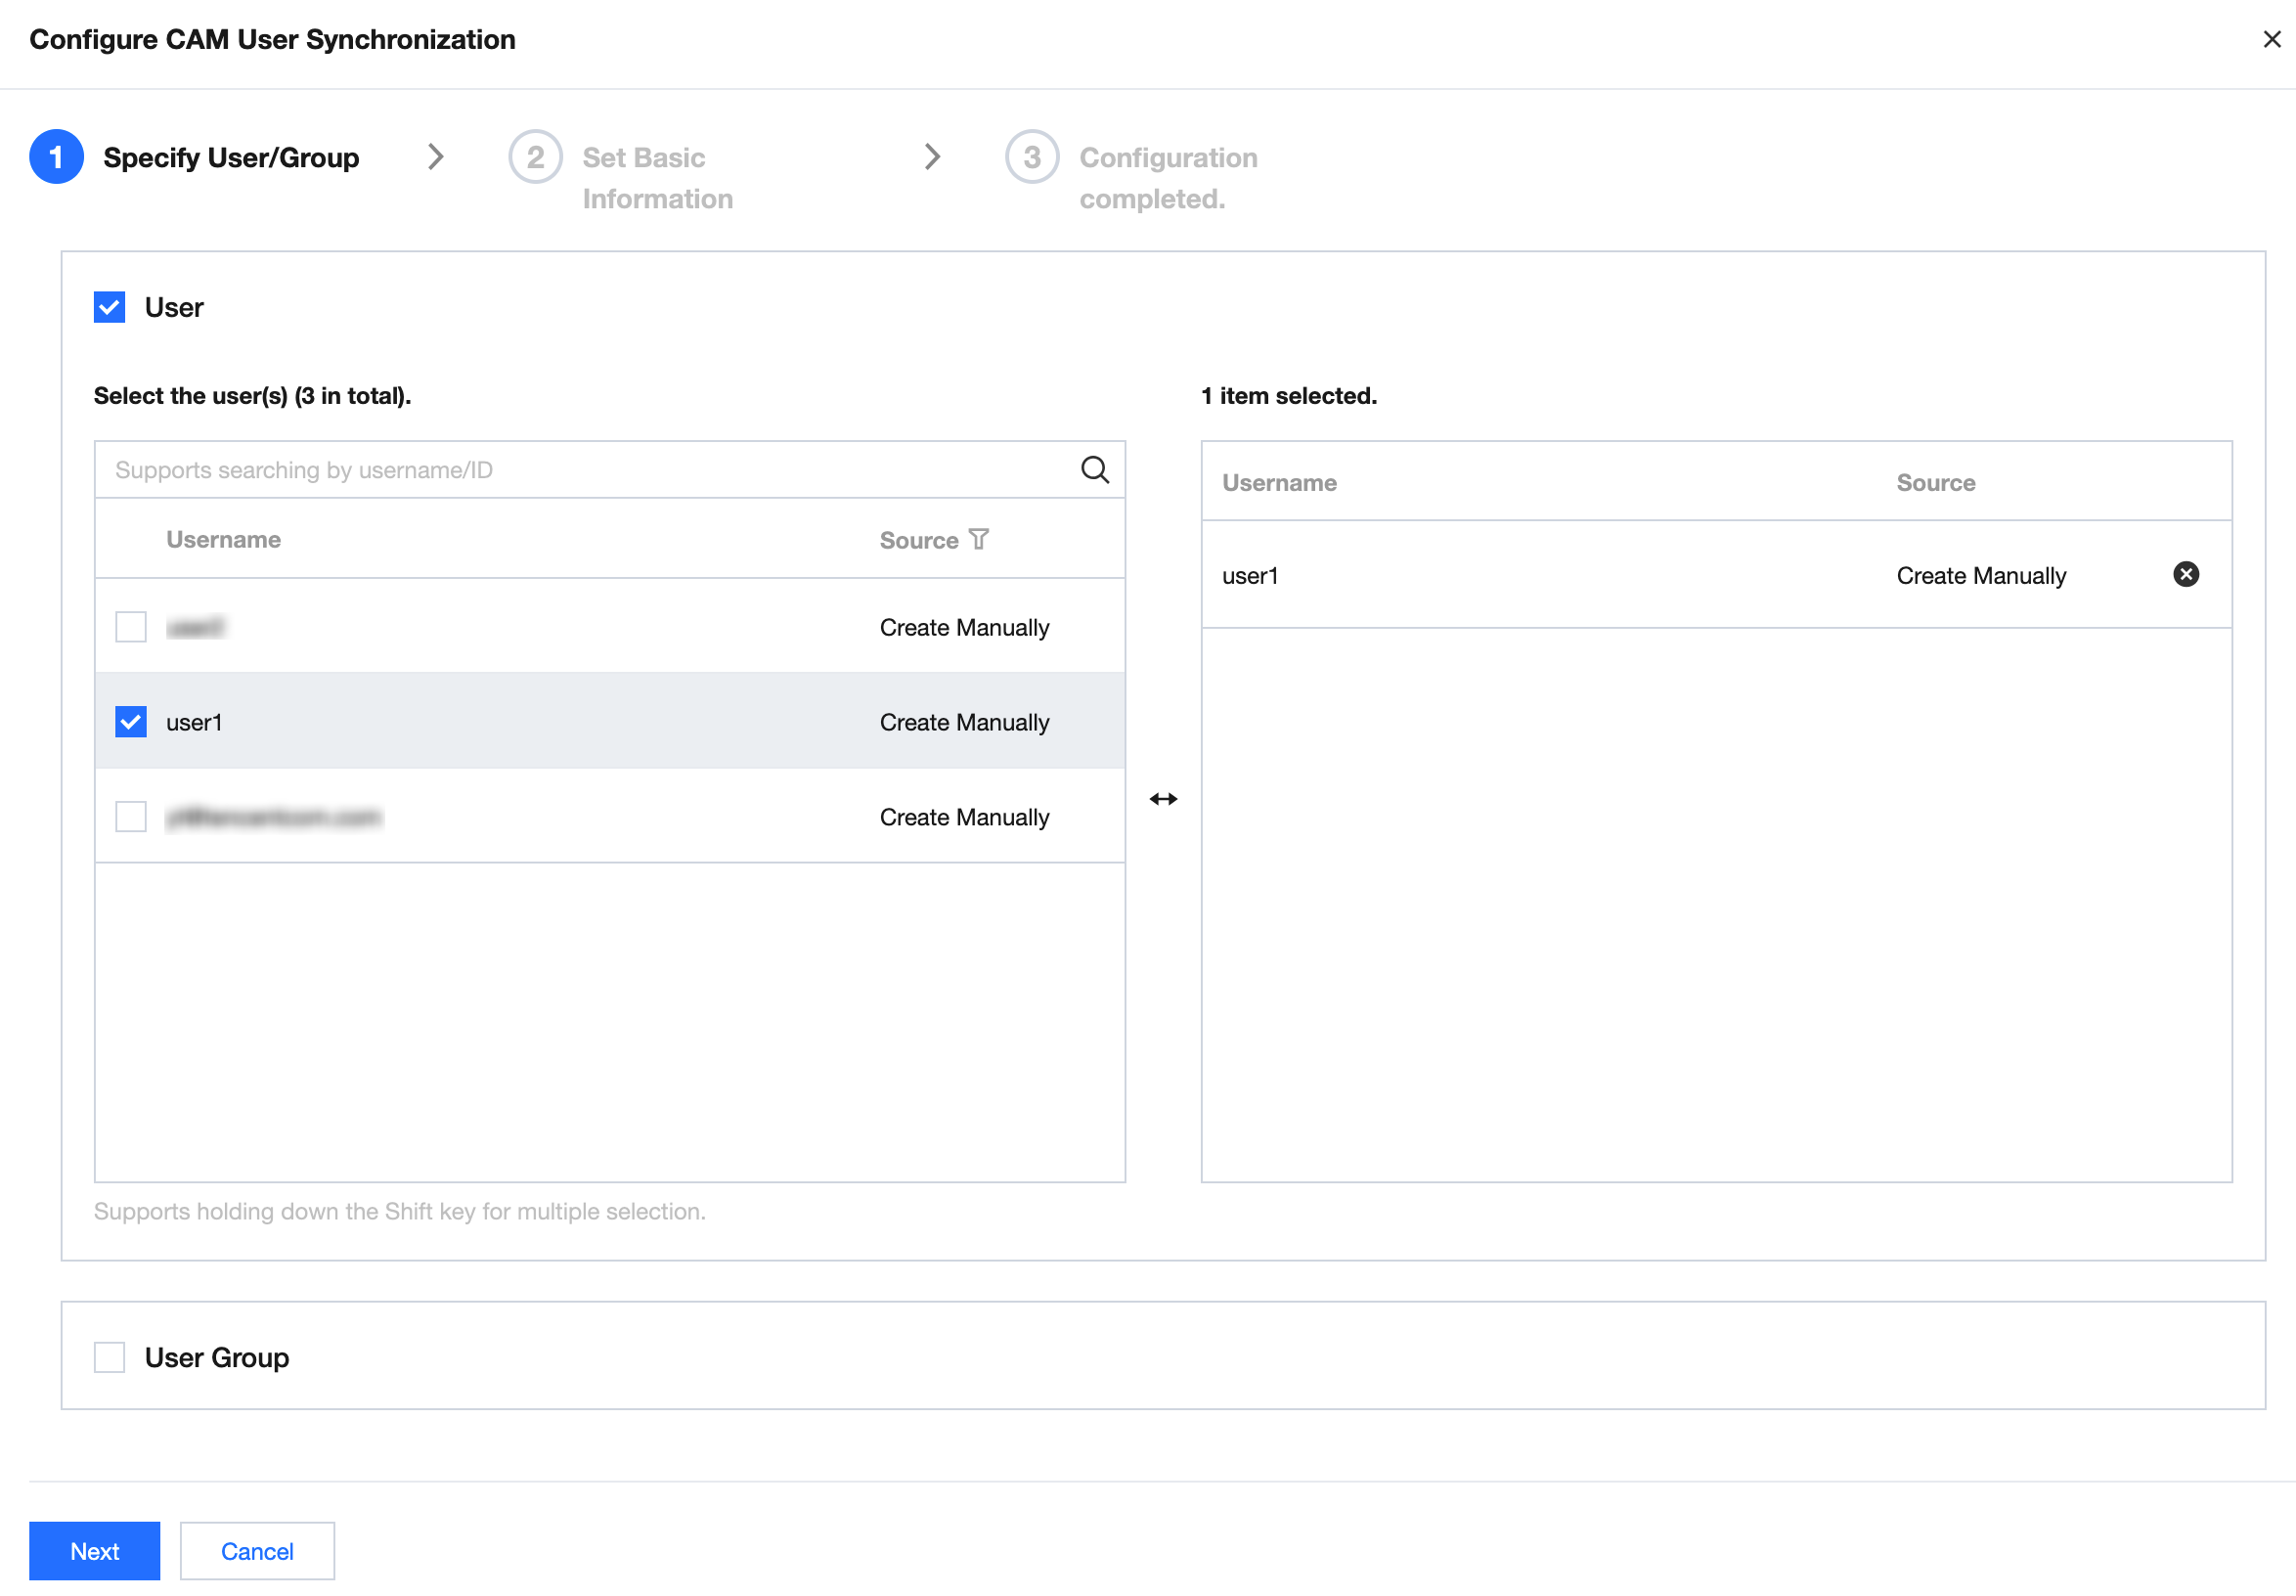
4. On the Configure CAM User Synchronization page, select a target user or user group and then click Next.
Note:
In this example, select the Identity Management user (user1).
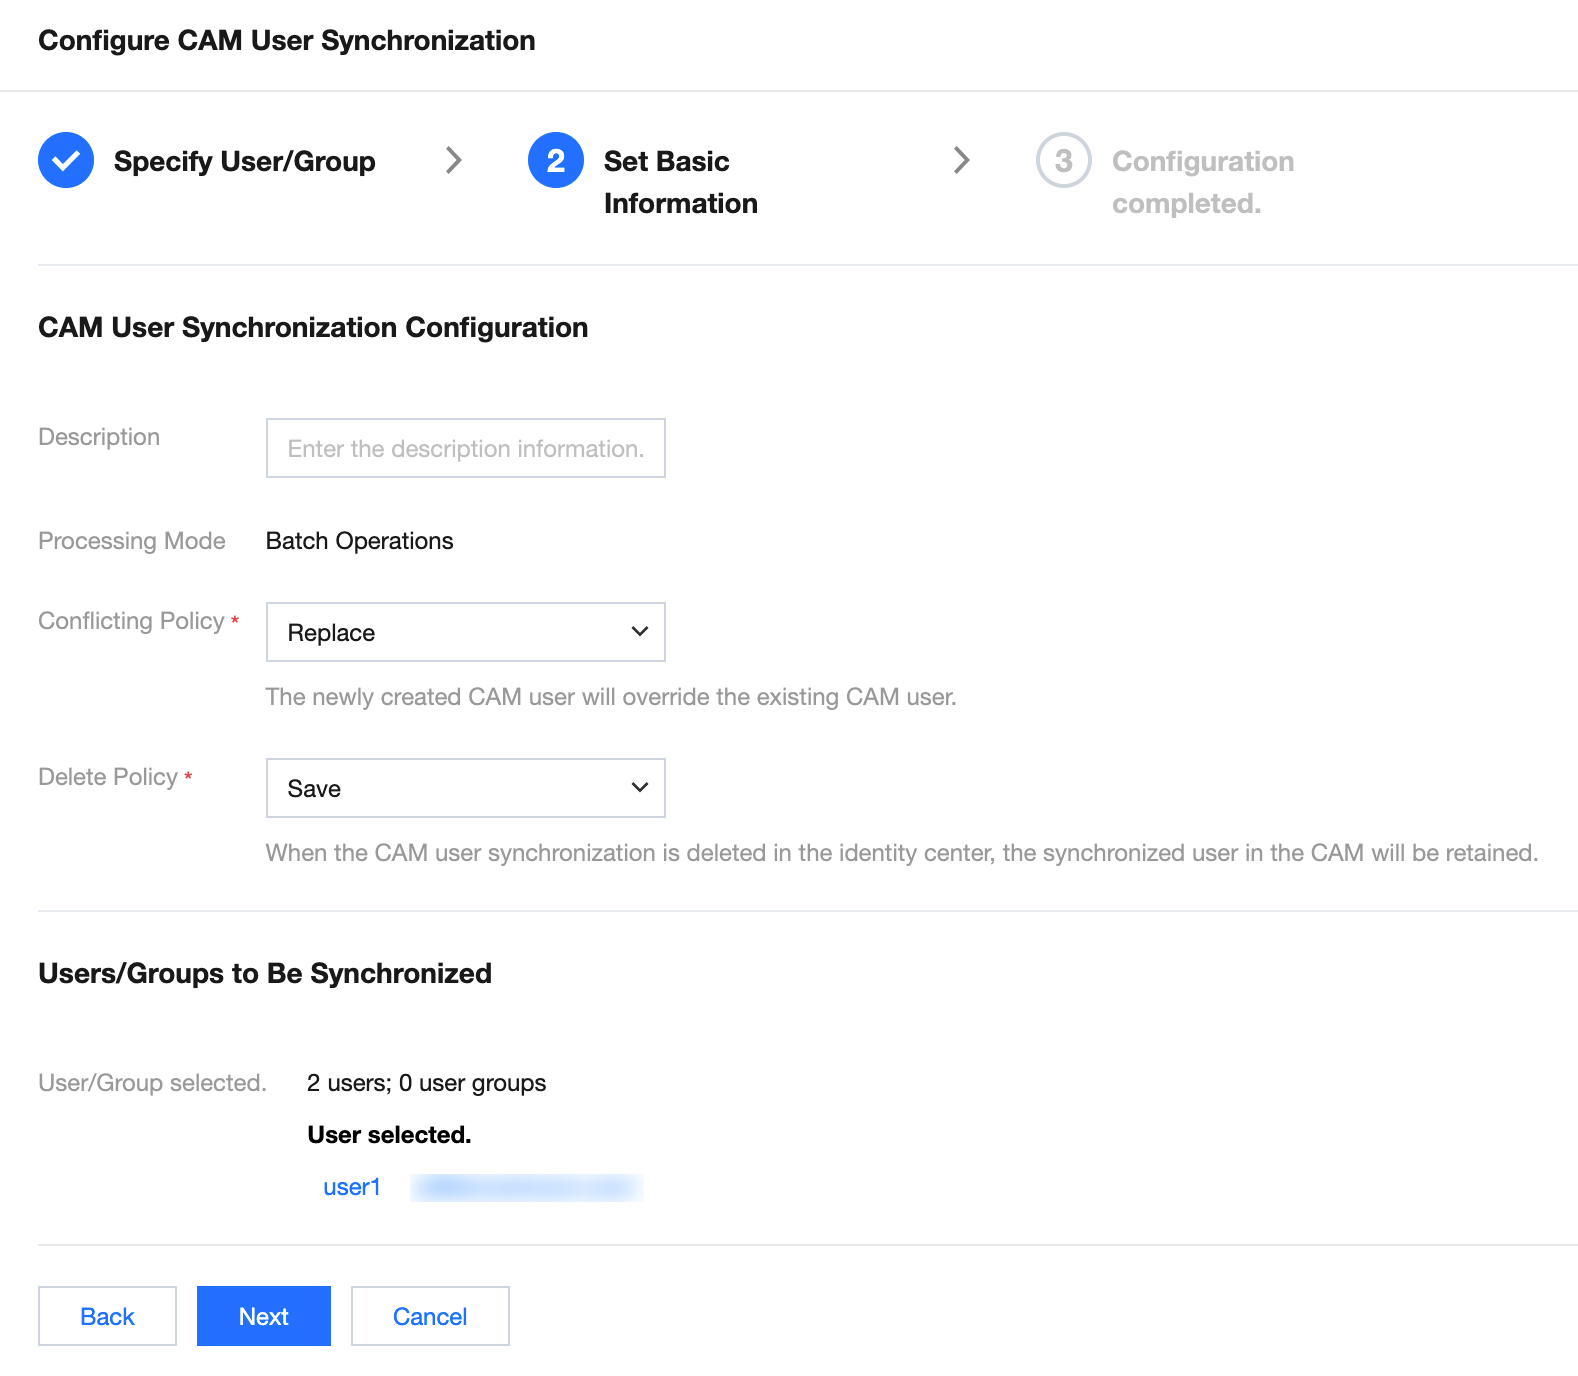
5. Configure basic information. For details of the basic information, see Configure CAM User Synchronization. After inputting the information, click Next.
6. Click Submit. After a successful configuration message is displayed, click Complete.
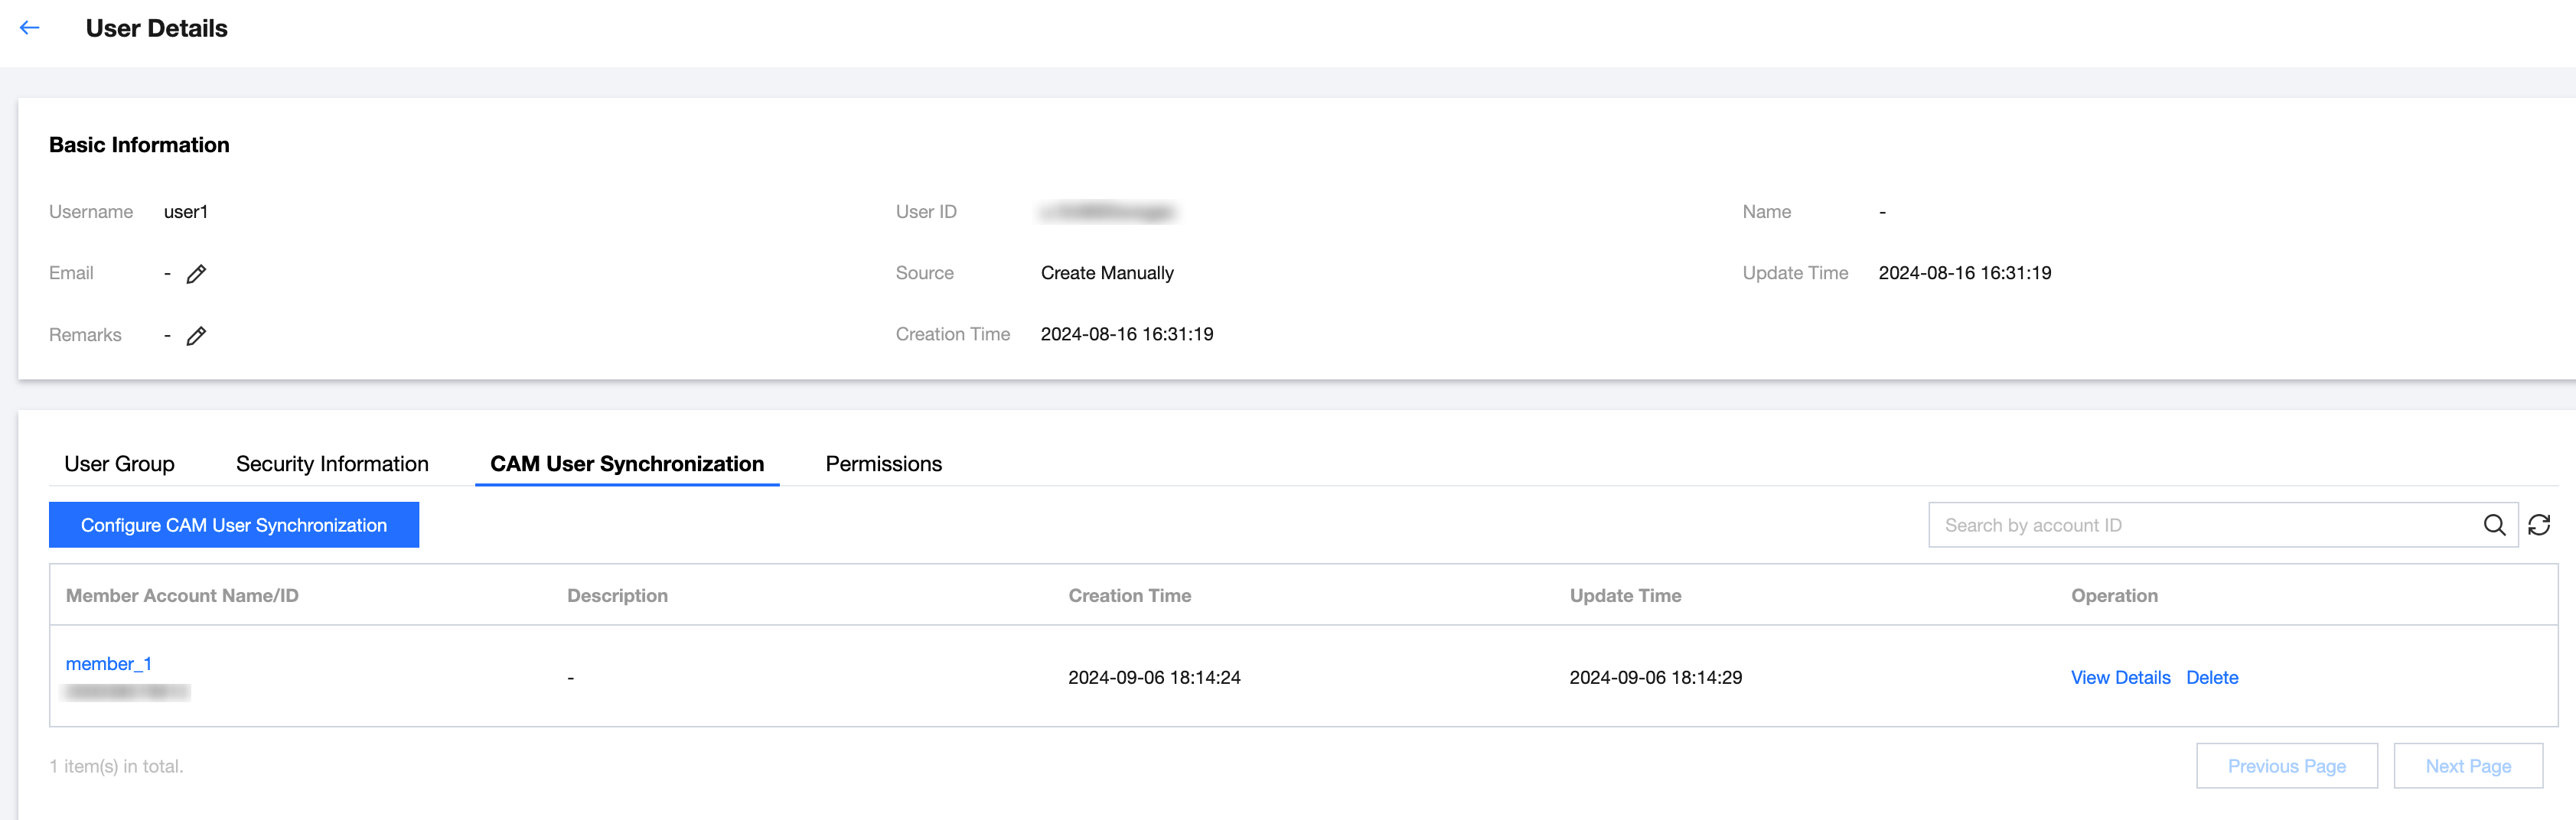
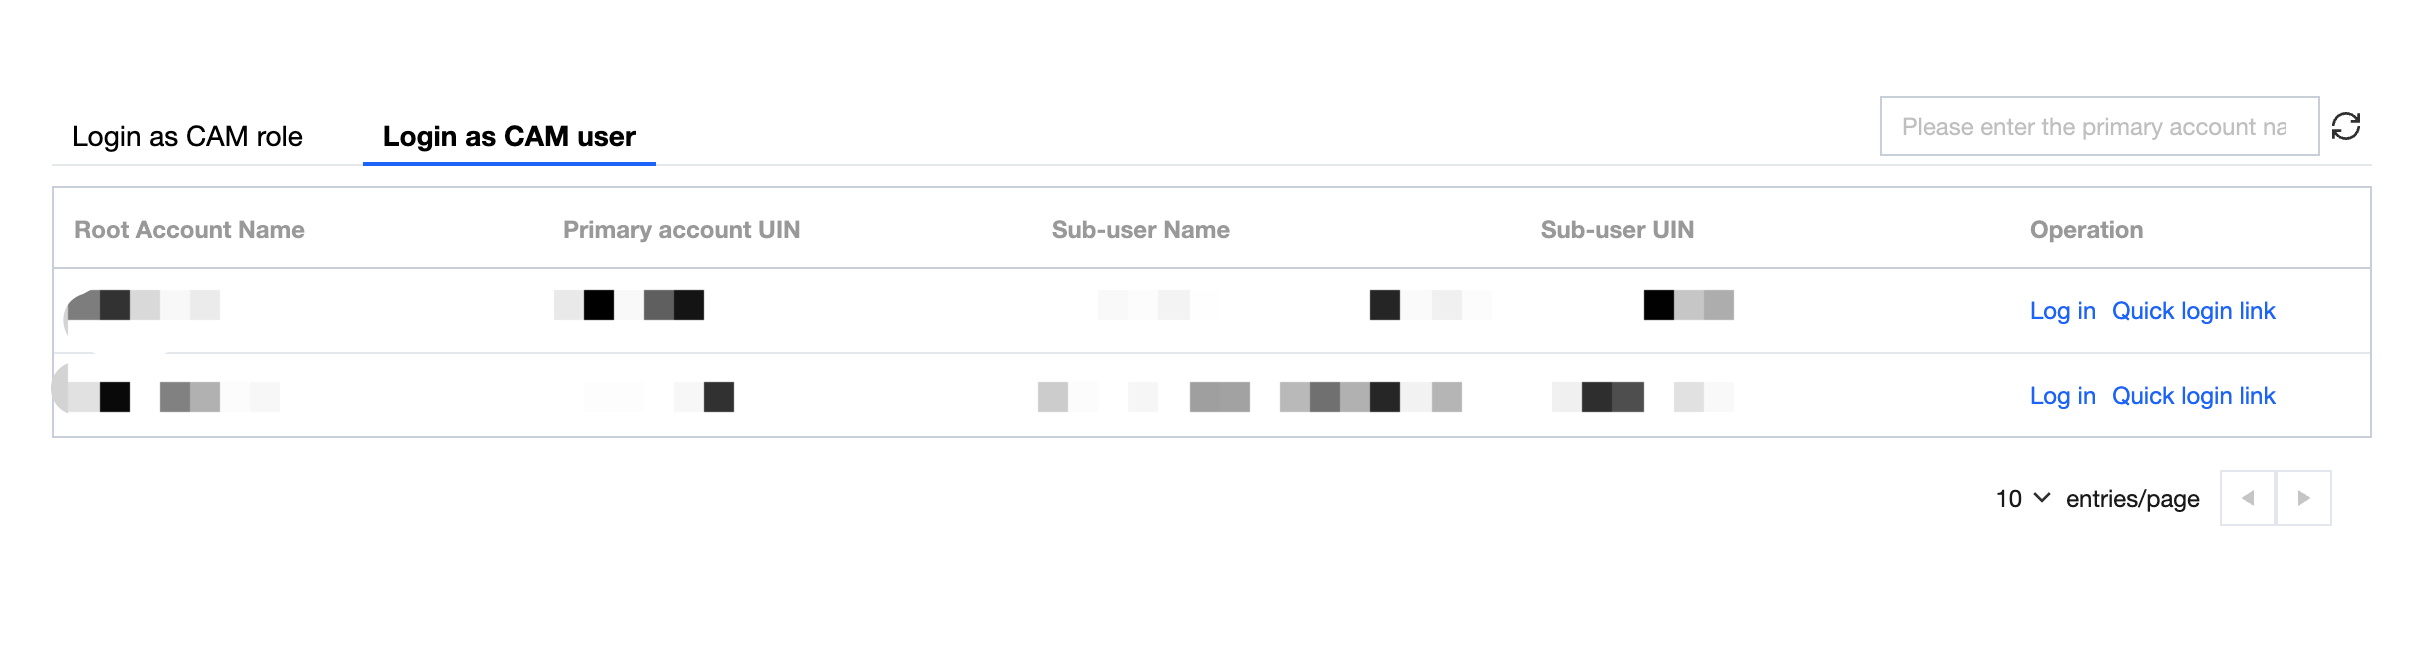
7. After the configuration is completed, you can view the user synchronization list through the following methods:
Click CAM Synchronization > User Synchronization Management.
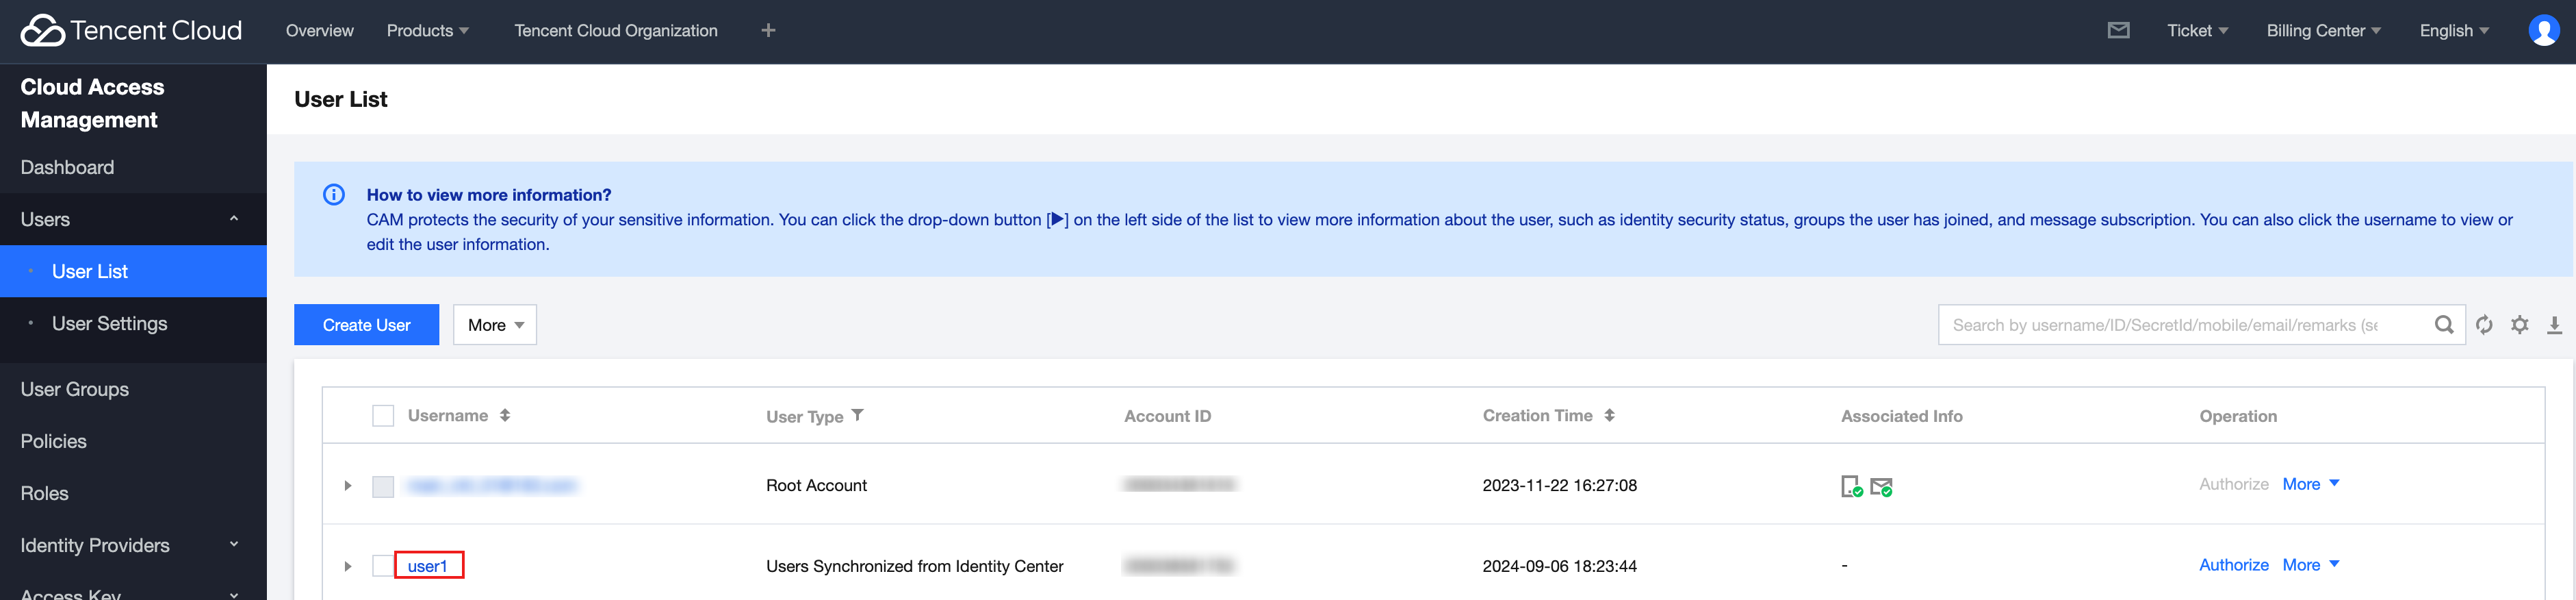
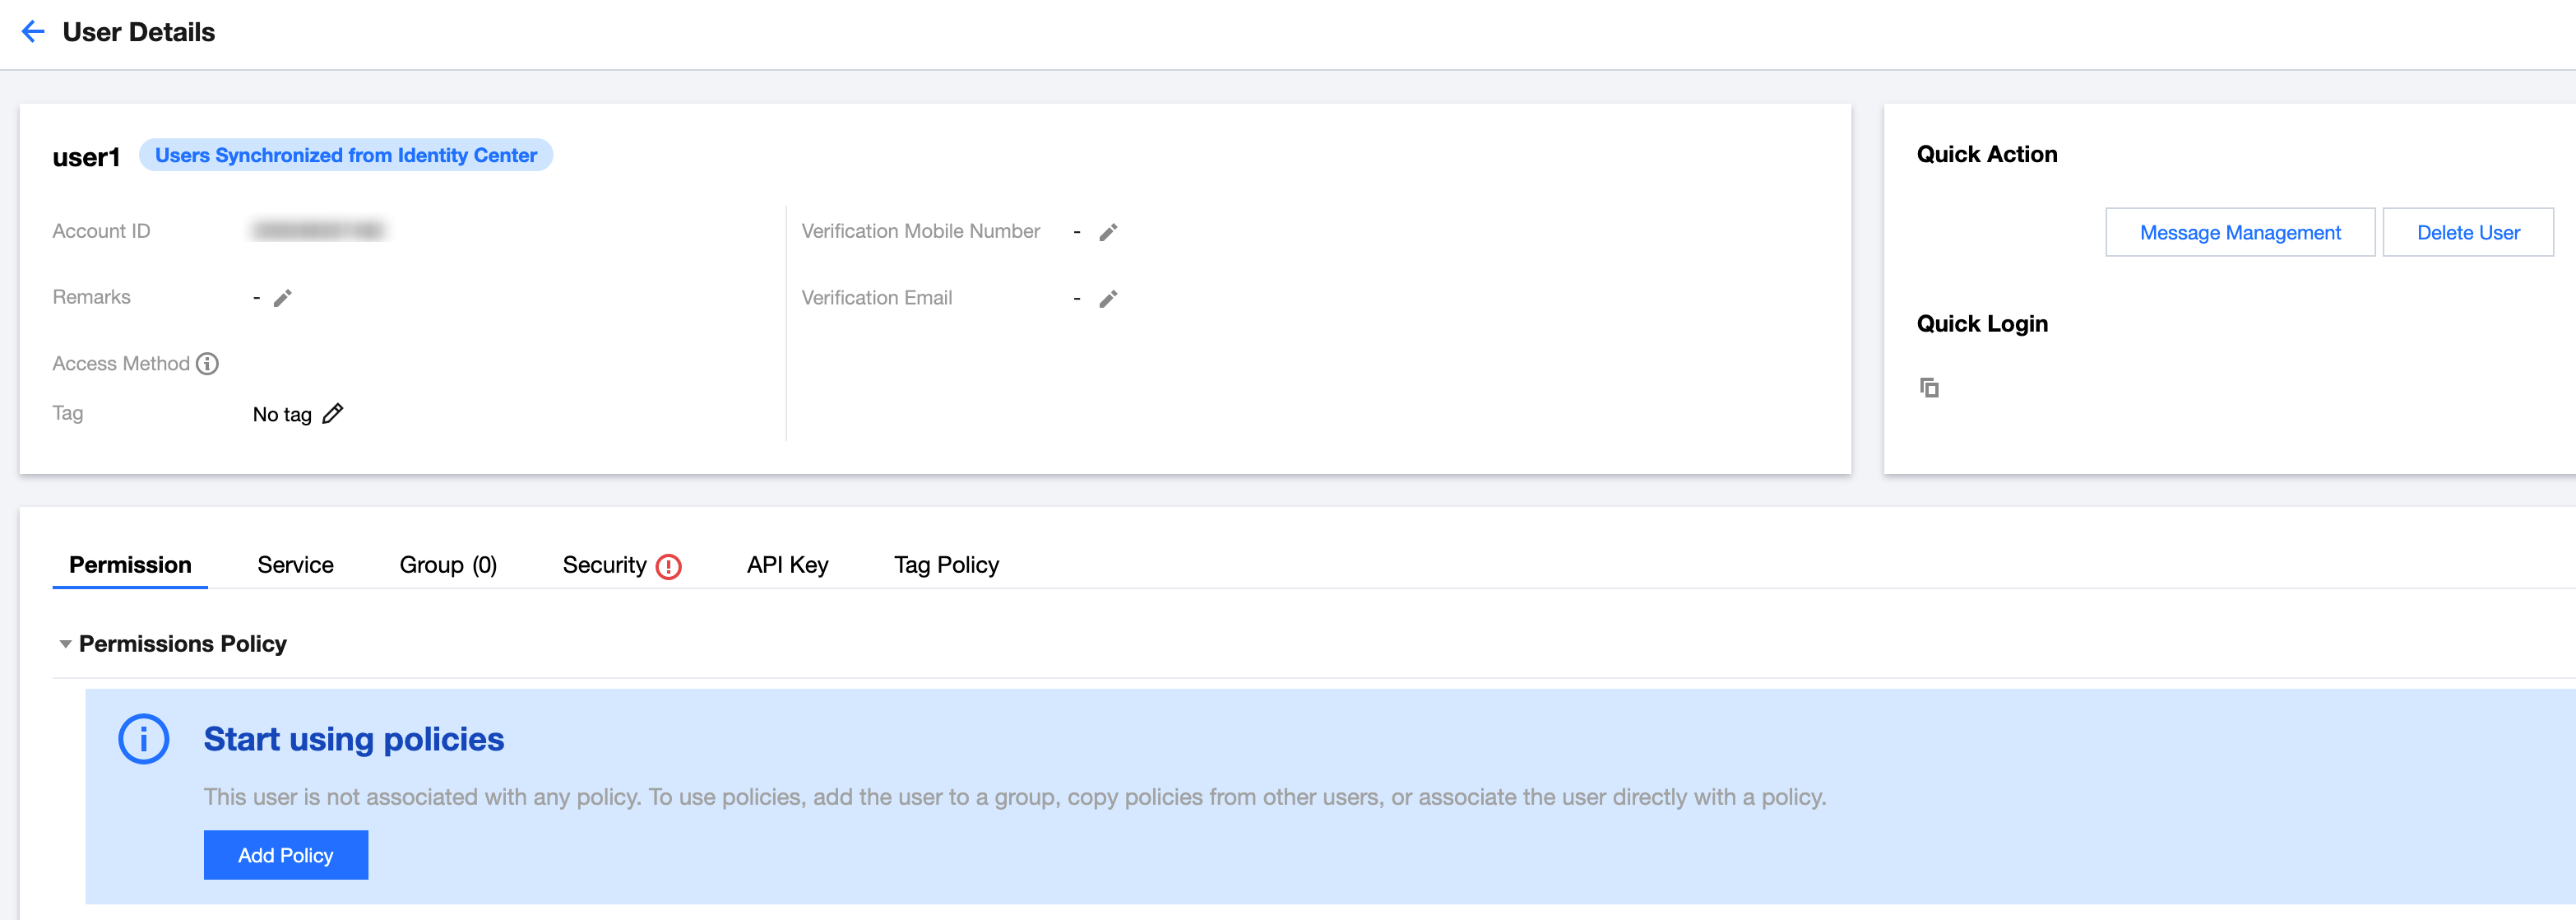
Or click User Management > Users, enter the user details page of user1, and then select the CAM User Synchronization tab.
Effect in CAM
1. After the configuration is completed, the system will create a CAM sub-user (user1) with the same name as the Identity Management user (user1) in the member account (member_1) through synchronization.
Note:
The user type in CAM is Users Synchronized from Identity Management.
2. You can click the target username to view associated policies.
Note:
The sub-user created through synchronization has no permissions. You should configure permission policies for the user (user1) in CAM.
Step 3: Logging In as a Sub-Account
Obtaining a User Login URL
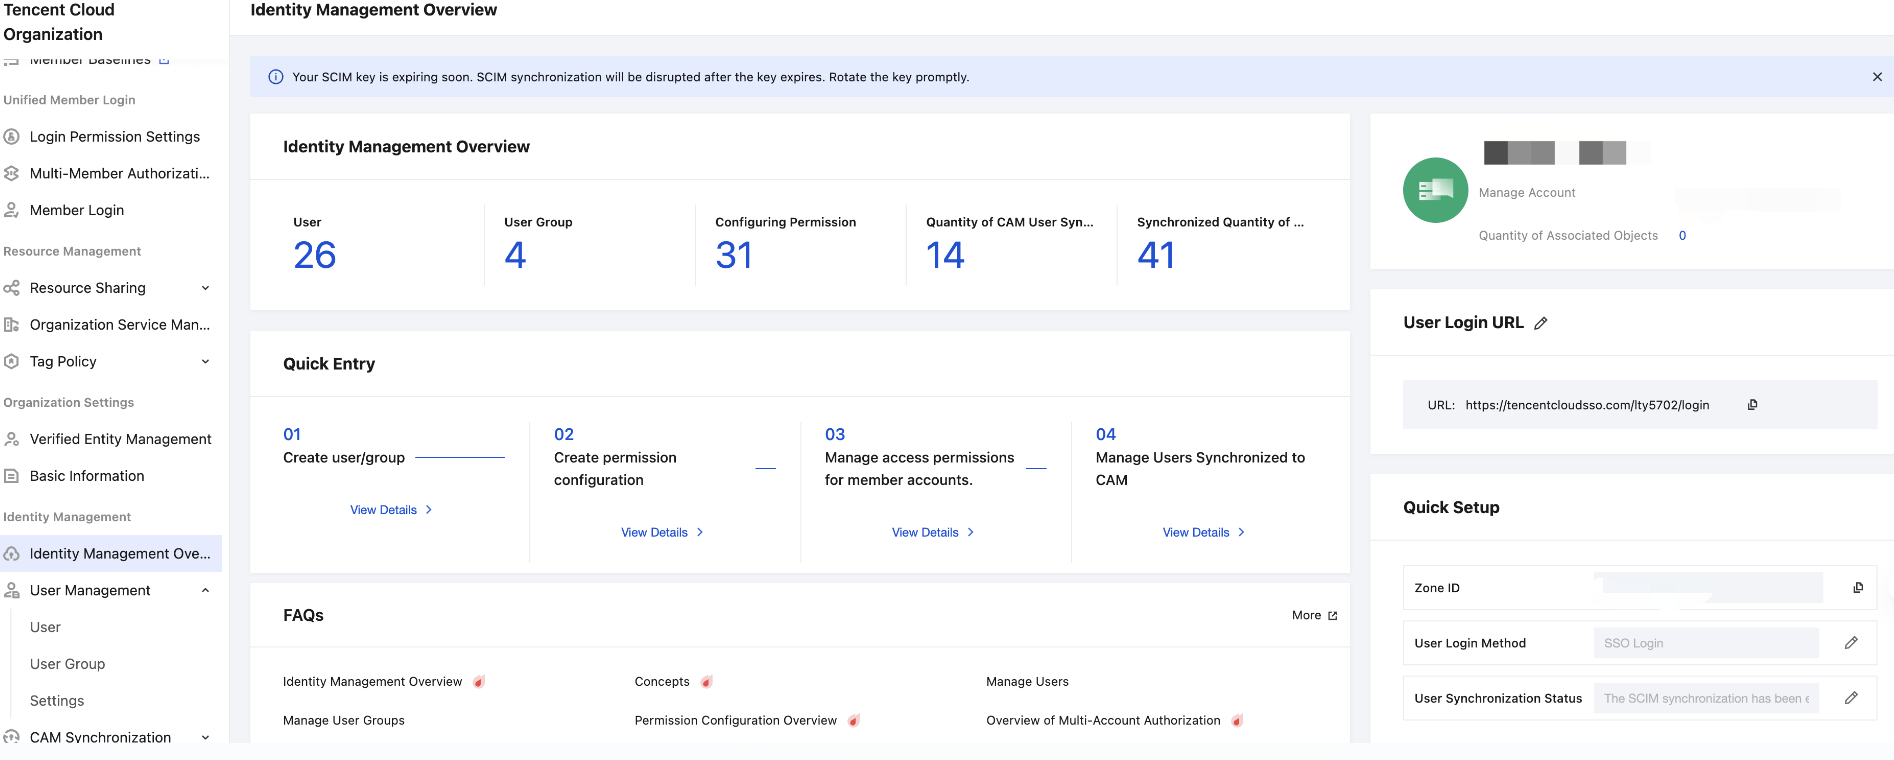
1. In the left sidebar, click Identity Management Overview.
2. On the right side of the overview page, view or copy the user login URL.
Accessing the User URL in the Browser
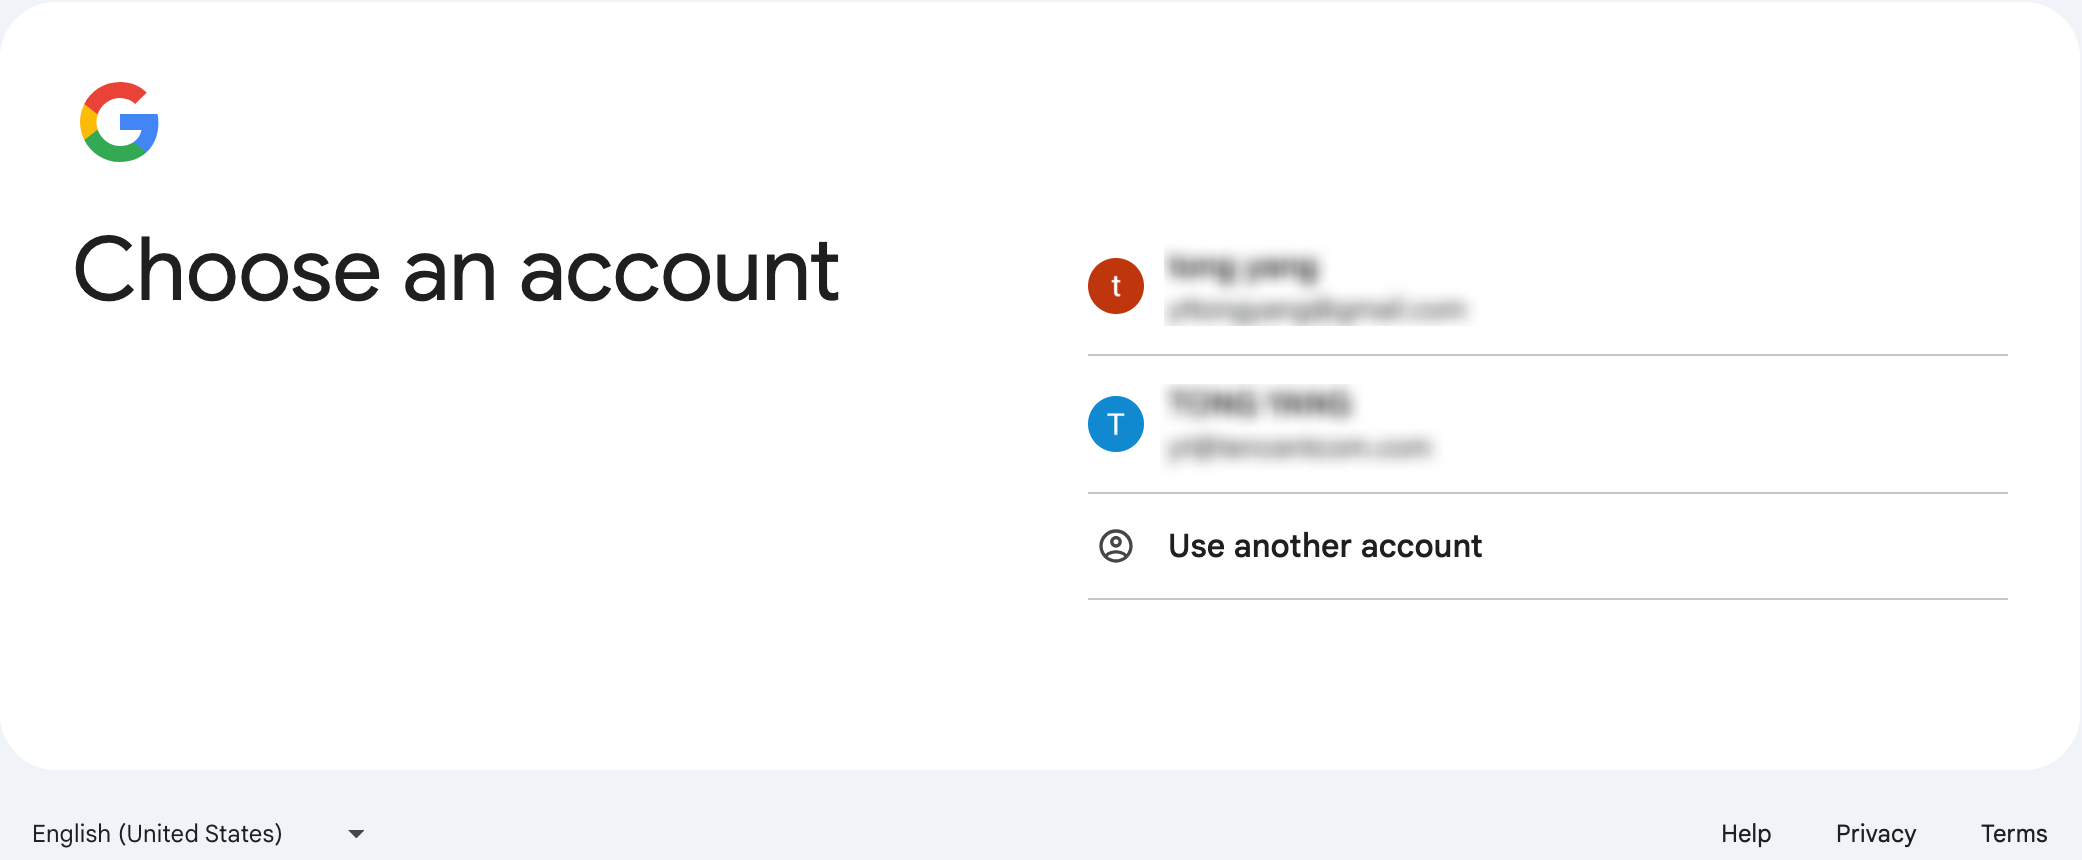
1. On the Identity Management login page, click Login. This example uses SSO login method.
Note:
Currently supported username password login and SSO login. For specific login methods, seeIdentity Management User Login.
2. The system will automatically redirect to the login page of an enterprise Identity Provider (IdP). Google IdP is used in this example.
3. After verification is passed, go to the CAM User Login tab, and select the member account (member_1) to log in.