Implementing a Cloud Storage Solution for Web Applications Using Django + COS
Download
Modo Foco
Tamanho da Fonte
Última atualização: 2025-12-24 11:00:45
Introduction
Django is an open-source Python-based Web application framework that significantly simplifies the development process of Web applications. To better meet the demands of modern Web applications, Django provides numerous extension features, including cloud storage.
This article mainly introduces how to use the COS plugin to implement the remote attachment feature, storing data of Django applications on Tencent Cloud COS (Cloud Object Storage, COS).
Prerequisites
If you do not have a COS bucket, refer to the Create Bucket operation guide.
A server has been created, such as Cloud Virtual Machine (CVM). For related guidance, refer to the CVM product documentation.
Environment Dependency
Python version: greater than or equal to version 3.8. This article uses Python version 3.12.0 as an example.
COS Python version: greater than or equal to version 1.9.31. For installation methods, see COS Python SDK Quick Start. This article uses COS Python version 1.9.31 as an example.
Django version: greater than or equal to 2.2 and less than 3.3. This article uses version 3.2.18 as an example.
Practical Steps
Create a COS Bucket
1. Create a bucket with access permission set to public-read-private-write. It is recommended that the bucket region matches the region of the CVM running Django. For creation details, see the Create Bucket documentation.
2. Locate the newly created bucket in the bucket list and obtain the bucket name, for example, examplebucket-1250000000.
Create Django
1. Go to the PyCharm official website and select the corresponding PyCharm version based on the operating system of your CVM.
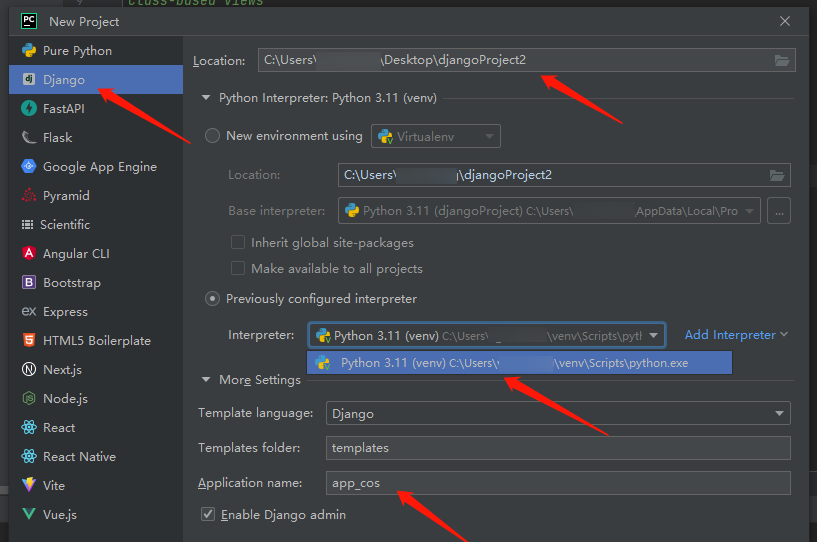
2. After PyCharm is installed on the CVM, open it, click NEW project or create project, and select Django below.
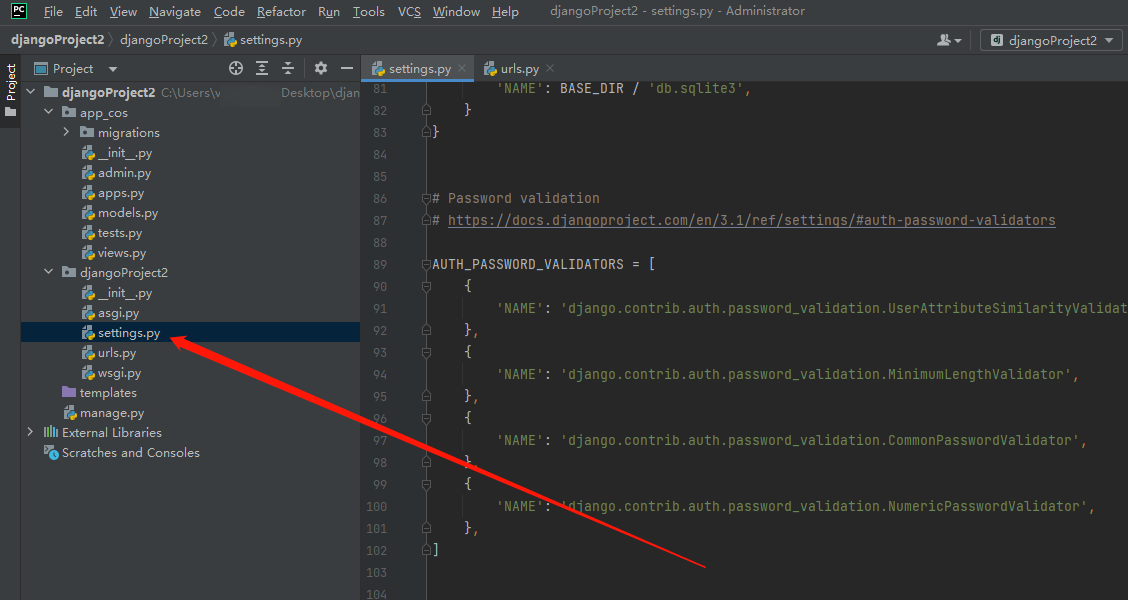
3. After creation, locate and open the setting.py file in your directory.
4. Copy and paste the following code into it and configure the COS service according to the parameter description.
The custom name defined when a bucket is created, for example, examplebucket-1250000000.
Region
The region selected when the bucket was created.
SecretId
Access key information can be created and obtained in TencentCloud API Keys. It is recommended to use sub-account keys and follow the principle of least privilege to mitigate usage risks. For details, see Access Key Management for Sub-accounts.
SecretKey
Access key information can be created and obtained in TencentCloud API Keys. It is recommended to use sub-account keys and follow the principle of least privilege to mitigate usage risks. For details, see Sub-account Access Key Management.
Download and Configure the COS Plugin
1. Go to Github to download the COS plugin. After downloading it, extract the django_cos_storage directory to the directory of your django project.
Note:
To view its plugin information, open the terminal, enter pip freeze, then you can view its module information.
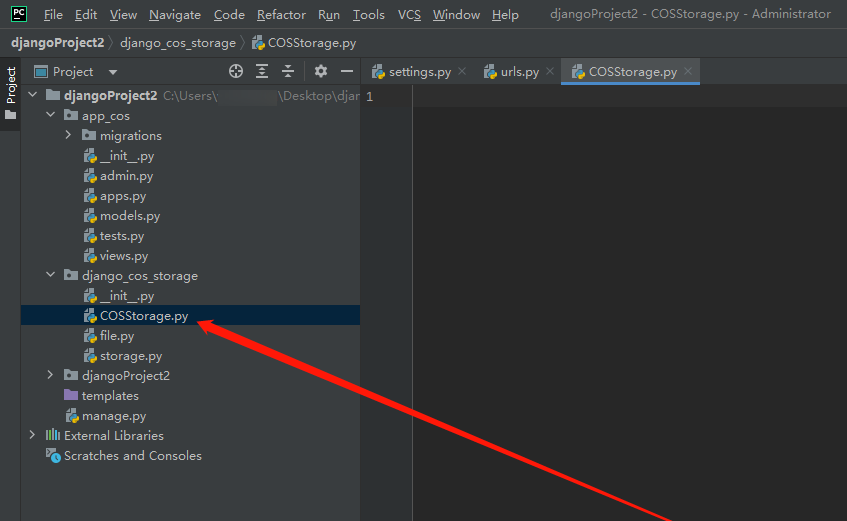
2. Create a Python file, for example, COSStorage.py, in the django_cos_storage directory.
In this example, cessu/1.png represents the local file to be uploaded, 1.png is located in the cessu folder under the project directory. After successful upload, you can find the image 1.png in the cessu folder of the COS bucket.
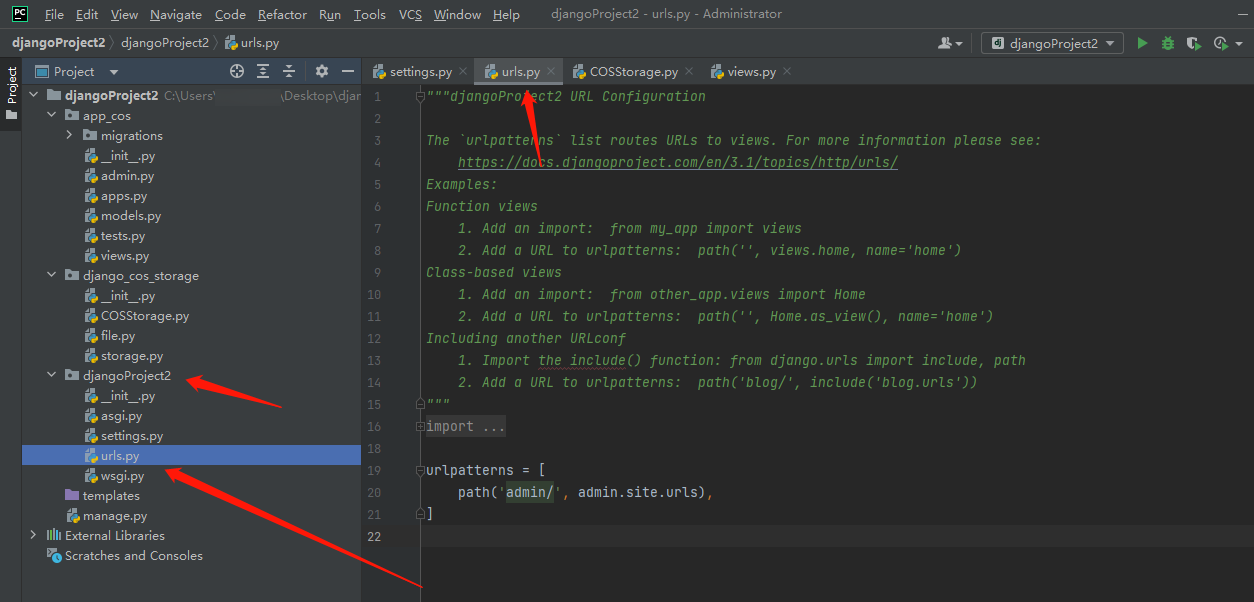
4. Find and open urls.py in the djangoProject2 directory.
Copy and paste the code into it.
from django.contrib import admin
from django.urls import path
from app_cos.views import*
urlpatterns =[
path('admin/', admin.site.urls),
path('upload_file/', upload_file_view),
]
5. Enter python manage.py migrate in the terminal and run it.
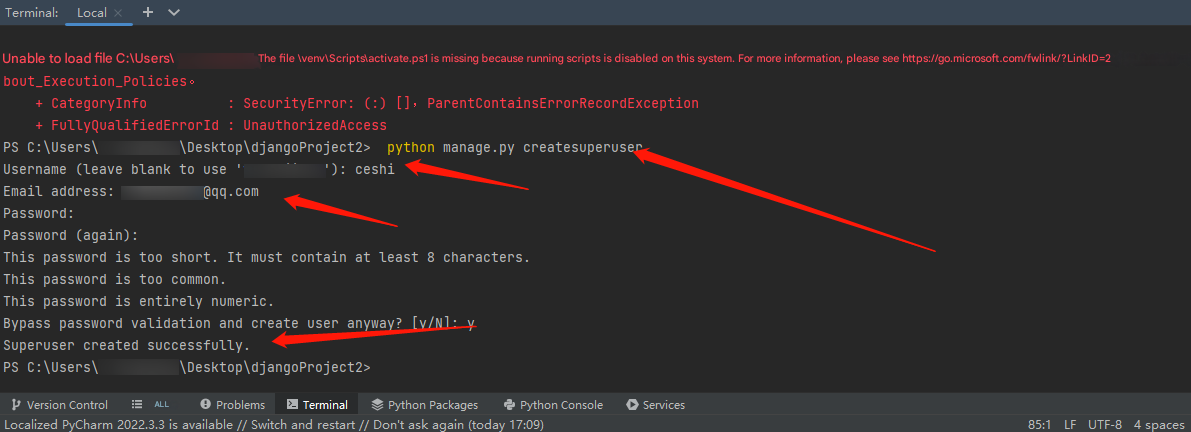
6. Enter python manage.py createsuperuser in the terminal and follow the prompts to enter your username and password.
Note:
If executing python manage.py createsuperuser prompts that pkg_resources is missing, please execute the installation command pip install setuptools to resolve it.
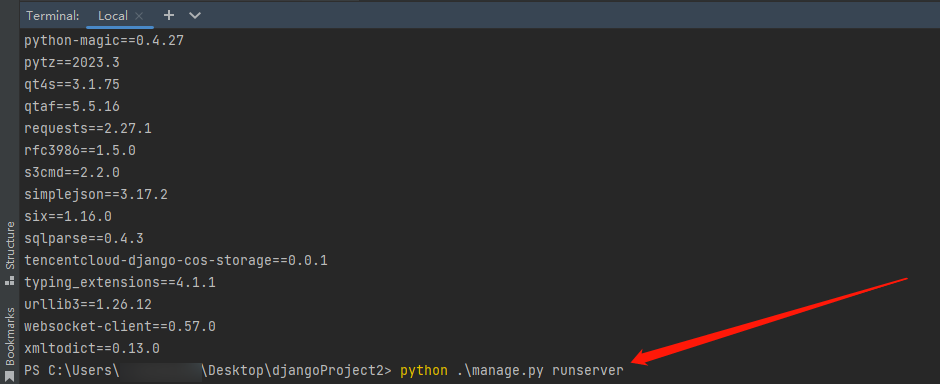
7. Then, run python .\\manage.py runserver in the terminal.
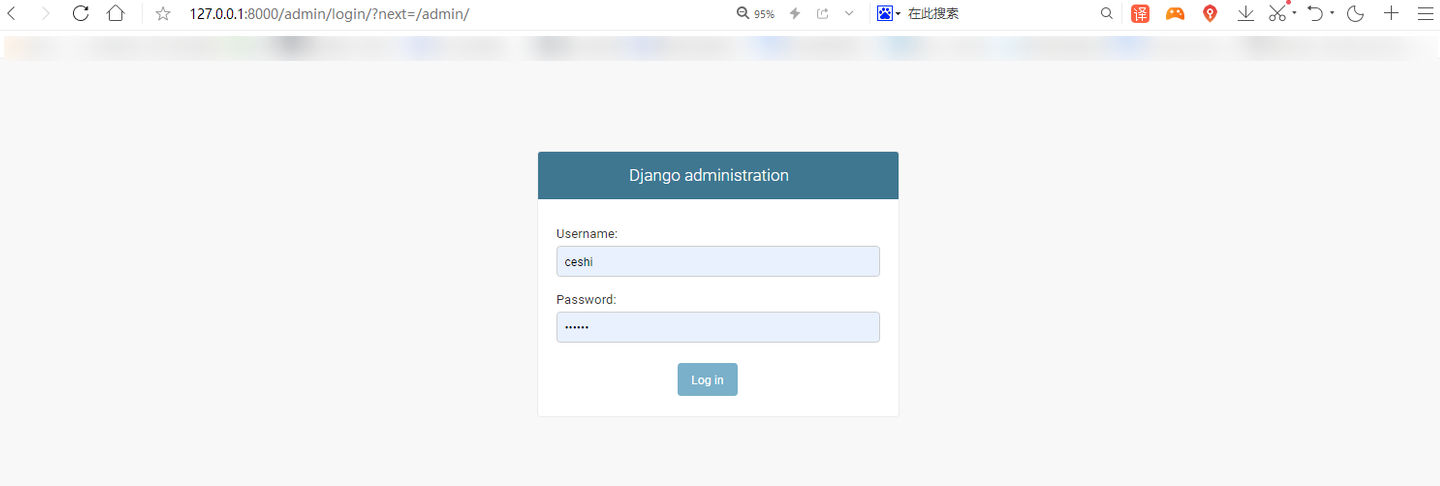
8. Open the website http://127.0.0.1:8000/admin/ and enter the previously set username and password to log in.
Note:
If opening the website displays the following error:
Return to pycharm, reopen the terminal, and enter the following commands in sequence:
python manage.py makemigrations
python manage.py migrate
Finally, run python .\\manage.py runserver in the terminal, then open http://127.0.0.1:8000/admin/.
Verifying storage of Django attachments to COS
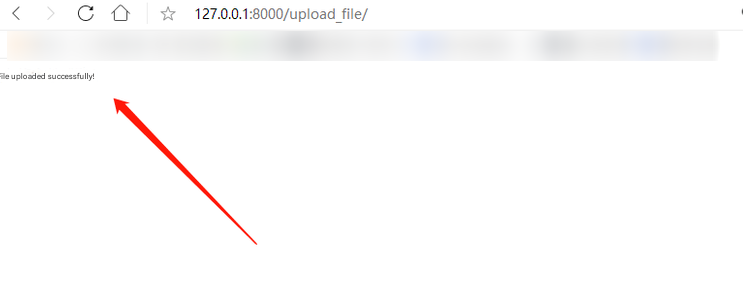
1. Access http://127.0.0.1:8000/upload_file to complete the operation to upload files. When the prompt as shown below is displayed, it indicates a successful upload.
2. Log in to the COS console, select the previously created bucket, and under the cessu path, you can see the uploaded images.