Managing SCIM Keys
Download
Modo Foco
Tamanho da Fonte
Operation scenarios
The SCIM key is required during the SCIM synchronization process. This article introduces how to create, disable, enable, and delete SCIM keys.
Use Limits
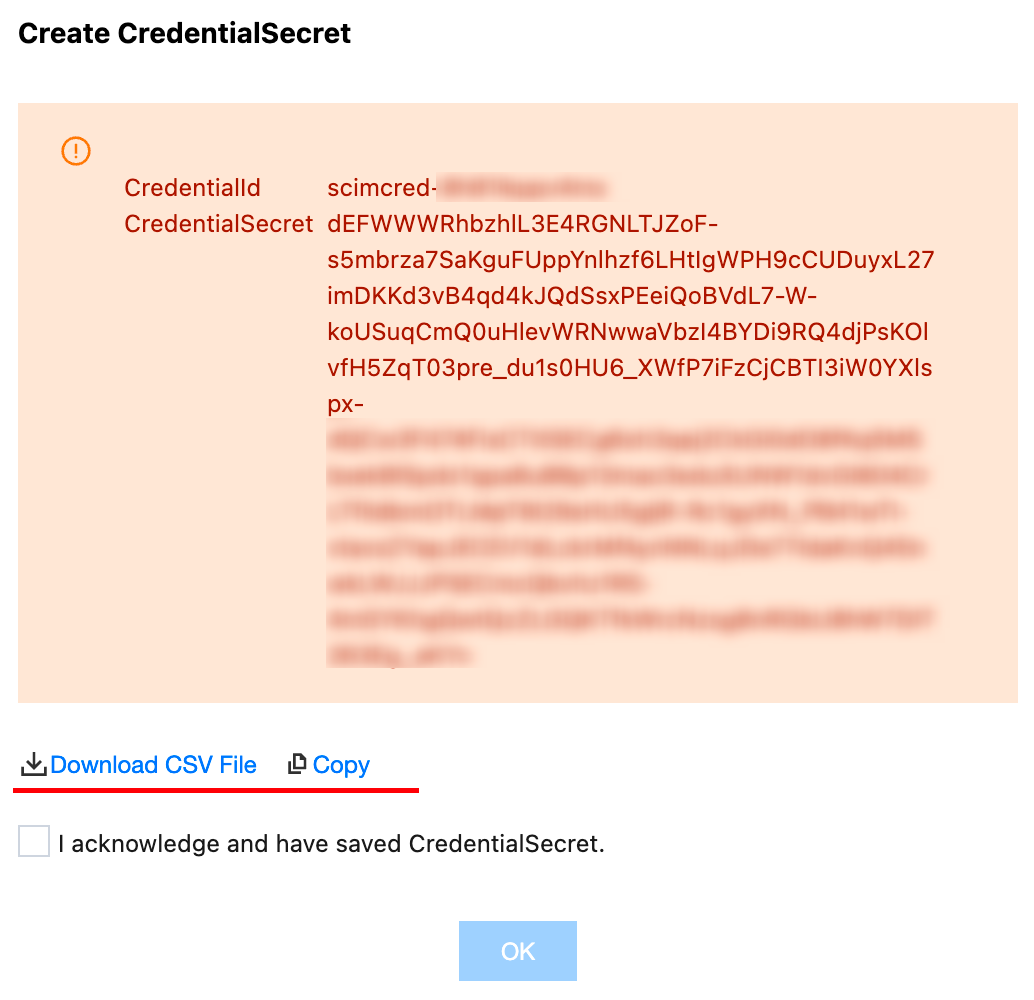
SCIM keys are only displayed at the time of creation and cannot be queried, please save the SCIM key in time.
Up to 2 SCIM keys can be created.
Create SCIM Key
Note:
The newly created SCIM key is enabled by default.
1. Log in to TCO > Identity Management.
2. On the left sidebar, click User Management > Settings.
3. In the SCIM User Synchronization Configuration area, click Generate New SCIM Key.
Note:
If you have not enabled SCIM User Sync, please enable it first.

4. In the Create CredentialSecret dialog box, you can save the SCIM key by Download CSV File or Copy it. After saving the key, click OK.
Disable SCIM key
Warning:
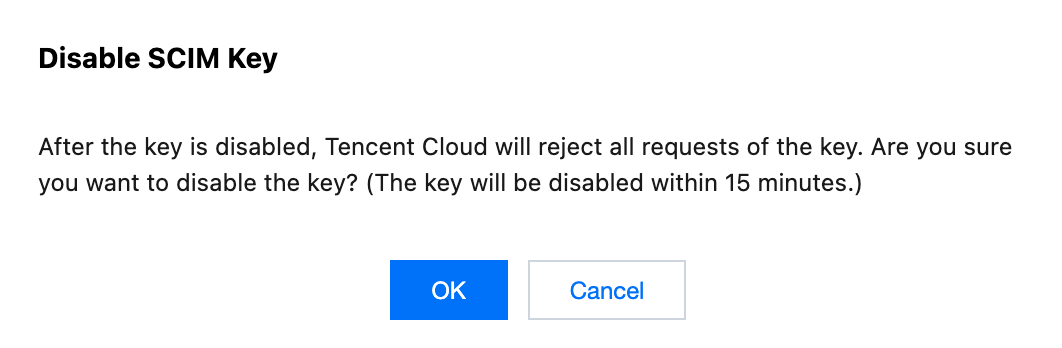
After disabling, any sync tasks using this SCIM key will fail.
1. Log in to TCO > Identity Management.
2. On the left sidebar, click User Management > Settings.
3. In the SCIM User Synchronization Configuration area, click Disable for the target SCIM key.

4. In the Disable SCIM Key dialog box, click OK.
Enable SCIM Key
For a disabled SCIM key, you can enable it again.
1. Log in to TCO > Identity Management.
2. On the left sidebar, click User Management > Settings.
3. In the SCIM User Synchronization Configuration area, click Enable for the target SCIM key.

4. In the Enable SCIM Key dialog box, click OK.

Delete SCIM key
For a SCIM key that you no longer use, you can delete it.
Warning:
After deletion, the SCIM key cannot be used anymore.
1. Log in to TCO > Identity Management.
2. On the left sidebar, click User Management > Settings.
3. In the SCIM User Synchronization Configuration area, click Delete for the target SCIM key.
4. In the Delete SCIM key dialog box, click OK.

Ajuda e Suporte
Esta página foi útil?
Você também pode entrar em contato com a Equipe de vendas ou Enviar um tíquete em caso de ajuda.
comentários