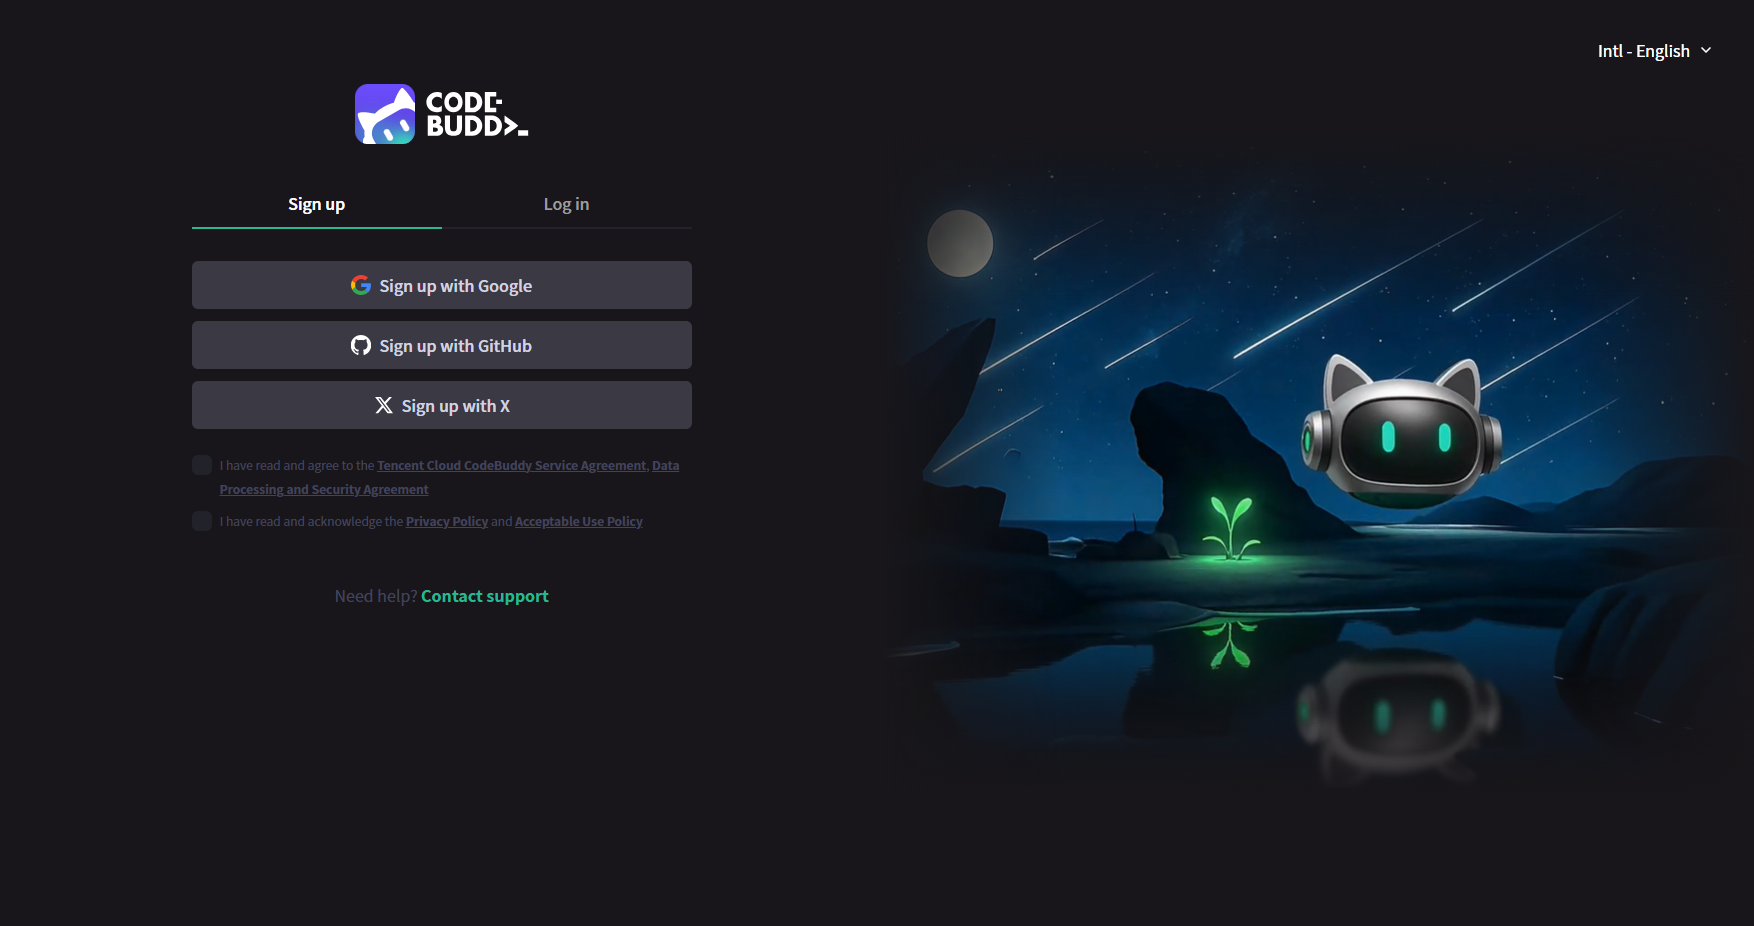
1. Visit the CodeBuddy official website and click Log in in the upper right corner.
2. If you have not registered yet, click Sign up to create an account.
Select your registration region based on your location (a VPN is required, and the Singapore node is recommended). You can directly use Google or GitHub authorization to register and log in. After successful registration, you will be automatically logged in.
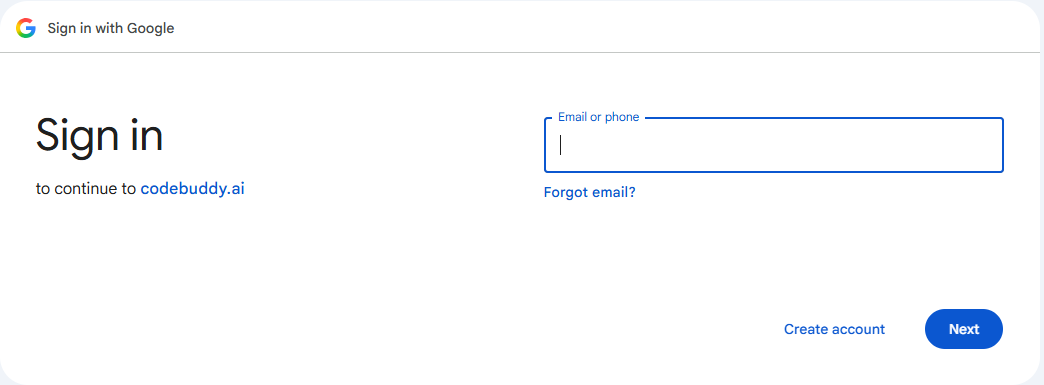
3. If you already have an account, click Log in to log in directly. Google/GitHub/email login are supported.
Download
1. Visit the CodeBuddy official website and download the version that matches your computer's processor.
Installation and Login
macOS
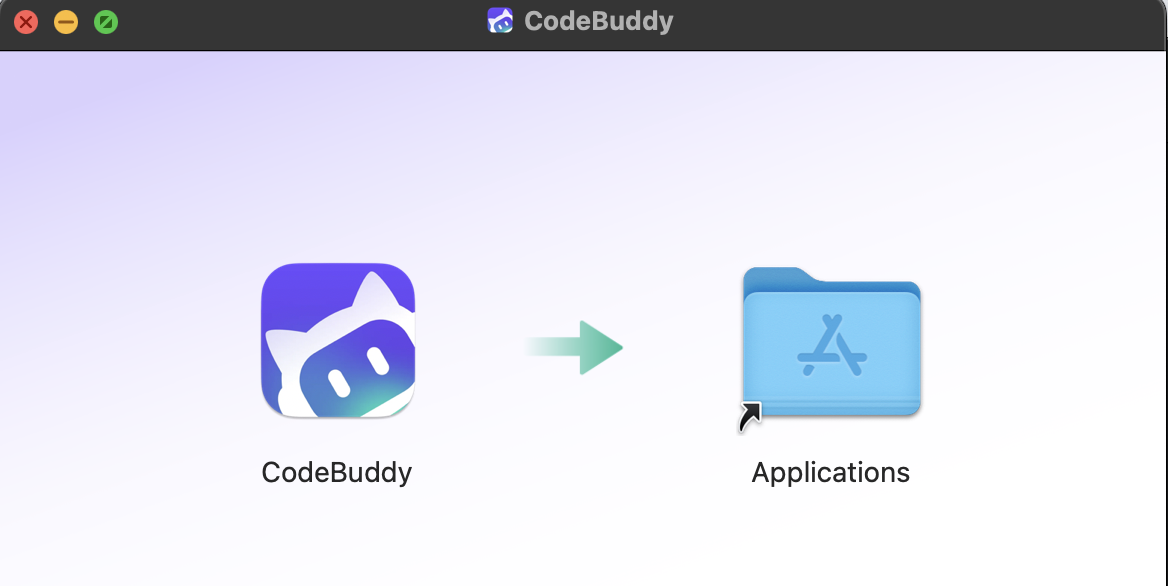
1. Drag the installer on the left to the Applications folder on the right to install it.
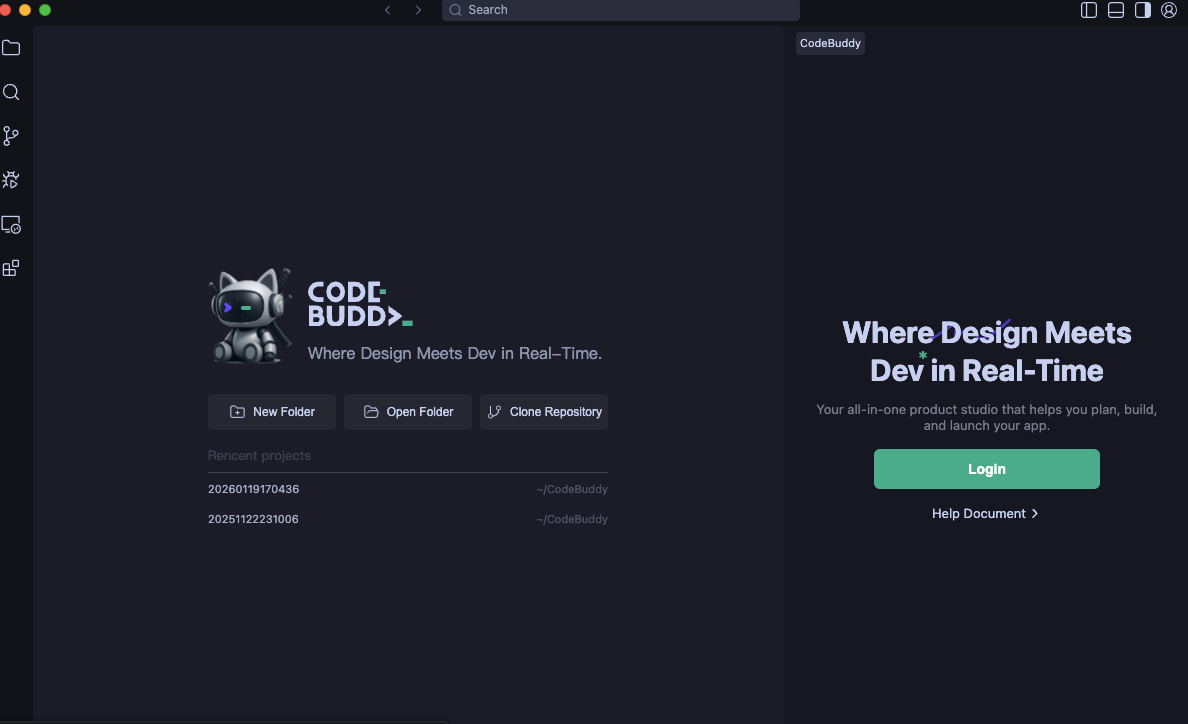
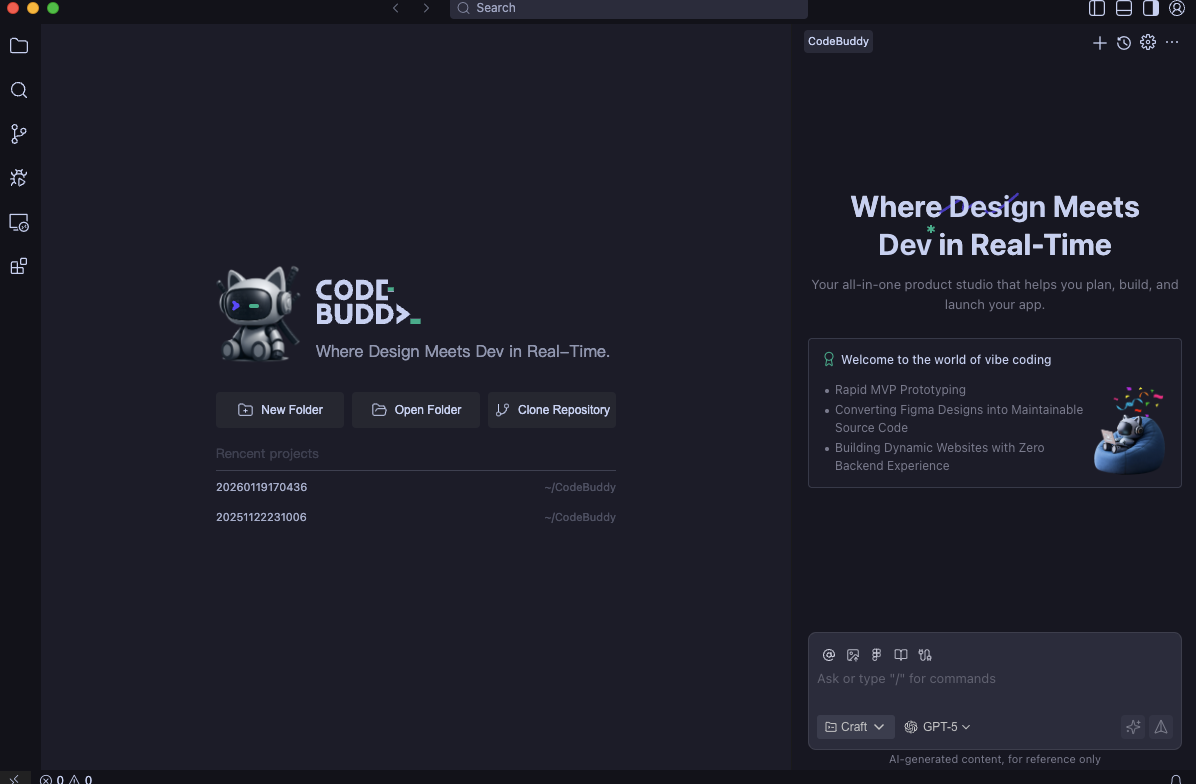
2. After installation, open CodeBuddy IDE and click Log in to log in with your registered account.
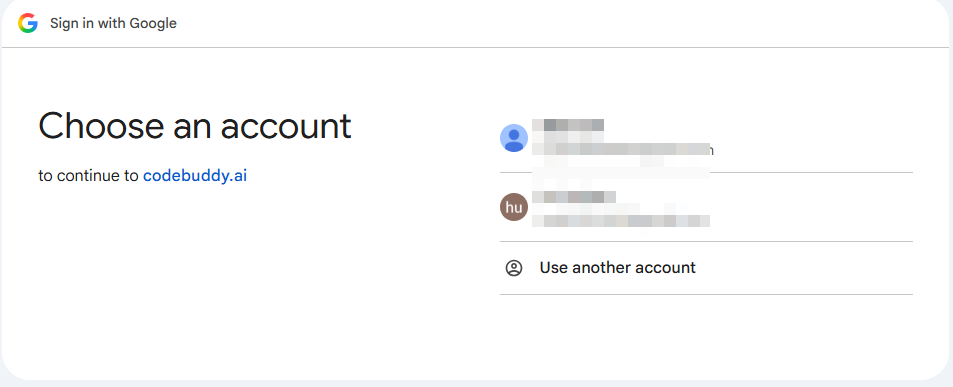
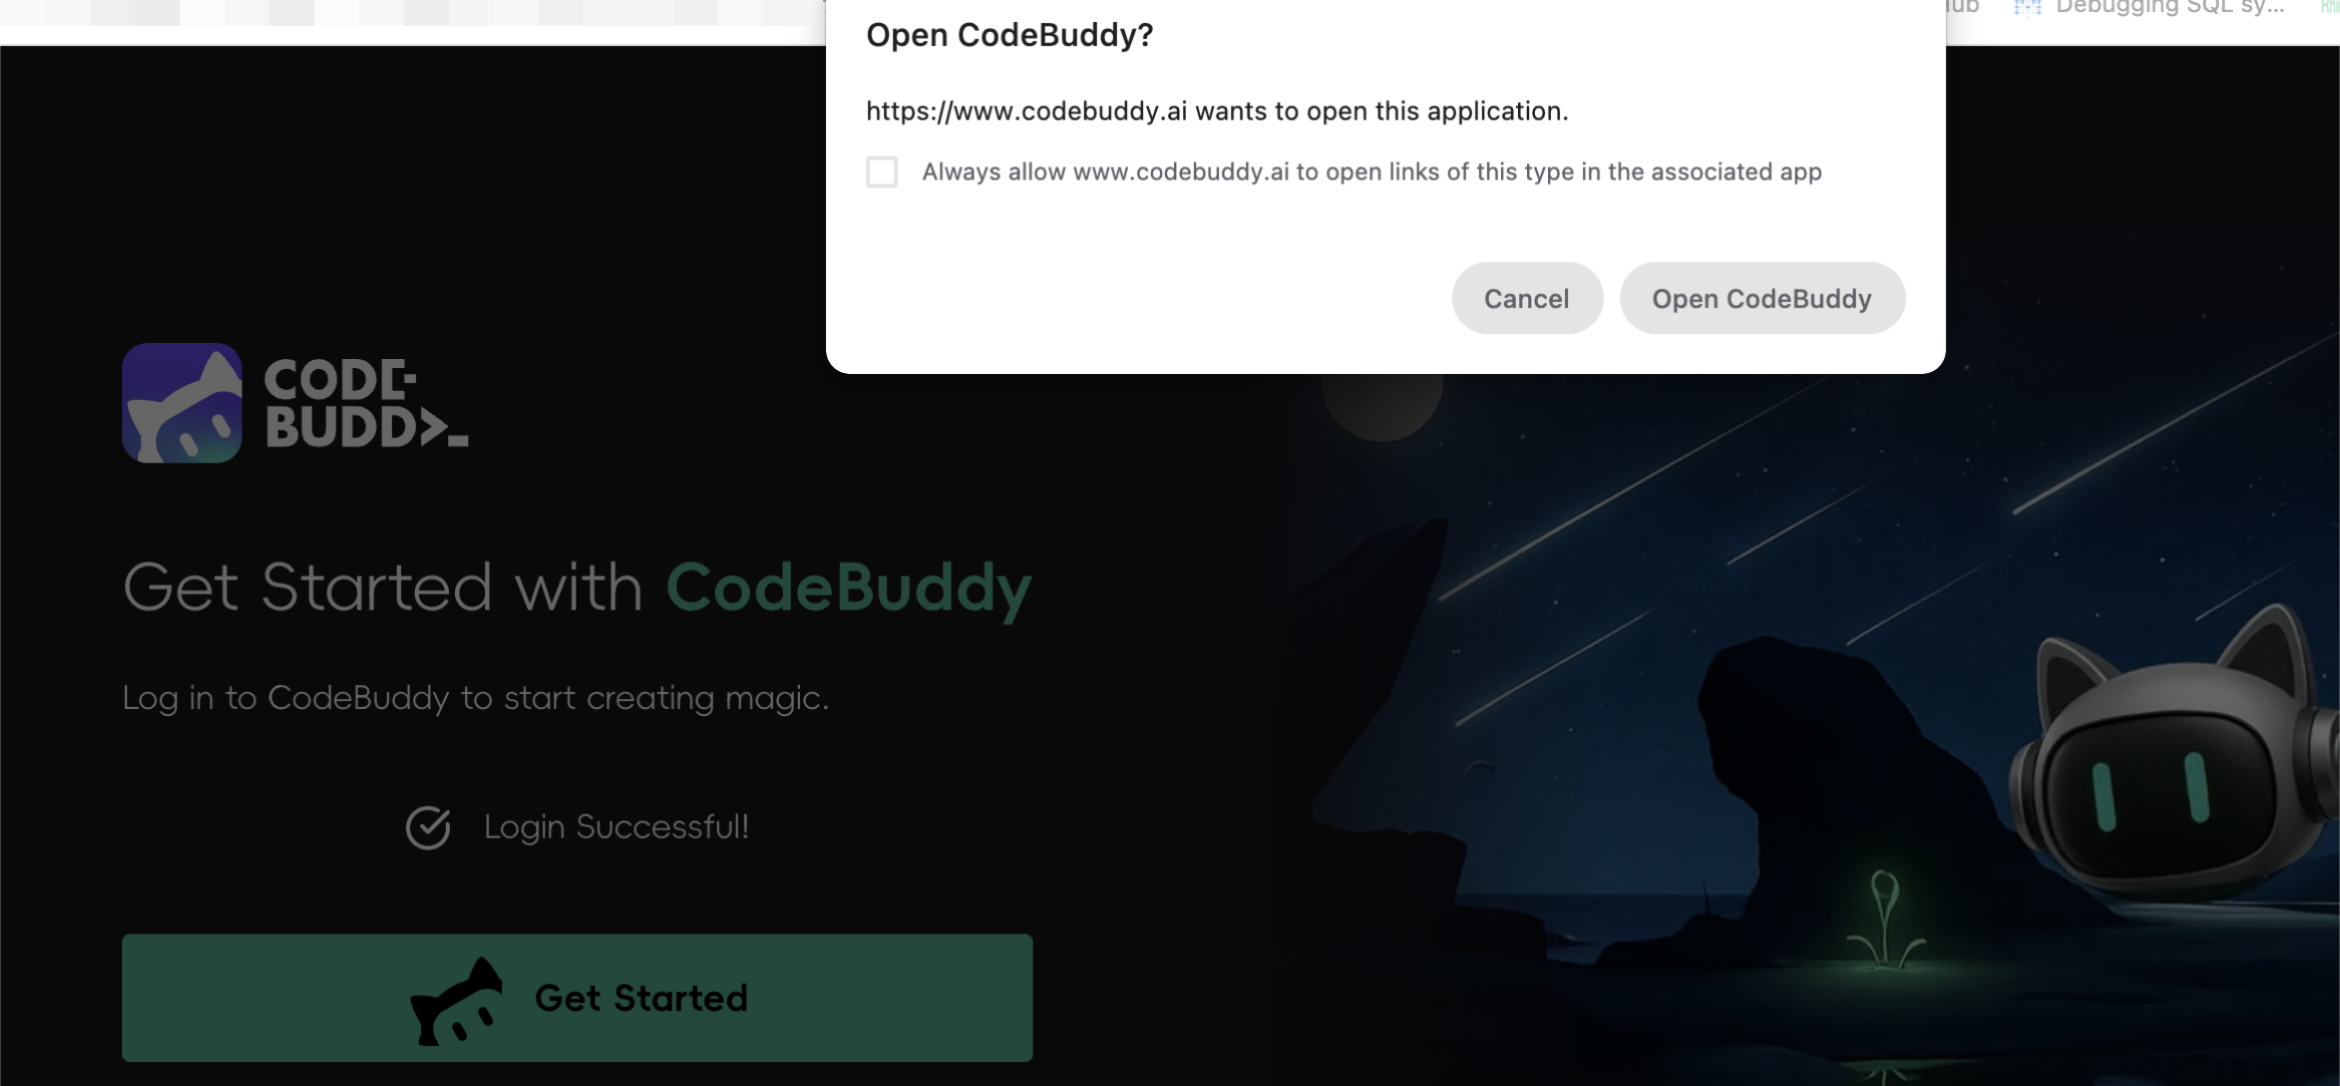
3. The page will redirect to the login page. Select an existing account to log in.
Log in with an account.
4. After logging in successfully, return to CodeBuddy IDE to start using it.
Windows
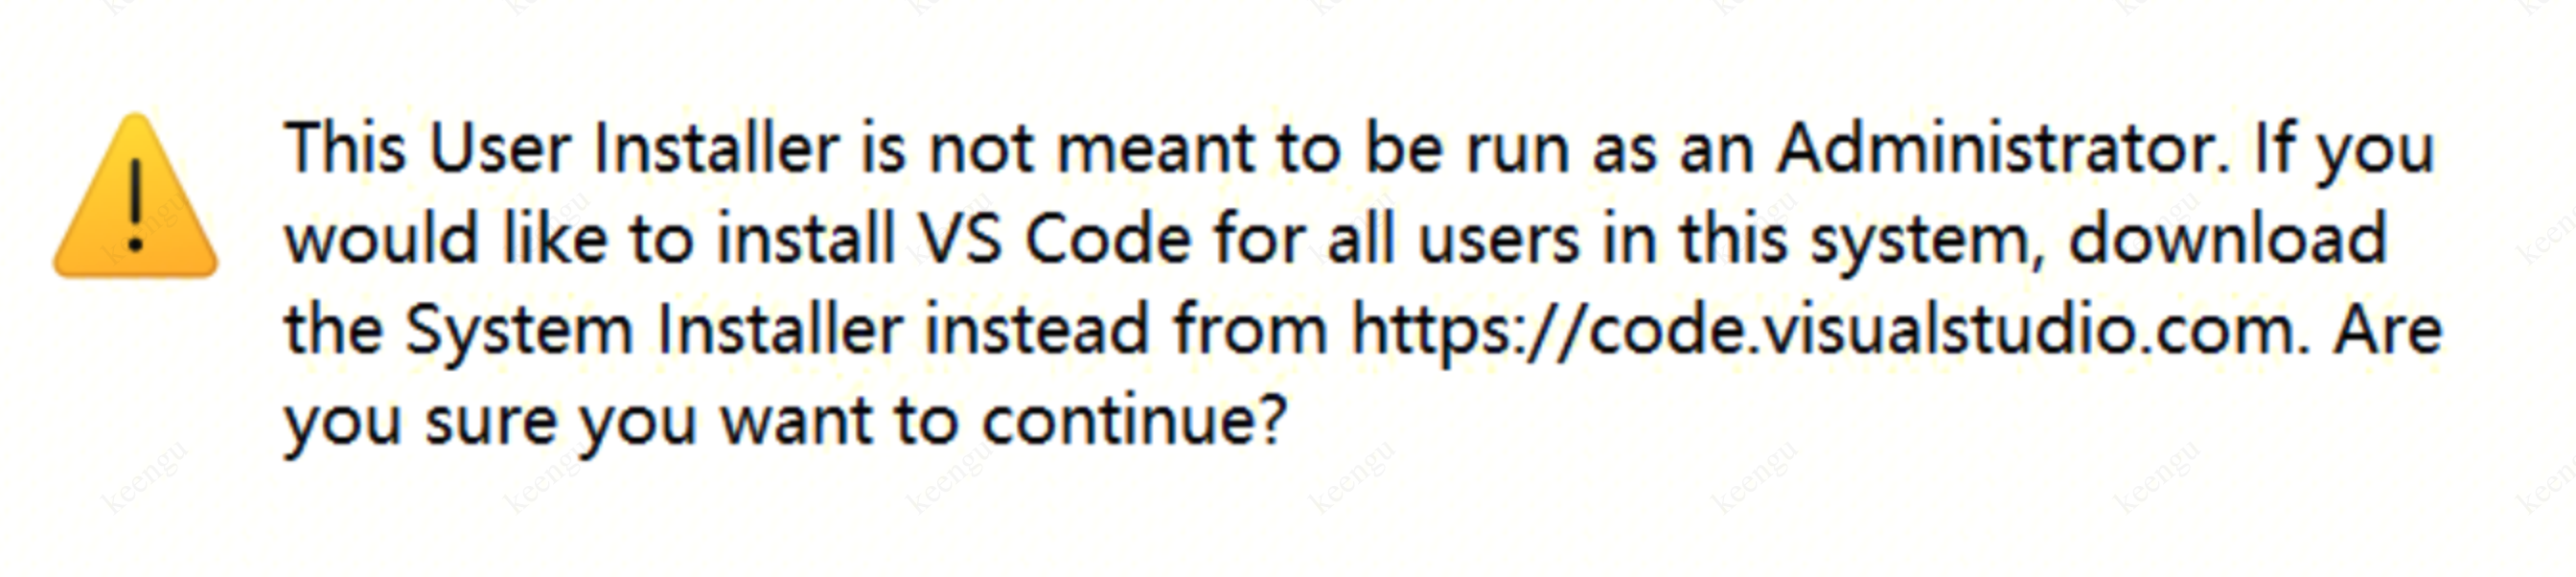
1. Double-click the downloaded installer to start the installation. If you see the following prompt, click OK, which means CodeBuddy IDE will be installed only for the current user.
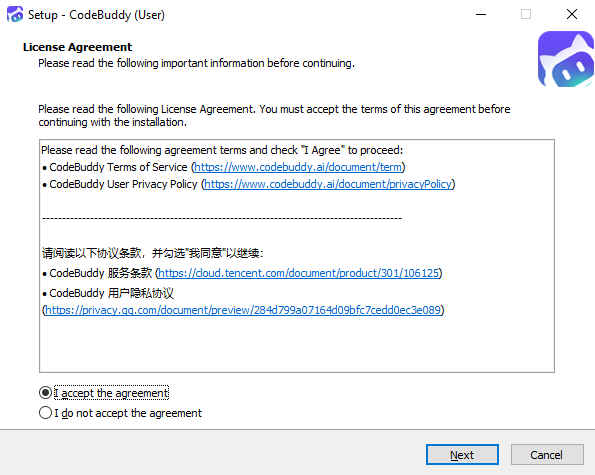
2. Select I accept this agreement.
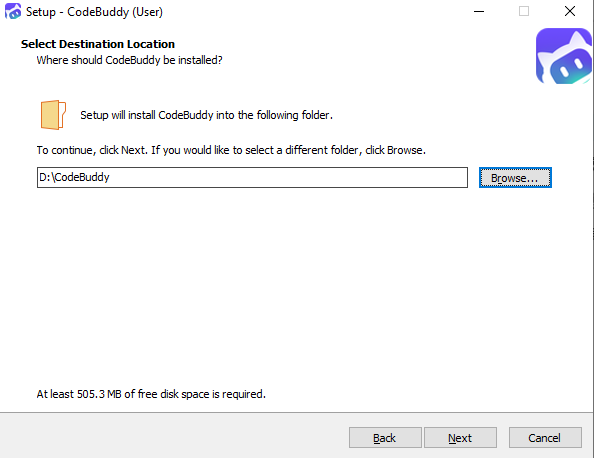
3. Select the installation location, and then click Next.
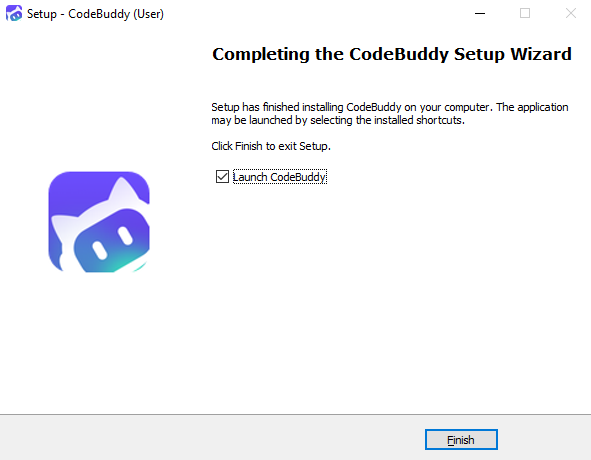
4. The installation is complete, as shown in the following figure.
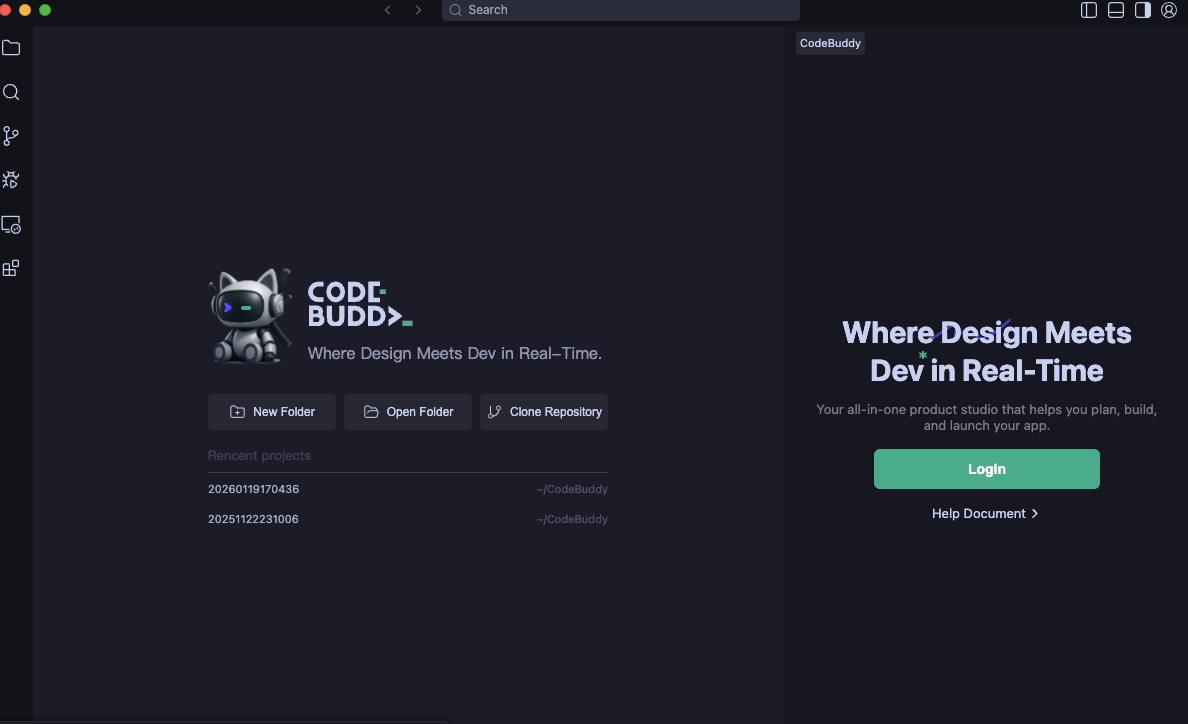
5. After installation, open CodeBuddy IDE and click Log in to log in with your registered account.
How to Update
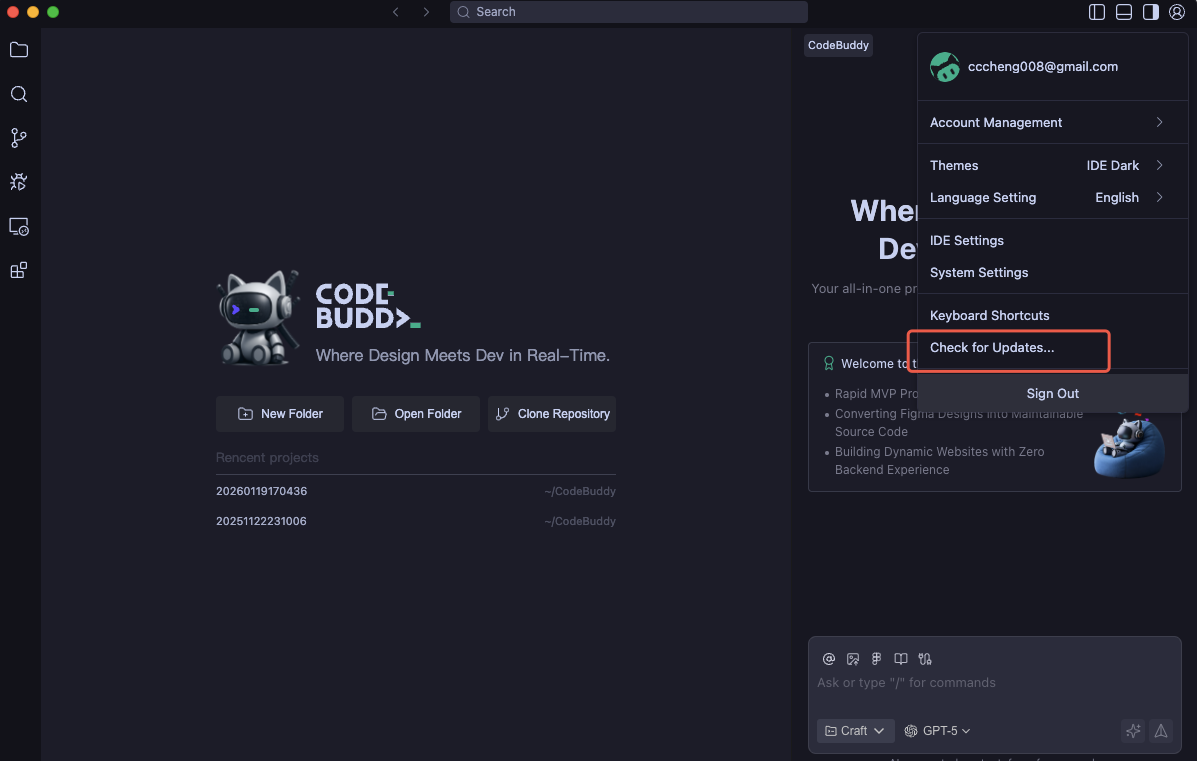
1. Click Account in the upper-right corner, and then select Check for Updates from the menu.
2. If a new version is available, you will receive a notification. Click Install Now to update.
Settings
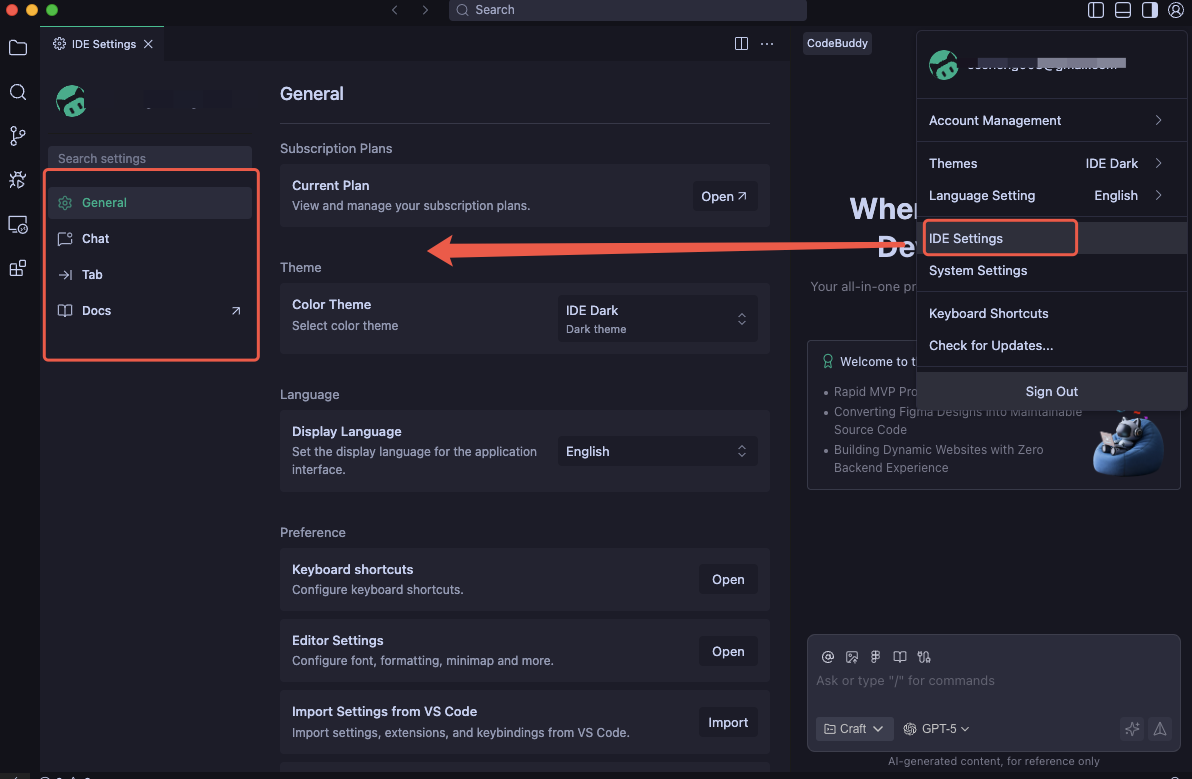
In CodeBuddy, you can configure settings on the Settings page. The left navigation menu includes General, Chat, Tab, and Docs. You can customize the settings as needed.