Granting the Operation-Level Permission to Sub-accounts
다운로드
포커스 모드
폰트 크기
마지막 업데이트 시간: 2025-12-24 14:59:00
AI 번역
Scenarios
This document instructs you to grant operation-level permissions to sub-accounts by using the Tencent Cloud root account. You can grant sub-accounts different read/write permissions based on actual requirements.
Prerequisites
Sub-accounts have been created for employees by using the Tencent Cloud root account. For detailed operations, see Creating a Sub-account.
Operation Steps
Granting Full Read/Write Permissions
Note
After a sub-account is granted full read/write permissions, the sub-account will have full read-write capabilities for all resources under the root account.
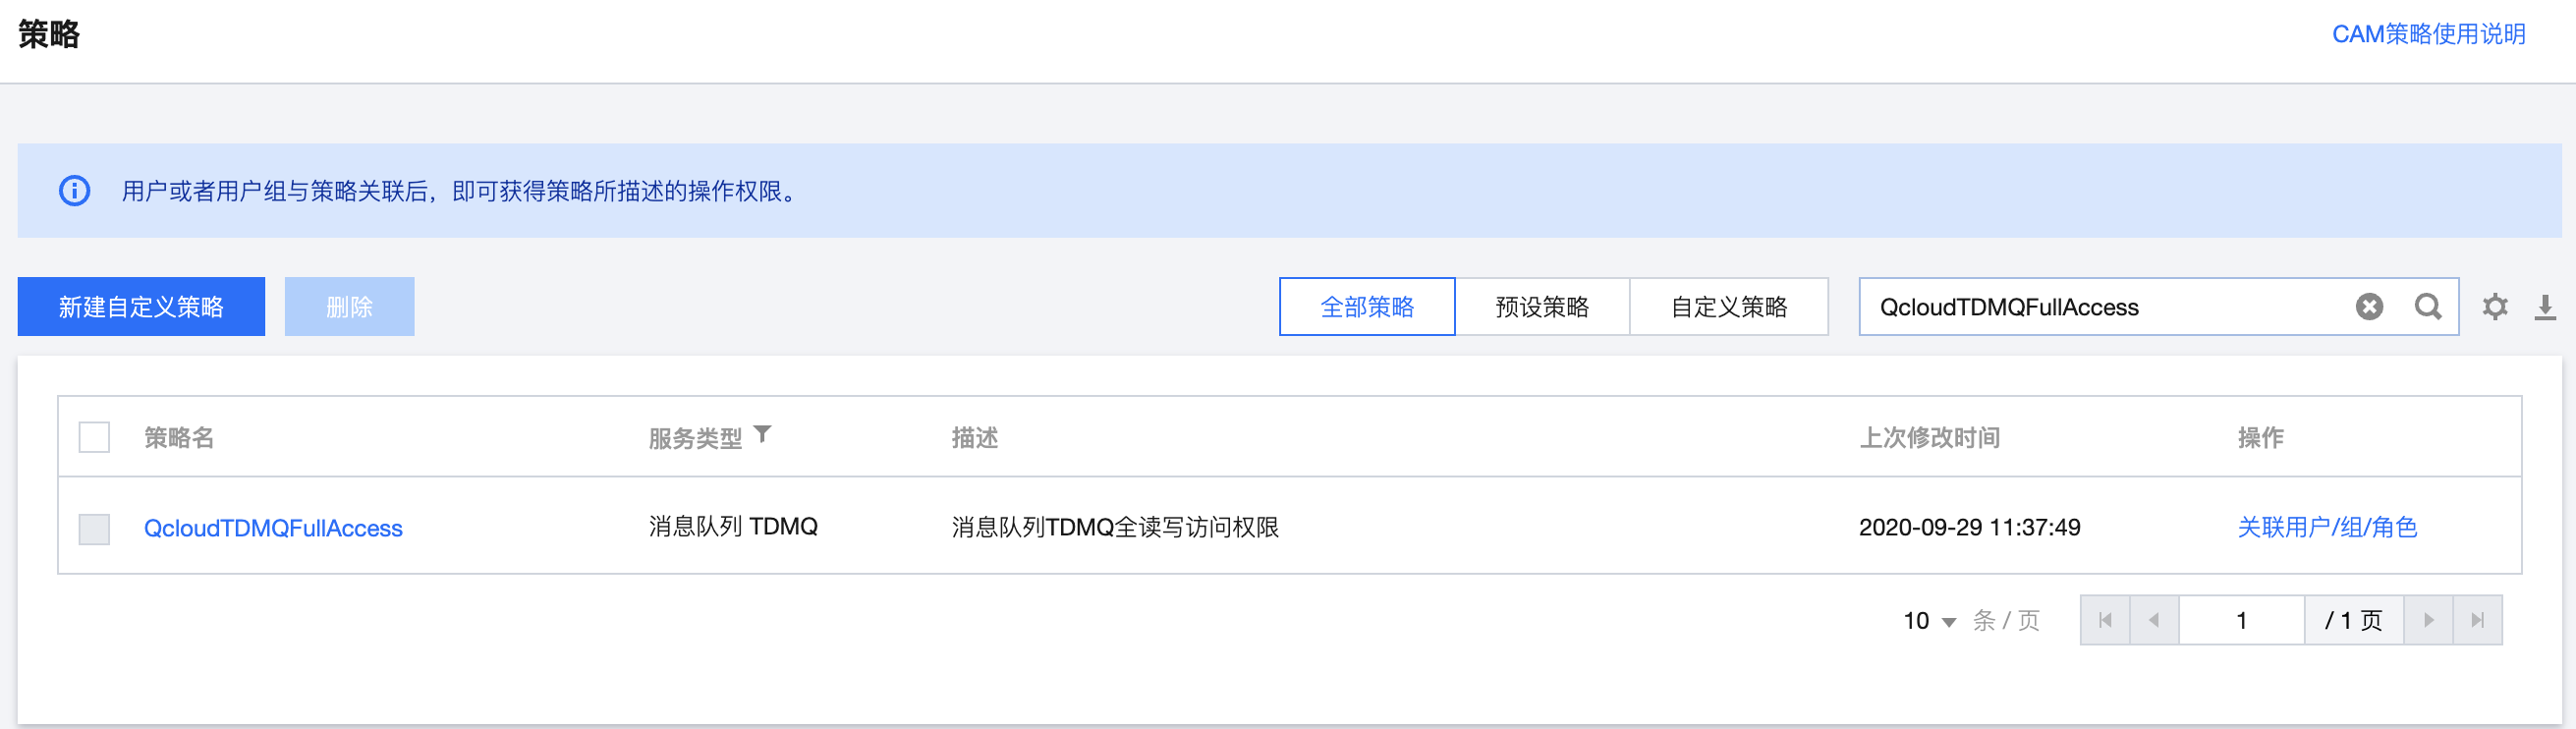
2. In the left sidebar, choose Policy to go to the Policy Management list page. In the search bar on the right, enter Full Read-Write Permissions Policy to search for the policy. The policy name is QcloudTDMQFullAccess.
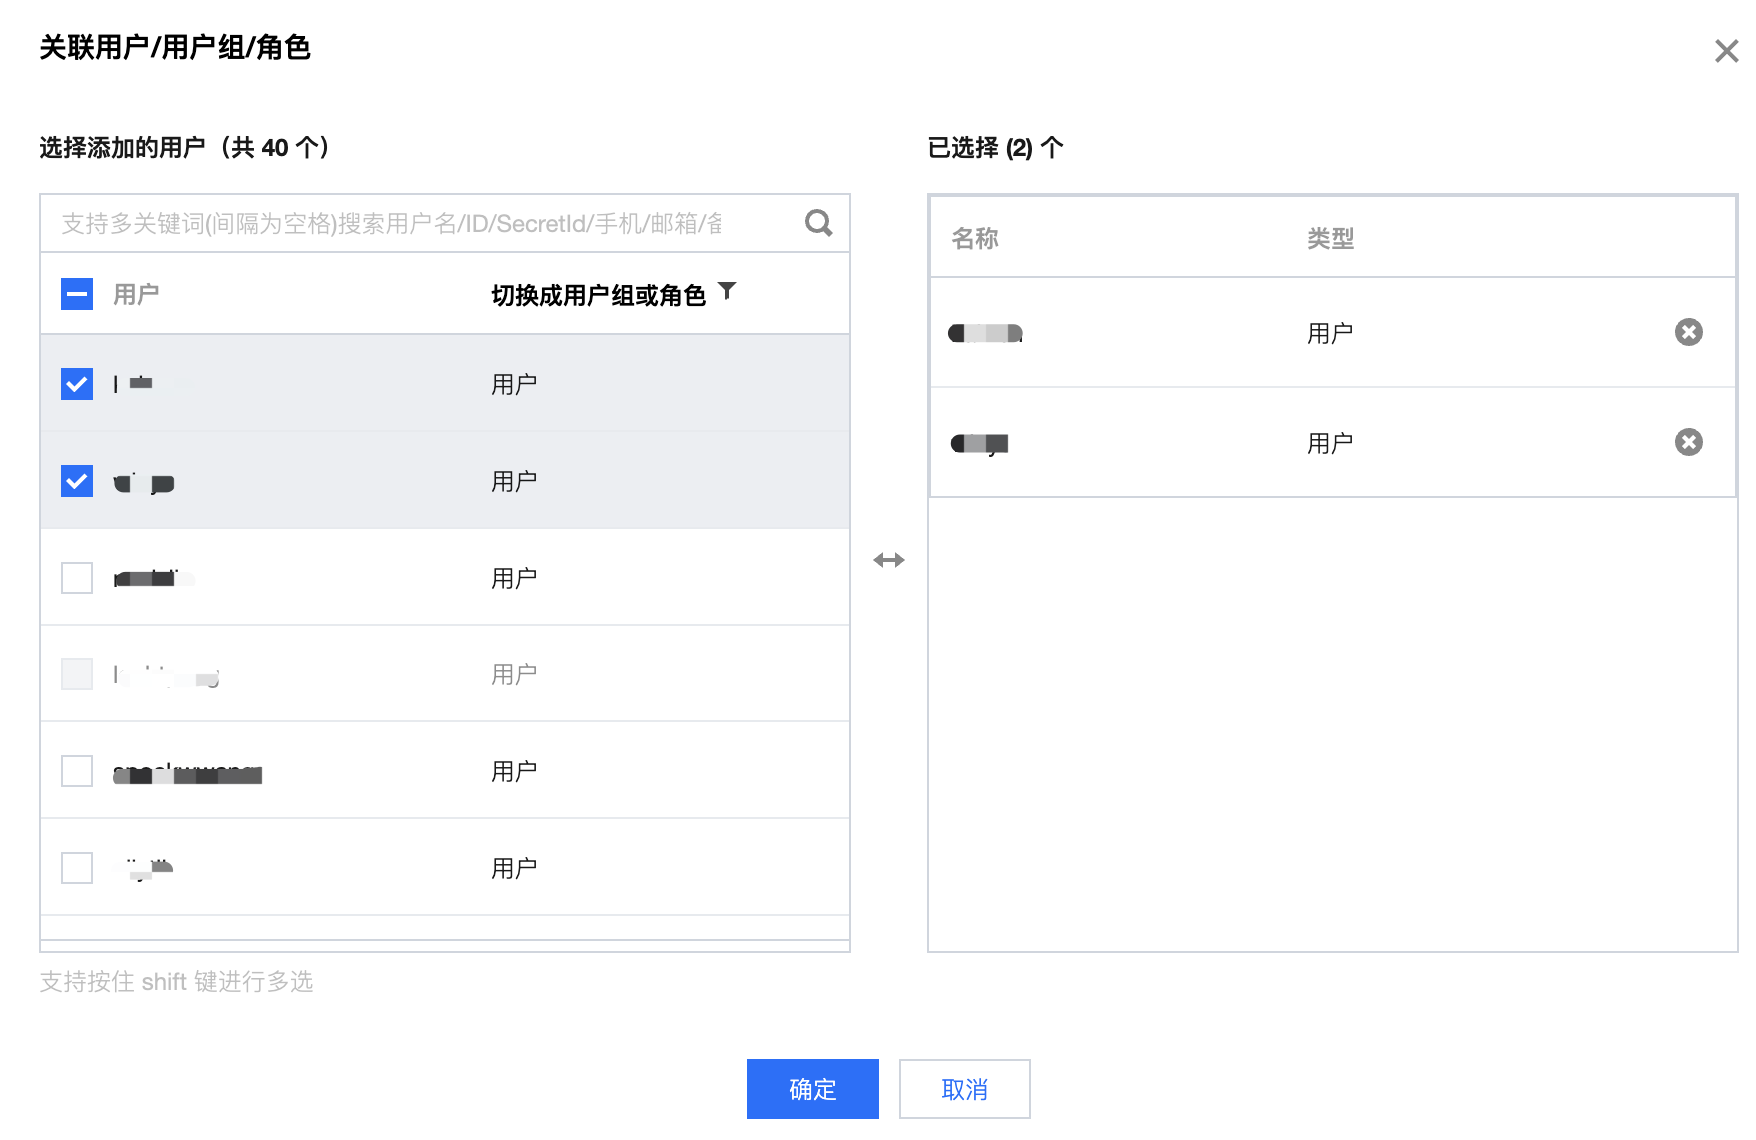
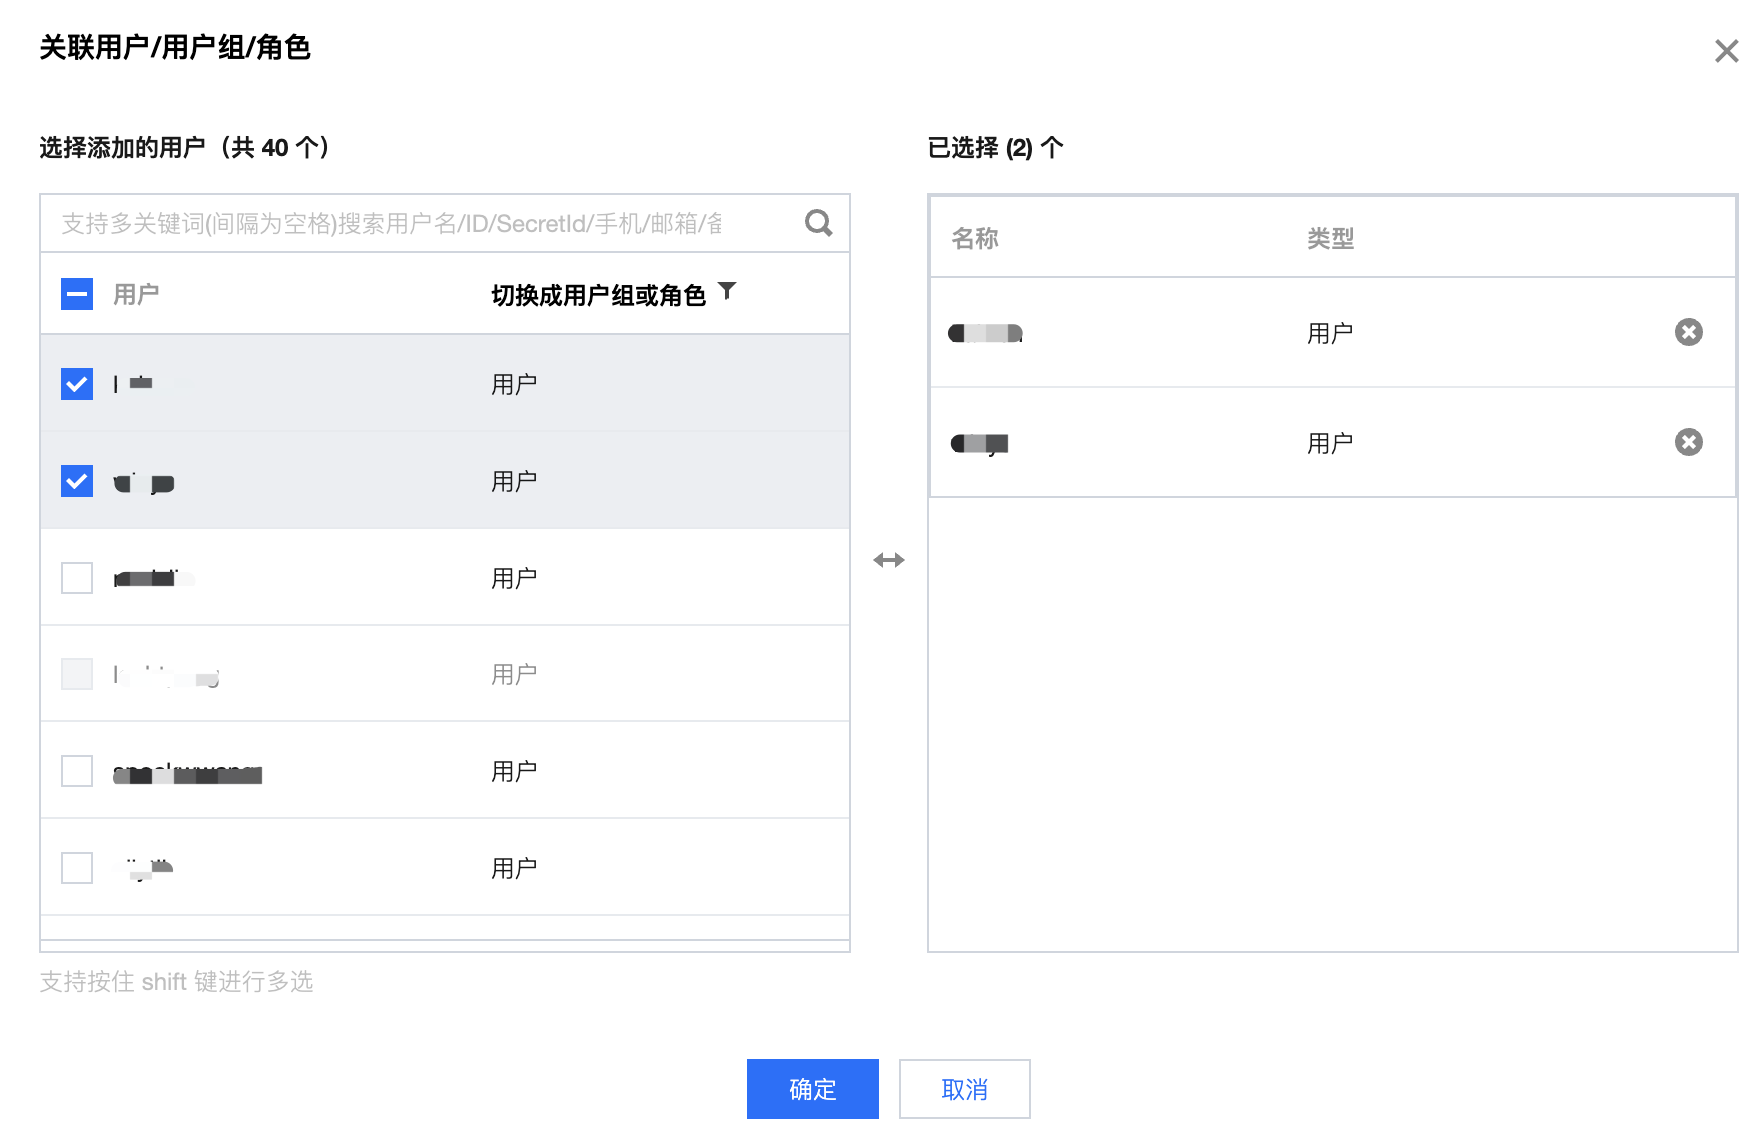
3. In the search results, click Associate User/Group/Role in the operation column and select the sub-account to which the permissions need to be granted.
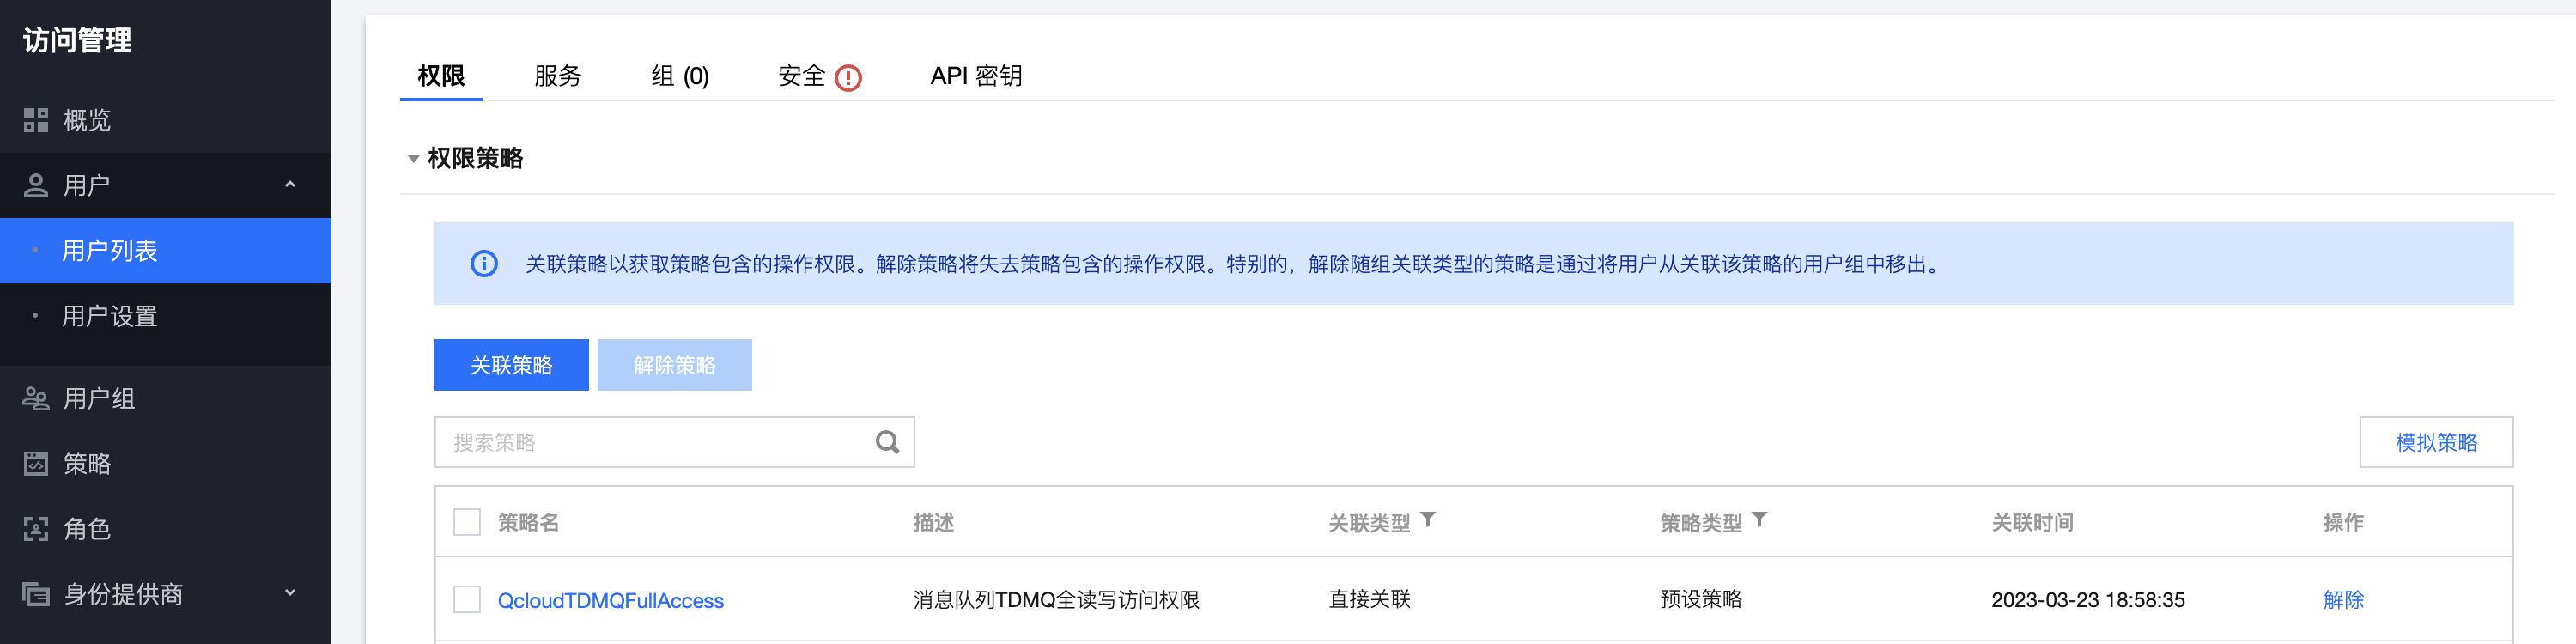
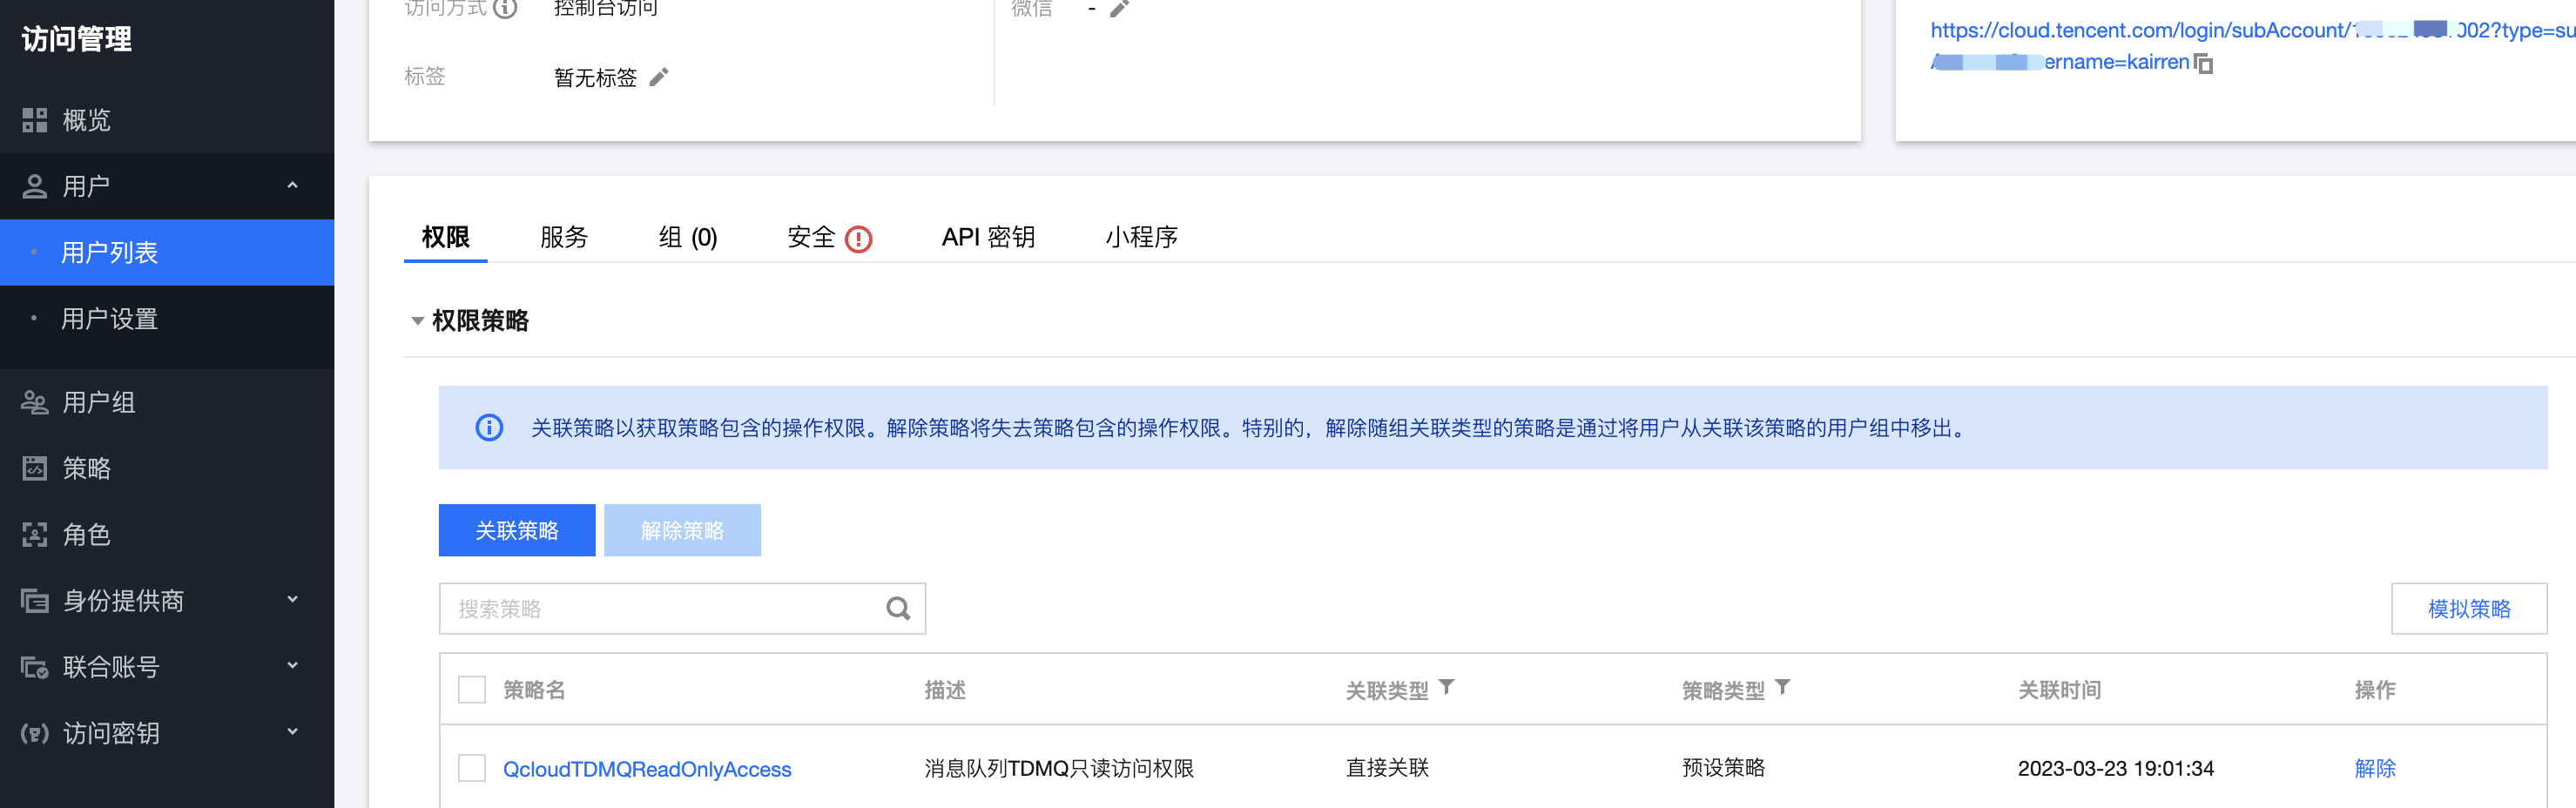
4. Click OK to complete authorization. The policy will be displayed in the policy list of the user.
Granting Read-Only Permissions
Note
After a sub-account is granted read-only permissions, the sub-account will have read-only capabilities for all resources under the root account.
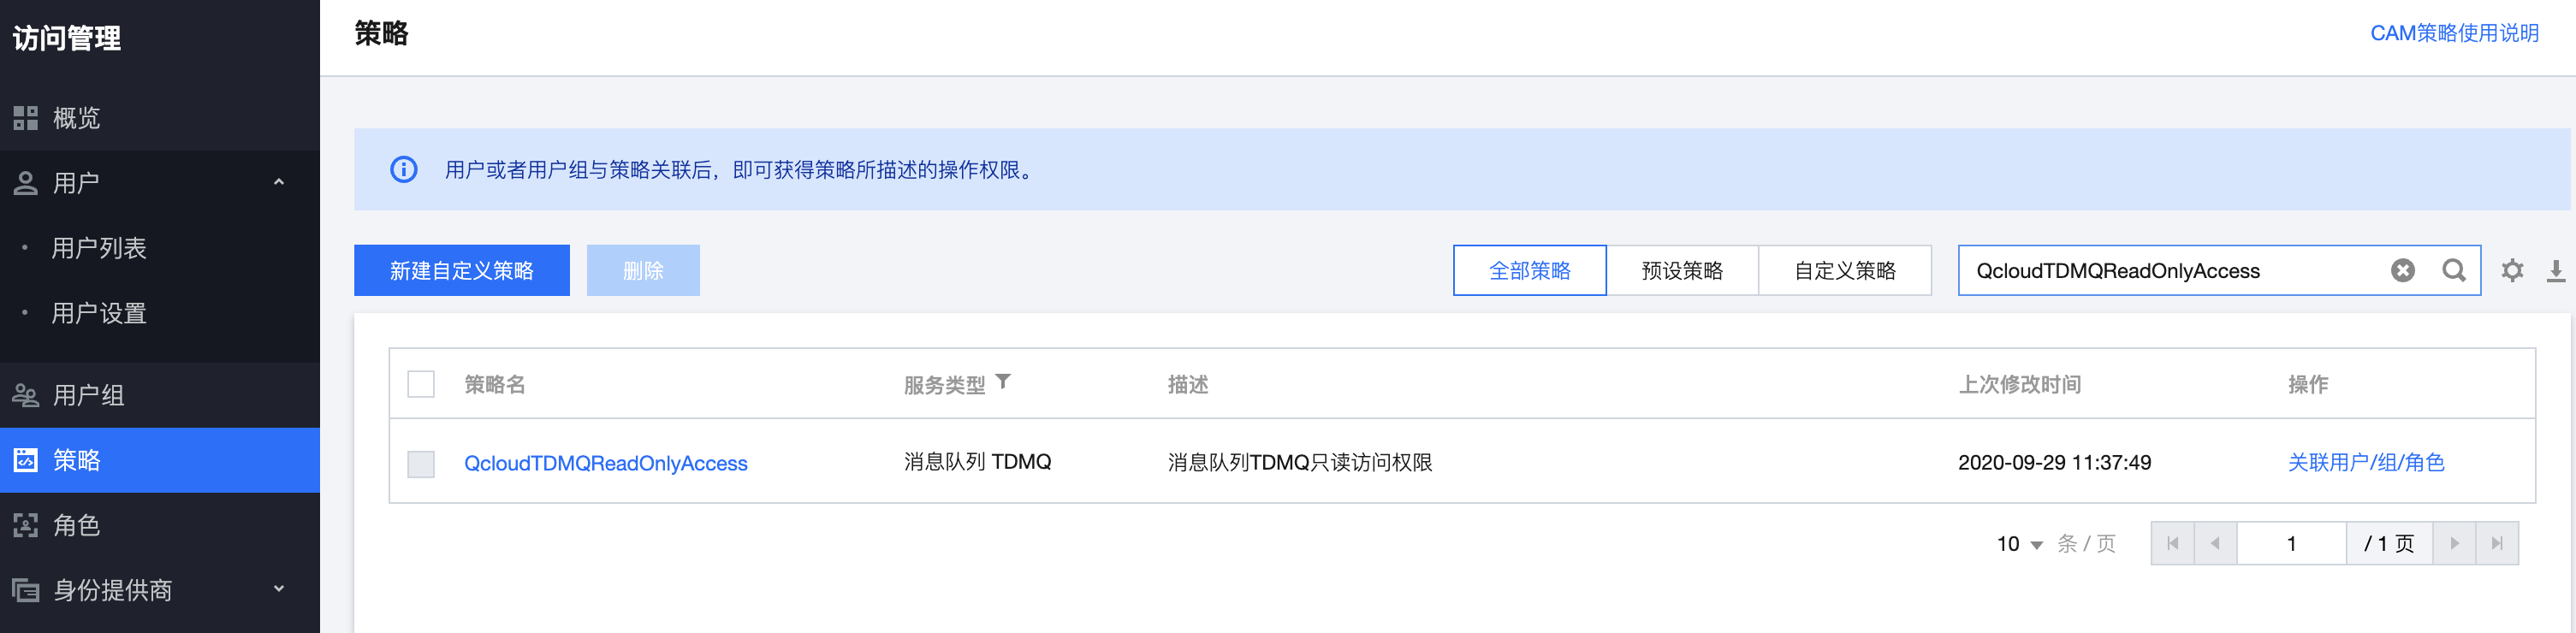
2. In the left sidebar, choose Policy to go to the Policy Management list page. In the search bar on the right, enter Read-Only Access Policy to search for the policy. The policy name is QcloudTDMQReadOnlyAccess.
3. In the search results, click Associate User/Group/Role in the operation column and select the sub-account to which the permissions need to be granted.
4. Click OK to complete authorization. The policy will be displayed in the policy list of the user.