tencent cloud

Chat

제품 소개
제품 개요
Basic Concepts
응용 시나리오
기능 소개
계정 시스템
사용자 정보 및 관계망
메시지 관리
그룹 시스템
Official Account
Audio/Video Call
사용 제한
구매 가이드
과금 개요
요금 안내
Purchase Instructions
Renewal Guide
연체 안내
Refund Policy
다운로드 센터
SDK & Demo 소스 코드
업데이트 로그
시나리오 솔루션
Live Streaming Setup Guide
AI Chatbot
대규모 엔터테인먼트 협업 커뮤니티
Discord 구현 가이드
IM을 게임에 통합하는 방법
WhatsApp Channel-style Official Account Integration Solution
Send Red Packet
Firewall Restrictions
클라이언트 APIs
SDK API(Web)
Android
iOS & macOS
Swift
Flutter
Electron
Unity
React Native
C APIs
C++
서버 APIs
Secure authentication with UserSig
RESTful APIs
Webhooks
콘솔 가이드
New Console Introduction
애플리케이션 생성 및 업그레이드
기본 설정
기능 설정
계정 관리
그룹 관리
Official Channel Management
콜백 설정
모니터링 대시보드
Viewing Guide for Resource Packages
Real-Time Monitor
개발 보조 툴
액세스 관리
Advanced Features
FAQ
uni-app FAQs
구매
SDK 관련 질문
계정 인증
사용자 정보 및 관계망
메시지
그룹
라이브 방송 그룹
닉네임 및 프로필 사진
협약 및 인증
Service Level Agreement
컴플라이언스 인증
IM 정책
개인 정보 보호 정책
데이터 개인 정보 보호 및 보안 계약
에러 코드
문의하기
문서Chat

Solution Two: SDK Integration

포커스 모드
폰트 크기
마지막 업데이트 시간: 2025-02-28 17:32:40

The integration results


Software requirements

Workstation requires Microsoft Edge or Google Chrome browser (Version 70 or above), download links are as follows:

Integration steps

You can follow the steps below for integration:
1. Please refer to Getting Started to activate and configure customer service.
2. You can either run the Demo, or initialize it by yourself.

Execute the Demo

We offer Demos under different frameworks, which can be quickly executed after download:
Vue Demo
Following the download, proceed as guided by the README.md document for execution. You can also continue integrating this into your own project by following the subsequent documentation.

Initialize the SDK

Principles

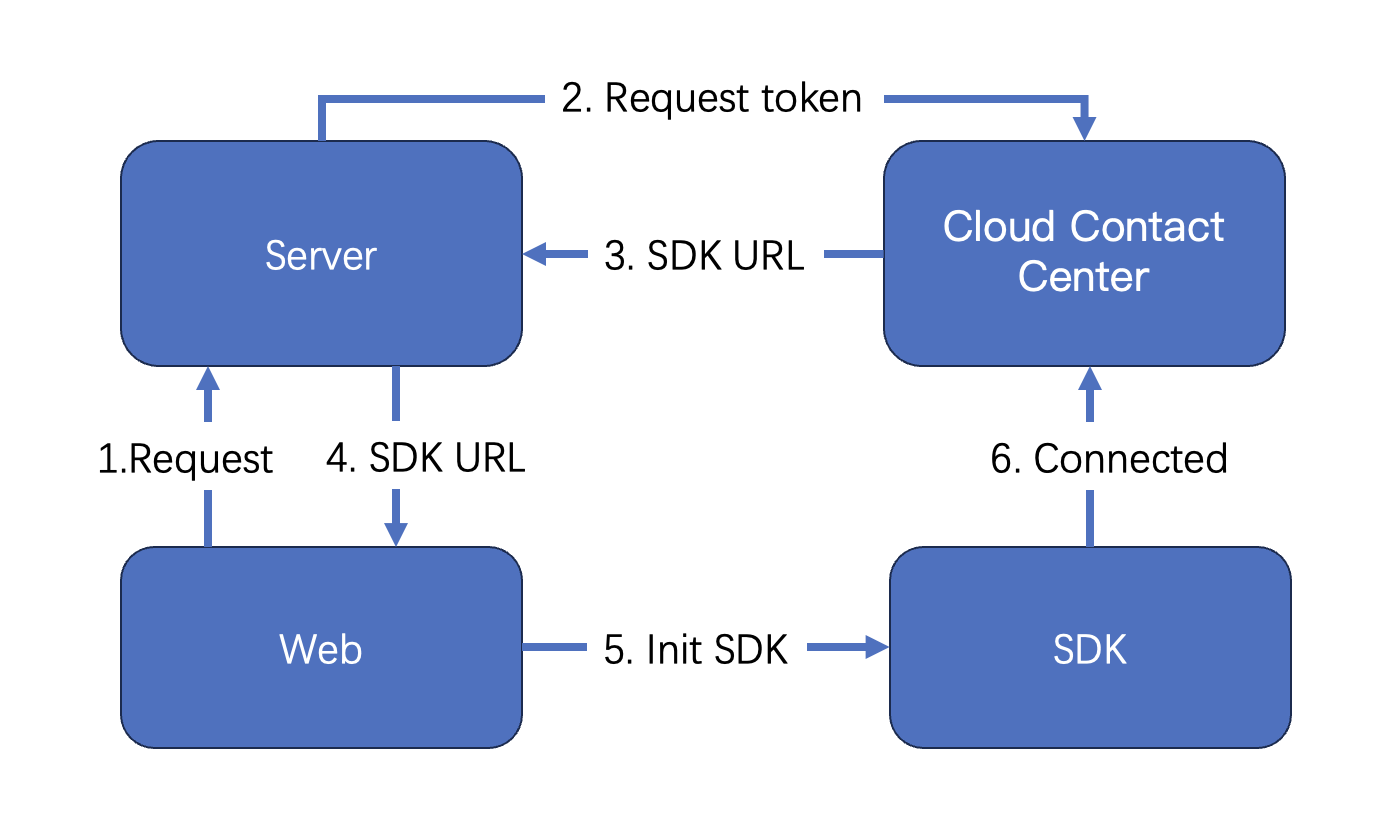
The Customer Service Desk provides a JavaScript SDK to developers. Developers can integrate the SDK into their webpage by including it as a script, thus completing the initialization of the SDK. The schematic diagram of the SDK integration is as follows:
("Tencent Cloud Contact Center" refers to the Customer Service Desk)


Key Concepts

SdkAppId: The appid of the Customer Service Desk you activated, known as SdkAppId, typically begins with 160.
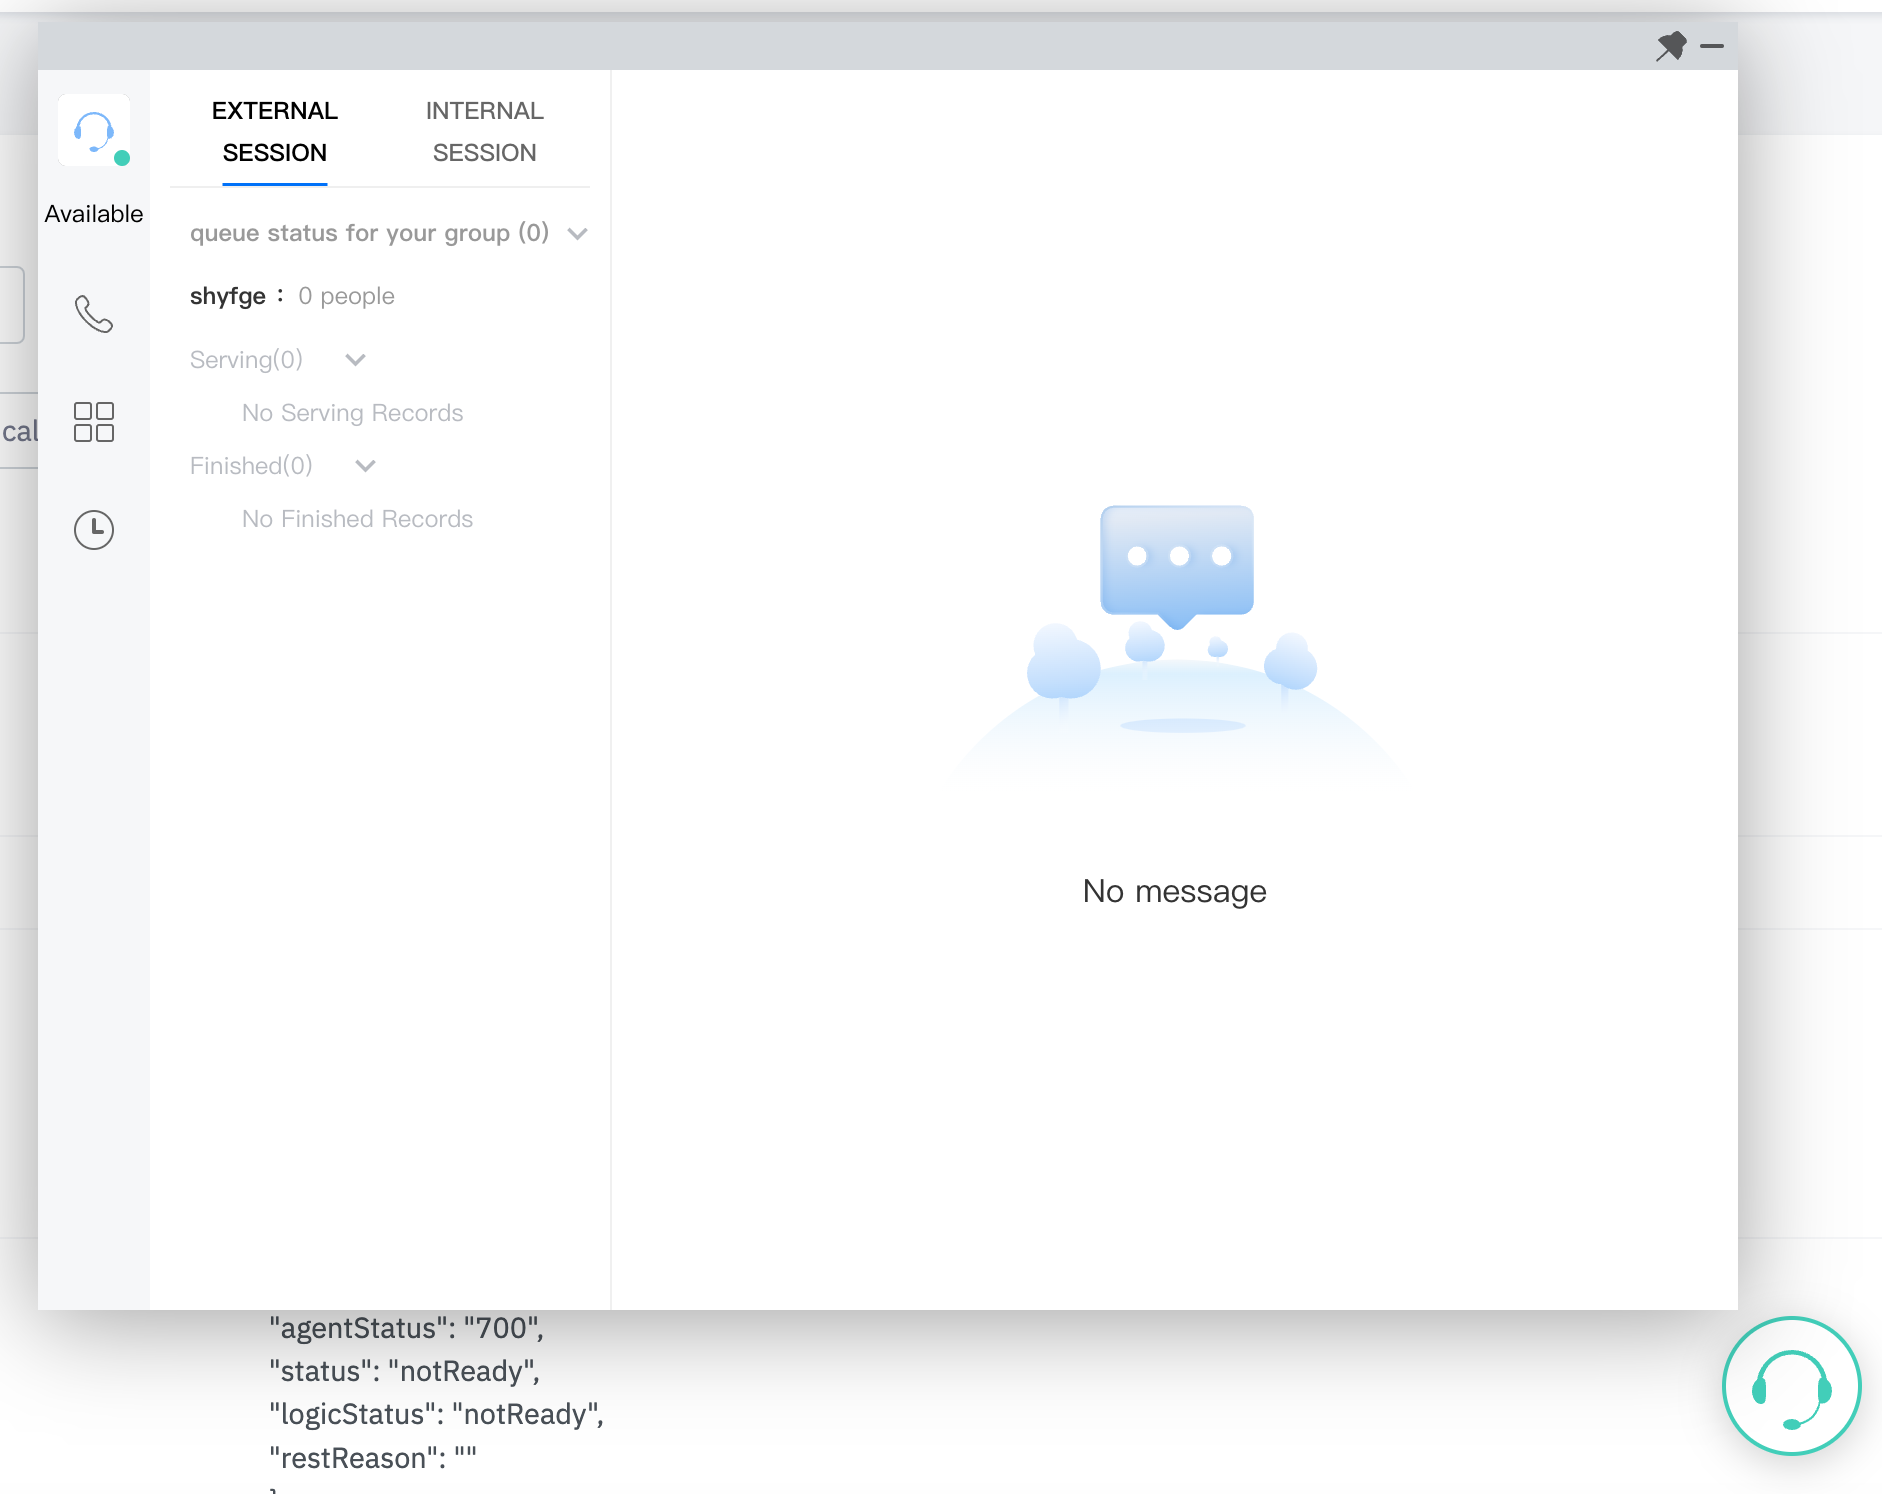
UserID : The accounts of agents or administrators in Tencent Cloud Contact Center are typically in email format. Administrators can refer to Manager Service for adding customer service accounts.
SecretId and SecretKey: Developers need to create SecretId and SecretKey through the Tencent Cloud Console to call cloud APIs.
SDKURL: The JS URL when initializing the Web SDK, created through cloud API. This URL has an effective duration of 10 minutes, so be sure to use it only once. Request its creation when you need to initialize the SDK. Once the SDK is successfully initialized, there is no need to recreate it.
SessionId: A unique ID, SessionId, is used to identify users during usage. Through the SessionId, developers can associate recordings, service records, and event notifications, among other things.

Step 1: Obtain necessary parameters

1. To obtain the SecretId and SecretKey of your Tencent Cloud account, please refer to the GetKey.
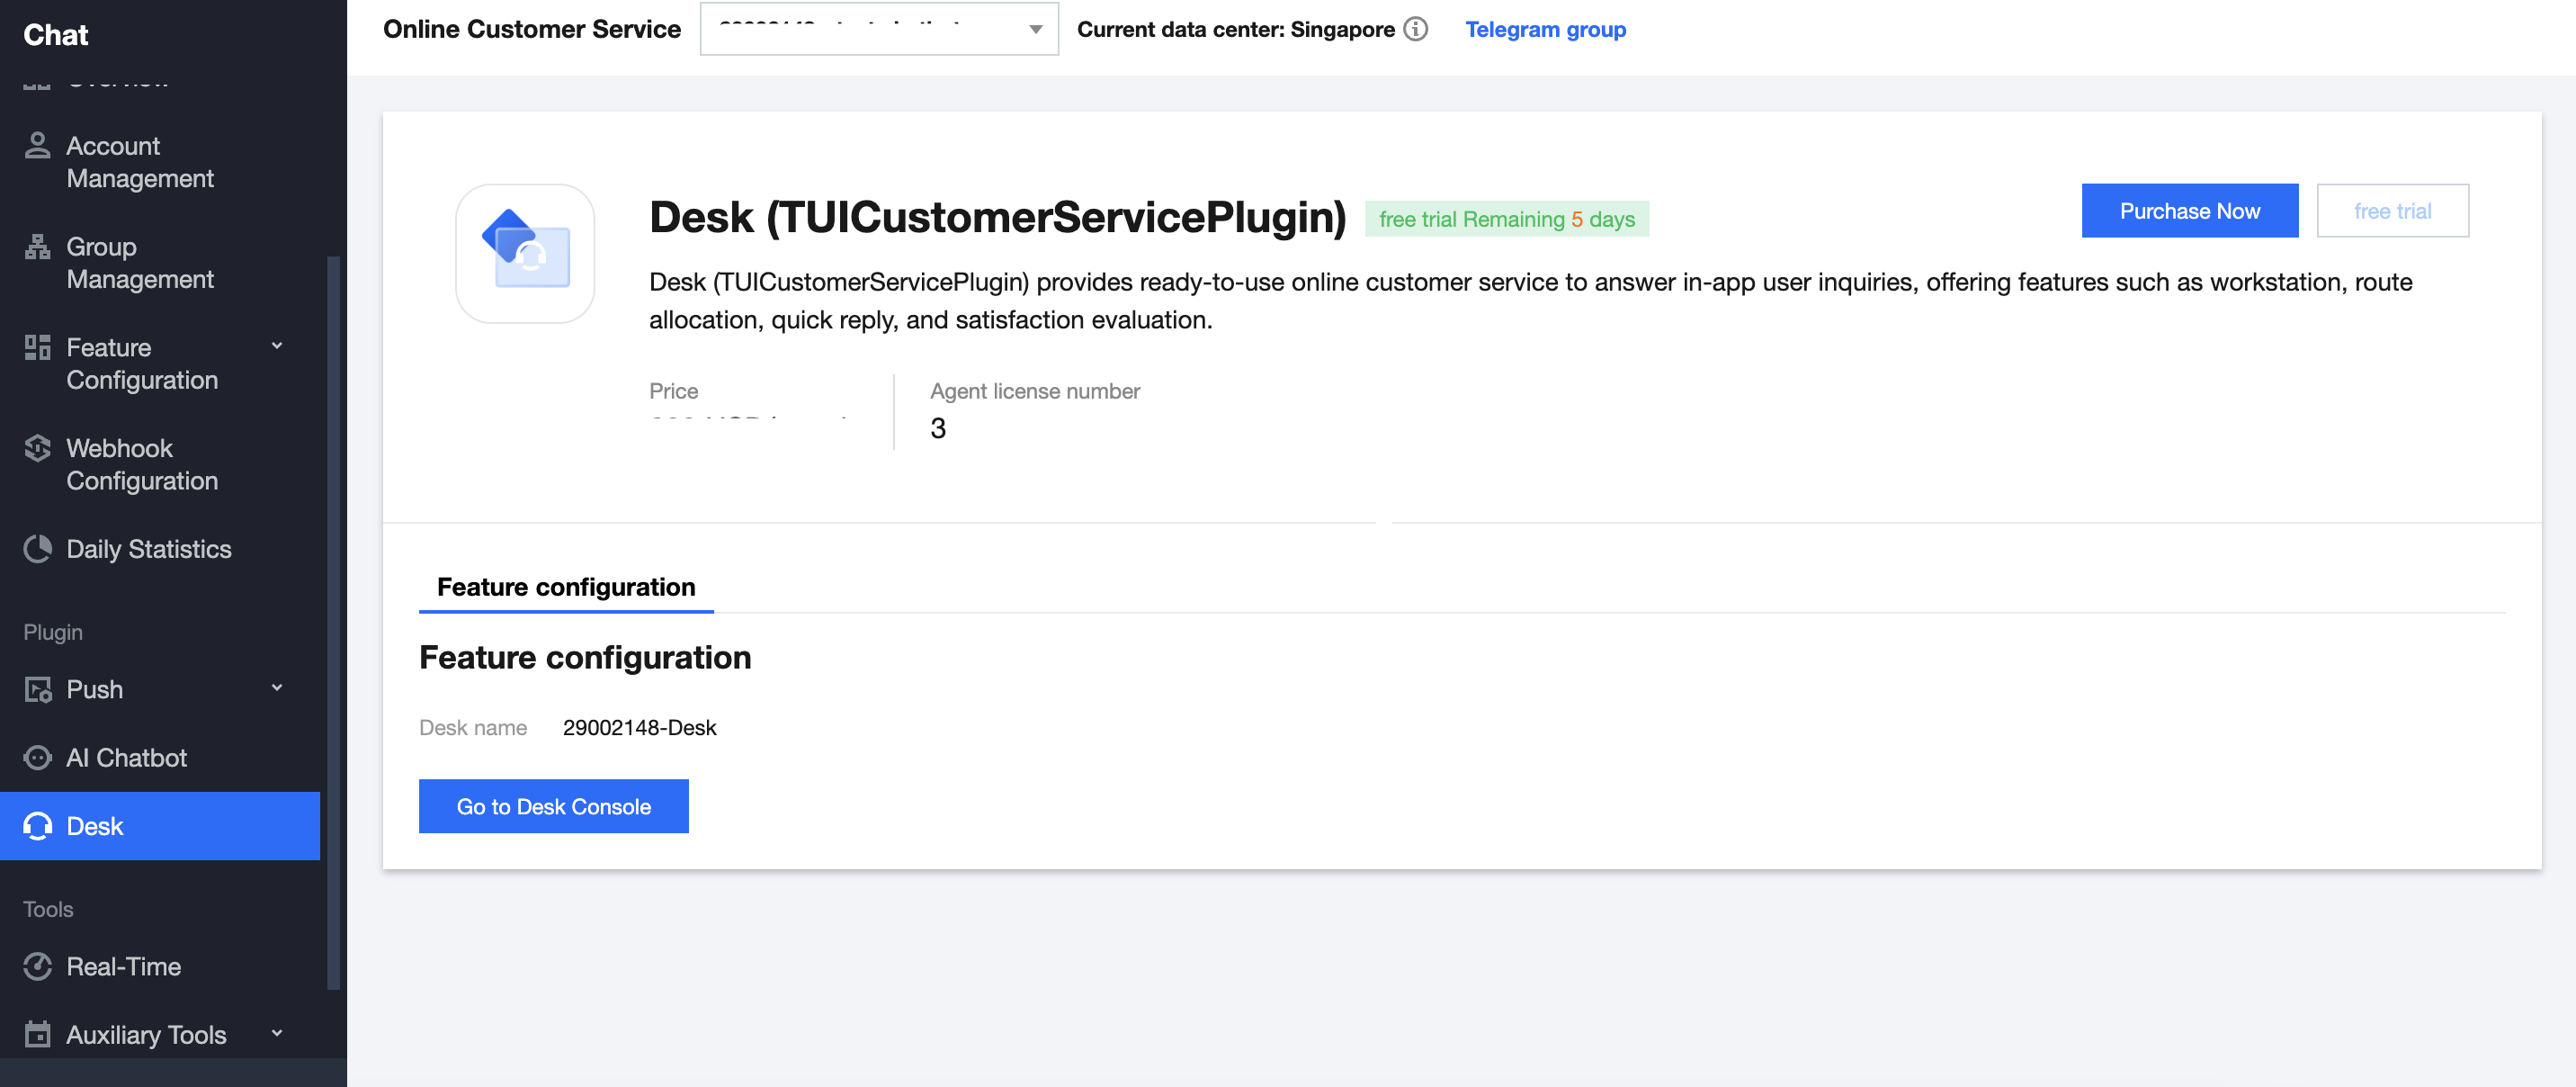
2. To obtain the sdkappid of the customer service desk, go to the 'Function Configuration' page of the customer service desk page and click on 'Go to the Customer Service Plugin Management Console'


3. On the redirected page URL, you can find a number starting with '160,' and that number is the sdkappid for the customer service desk.


Step 2: Obtain SDK URL

Note: This step needs to be implemented through backend development.
1. Import the Tencent Cloud SDK. To see the specific way to import the Tencent Cloud SDK, please visit the Tencent Cloud SDK Center and select the programming language you need.
2. Calling an API: CreateSDKLoginToken .
3. Return the acquired SdkURL to the front-end.
The interface name /loginTCCC will be used in the following text to explain the developed interface in this step.
The code below is an example for Node.js. Please refer to CreateSDKLoginToken for example codes in other languages.
// A version of `tencentcloud-sdk-nodejs` that is 4.0.3 or higher.
const tencentcloud = require('tencentcloud-sdk-nodejs');
const express = require('express');
const app = express();
const CccClient = tencentcloud.ccc.v20200210.Client;

app.use('/loginTCCC', (req, res) => {
const clientConfig = {
// Secret retrieval address: https://console.tencentcloud.tencent.com/cam/capi
credential: {
secretId: 'SecretId',
secretKey: 'SecretKey'
},
region: 'ap-singapore',
profile: {
httpProfile: {
endpoint: 'ccc.tencentcloudapi.com'
}
}
};
const client = new CccClient(clientConfig);
const params = {
SdkAppId: 1600000000, // Please replace with your own SdkAppId
SeatUserId: 'xxx@qq.com' // Replace with the agent account
};
client.CreateSDKLoginToken(params).then(
(data) => {
res.send({
SdkURL: data.SdkURL
})
},
(err) => {
console.error('error', err);
res.status(500);
}
);
})

Step 3: Request to get the SDK URL on the Web frontend and complete the initialization

Note:This step requires front-end developers to integrate.
1. Send a request to the /loginTCCC interface, which was achieved in the second step, to obtain the SdkURL.
2. Insert the SdkURL into the page using the script tag.
3. Once the page receives the event "tccc.events.ready" successfully, you can proceed to execute your business logic.
function injectTcccWebSDK(SdkURL) {
if (window.tccc) {
console.warn('SDK has already been initialized. Please confirm if it is being initialized repeatedly');
return;
}
return new Promise((resolve, reject) => {
const script = document.createElement('script');
script.setAttribute('crossorigin', 'anonymous');
// The DomId that needs to be rendered
// To ensure a complete workspace UI, the rendering Dom has a minimum height of 480px and a minimum width of 760px
// script.dataset.renderDomId = "renderDom";
script.src = SdkURL;
document.body.appendChild(script);
script.addEventListener('load', () => {
// JS SDK file is loaded successfully. You can now use the global variable "tccc"
window.tccc.on(window.tccc.events.ready, () => {
/**
* Once the TCCC SDK is successfully initialized, you can start using functionalities such as event listening and more.
* Caution: Ensure that the SDK is initialized only once
* */
resolve('Successfully initialized')
});
window.tccc.on(window.tccc.events.tokenExpired, ({message}) => {
console.error('Initialization failed', message)
reject(message)
})
})
})
}

// Request the interface implement in the second step /loginTCCC
// Caution: The following is merely code illustration, not advisable to execute directly
fetch('/loginTCCC')
.then(res => res.json())
.then((res) => {
const SdkURL = res.SdkURL; // Ensure SdkURL is always returned through request, otherwise unpredictable errors may occur!
return injectTcccWebSdk(SdkURL);
})
.catch((error) => {
// Initialization failed
console.error(error);
})

Exchange and Feedback

Click here to join the Chat community and enjoy the support of professional engineers to help you solve your challenges.


도움말 및 지원

문제 해결에 도움이 되었나요?

피드백