tencent cloud

Cloud Streaming Services

Release Notes and Announcements
Announcements
User Guide
Product Introduction
Overview
CSS Products
Concepts
Features
Use Cases
Strengths
Use Limits
Purchase Guide
Billing Overview
Basic Service Fee
Value-Added Service Fee
Prepaid plan
Purchase Process
Changing Billing Modes
Refund Policy
Viewing Bills
Renewal
Processing for Overdue Payments
Billing FAQs
Live Video Broadcasting (LVB)
Overview
Use Cases
Getting Started
SDK Integration
Live Event Broadcasting (LEB)
Overview
LEB Versus LVB
Use Cases
Getting Started
SDK Integration
Live Video Caster
Overview
Application Scenarios
Feature Area Introduction
Managing Live Video Caster
General Cloud Director
Configuring Program Lists and Automated Broadcasting
Console Guide
Console Overview
Overview
Domain Management
Stream Management
Package Management
AI Features
Feature Configuration
Relay
Billing Usage Statistics
Monitoring
Toolkit
OOTB live
CAM-Based Access Control
Feature Guide
Push and Playback
Features
Practices in Typical Scenarios
Cloud Native Recording
Live Streaming Security
Global CSS Service
Callback Notifications
User Guides for Common Third-Party Tools
SDK Guide
0. SDK Integration Guide
1. Stream Push
2. Playback
3. Advanced Features
API Documentation
History
Introduction
API Category
Making API Requests
Live Pad APIs
Live Stream Mix APIs
Time Shifting APIs
Monitoring Data Query APIs
Billing Data Query APIs
Live Transcoding APIs
Delayed Playback Management APIs
Domain Name Management APIs
Watermark Management APIs
Certificate Management APIs
Stream Pulling APIs
Recording Management APIs
Live Callback APIs
Screencapturing and Porn Detection APIs
Authentication Management APIs
Live Stream Management APIs
Data Types
Error Codes
Ops Guide
Video Stuttering
Troubleshooting Push Failure
Troubleshooting Playback Failure
CLS Assists in Live Stream Troubleshooting
Troubleshooting High Latency
Troubleshooting Poor Quality of Pulled Video
Authorizing CSS to Store Screenshots in a COS Bucket
Troubleshooting
Live Stream Mixing Error `InvalidParameter.OtherError`
About Pushing
Generating Push URLs
PC Push
Playing Method
Web Player
Live Streaming Quiz
FAQs
Service Region
Live Streaming Basics
Push and Playback
CSS Billing
Global CSS Service
Live Recording
On-Cloud Stream Mix
Domain Configuration
Related to Live Video Caster
Compatibility with Apple ATS
Difference Between Stream Interruption and Stream Suspension
SLA
CSS Service Level Agreement
CSS Policy
Privacy Policy
Data Processing And Security Agreement
Glossary

Managing Live Video Caster

PDF
Focus Mode
Font Size
Last updated: 2025-12-19 20:51:54
The Cloud Streaming Services (CSS) console provides the Live Video Caster (LVC) service. This document describes how to configure and use the LVC and how to manage cloud streaming after activating the LVC service.

Prerequisites

You have activated the LVC service.
You have logged in to the CSS.

Creating a Caster

1. Log in to the CSS console, select Live Video Caster from the left-hand navigation pane.
2. Click Add caster.

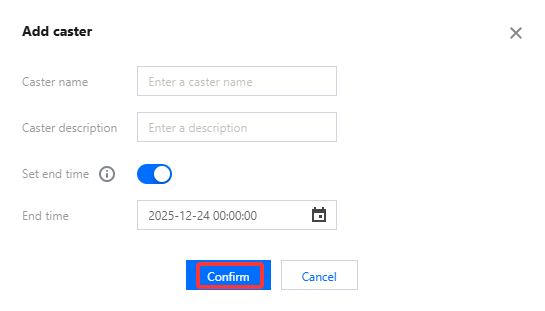
3. On the Add caster page, set the following parameters:
3.1 Caster name: Enter a custom name for the caster.
3.2 Caster description: Enter a description for the caster.
3.3 Set end time: Enabled by default.
3.4 End time: Select a time at which the caster will automatically stop.
Note:
The caster will stop at the set end time, and the preview, output, recording, and relay functions will all stop at that time.
If the end time setting is disabled, the caster will not automatically stop, which will incur unnecessary charges. In this case, you need to manually turn off the live streaming (PGM) to stop the billing.
Closing the console page will not stop the billing.

4. Click Confirm to complete the creation of the caster.
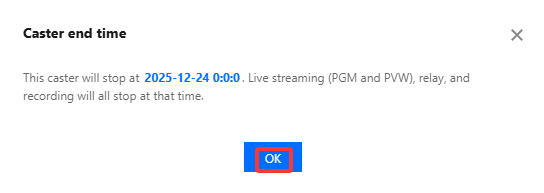
5. If the end time is set, a dialog box pops up asking for your confirmation. Click Confirm.


Opening a Caster

To open the Live Video Caster Console, click Open in the operation column of a caster.


Sharing

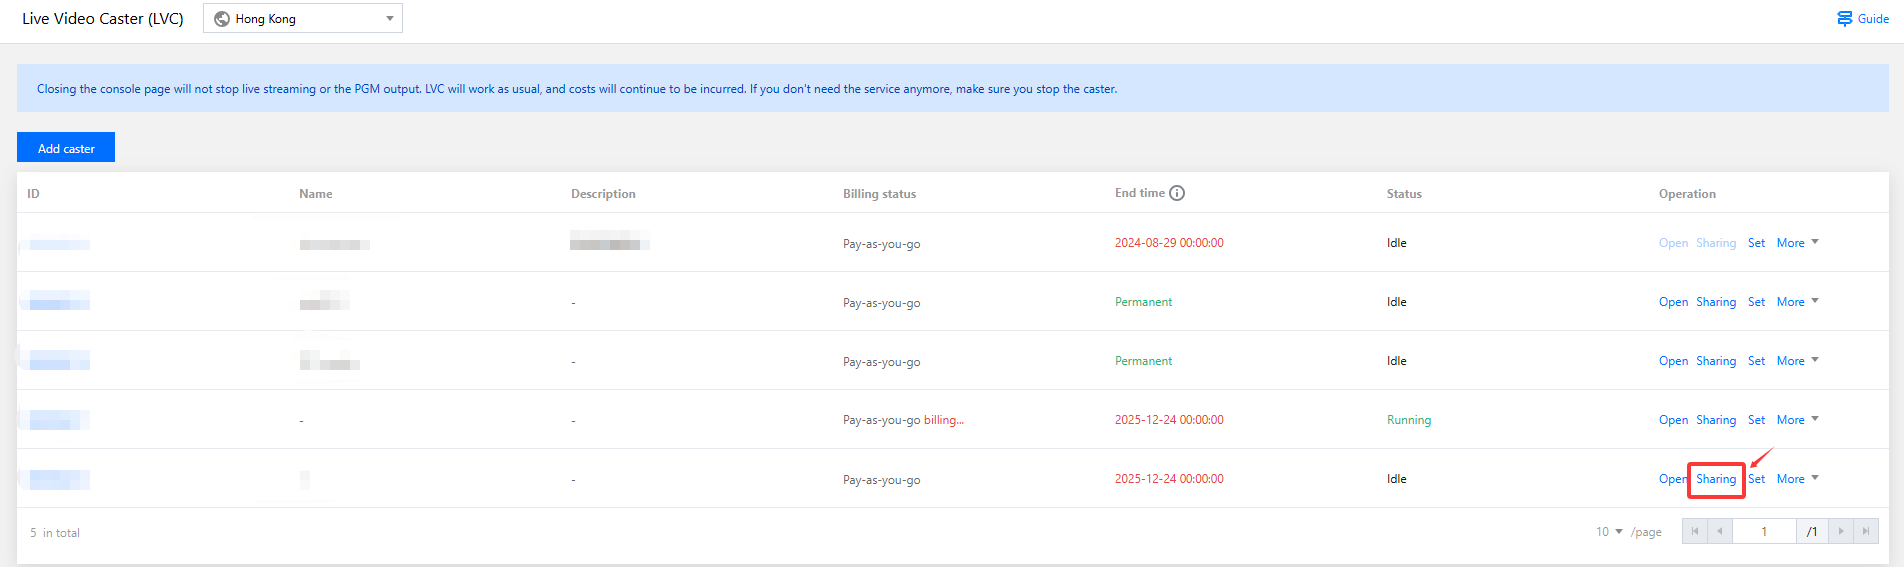
If you need to share the video caster with collaborators, you can click on Sharing in the corresponding director's console operation bar.


Video Caster Main User Perspective

Note:
Users who access the video caster via a shared link will not have their access privileges affected by the primary user.
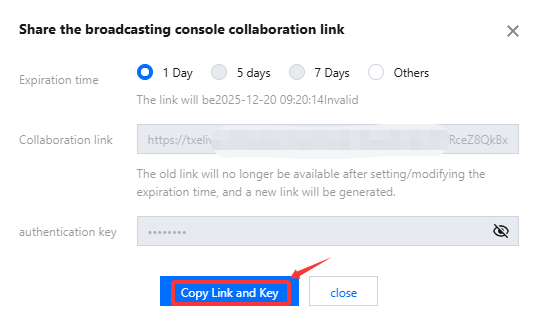
The validity period of the video caster collaboration link is the same as the expiration time set when sharing.
Video Caster supports sharing (Share the broadcasting console collaboration link). Sharing is not possible if the video caster has exceeded its runtime.


Collaborator's perspective

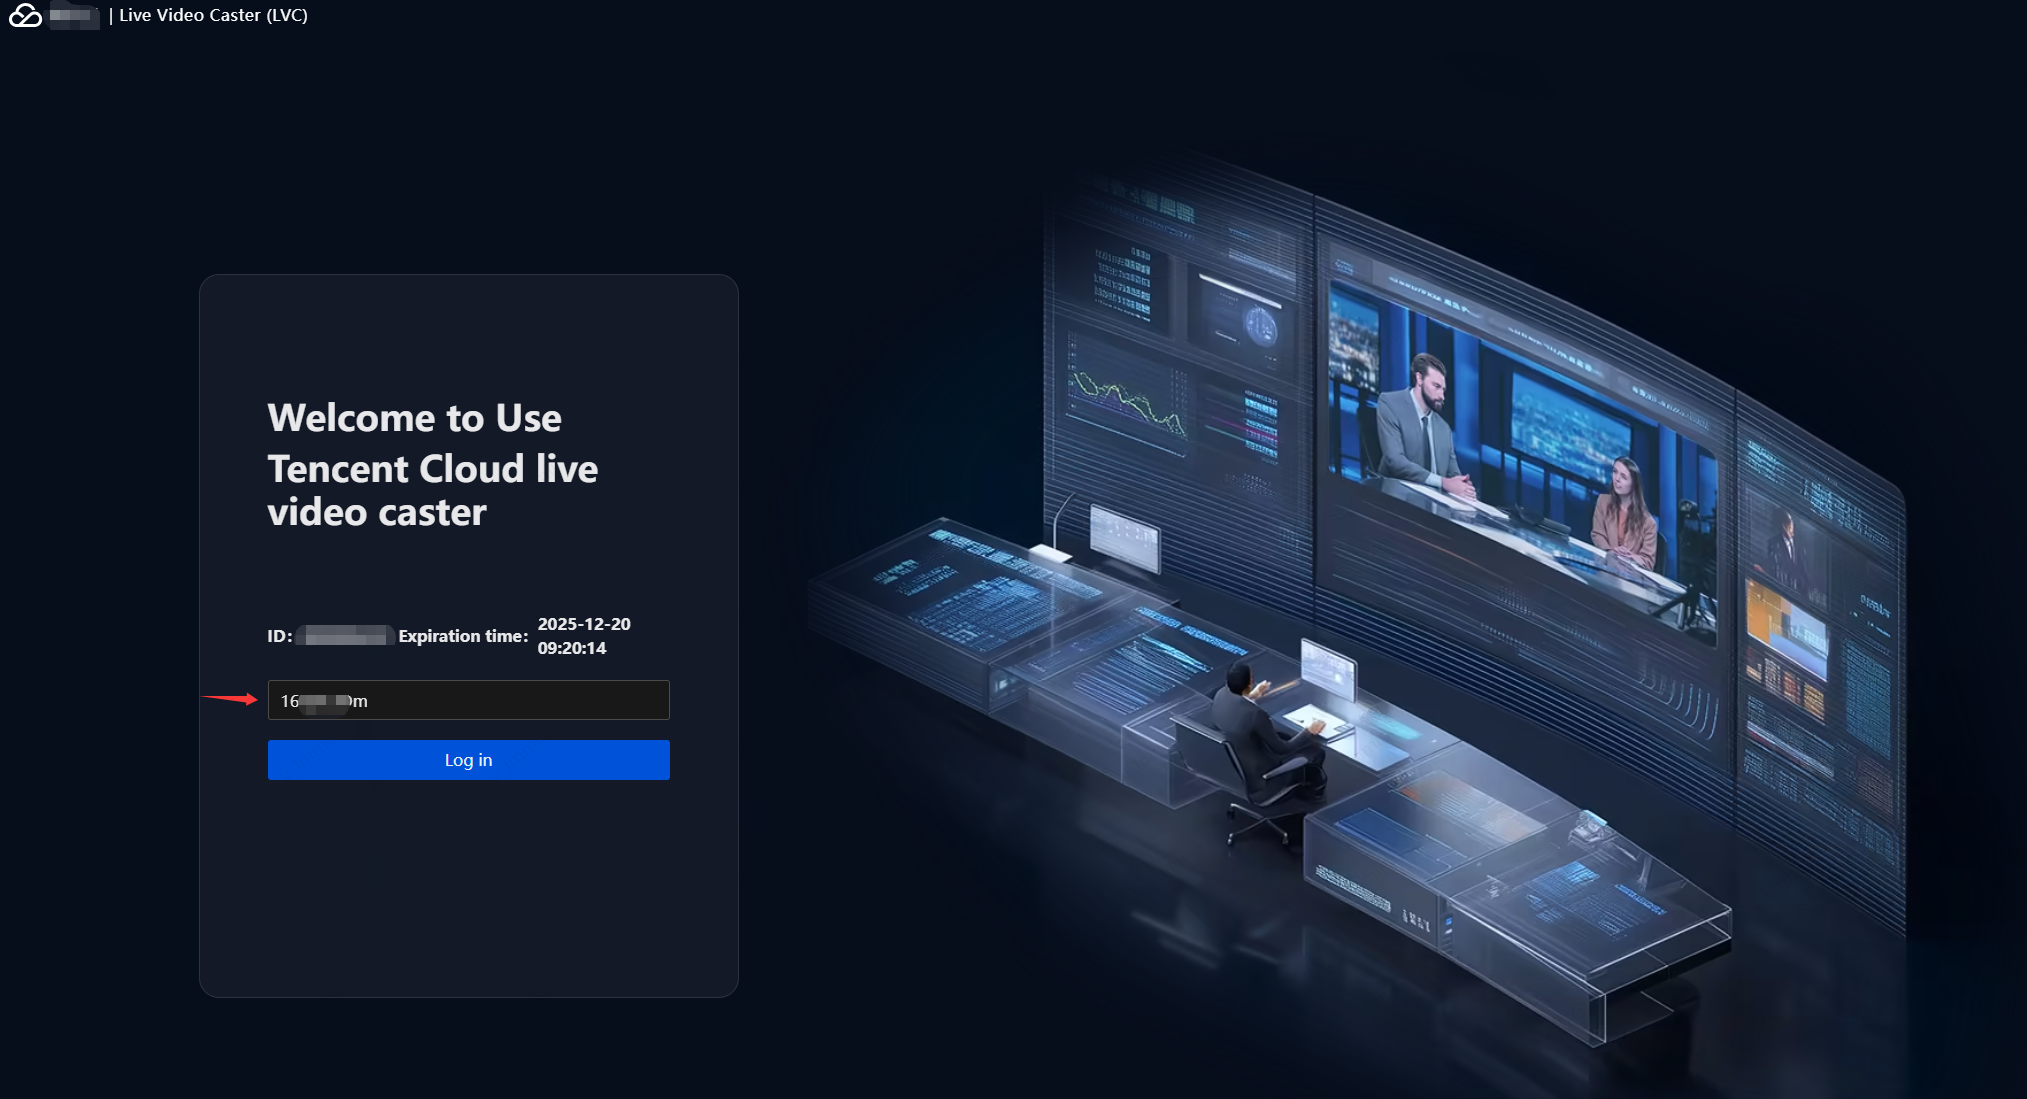
1. After receiving the shared link, collaborators can click it to enter the collaboration interface. Please enter your authentication key to log in.

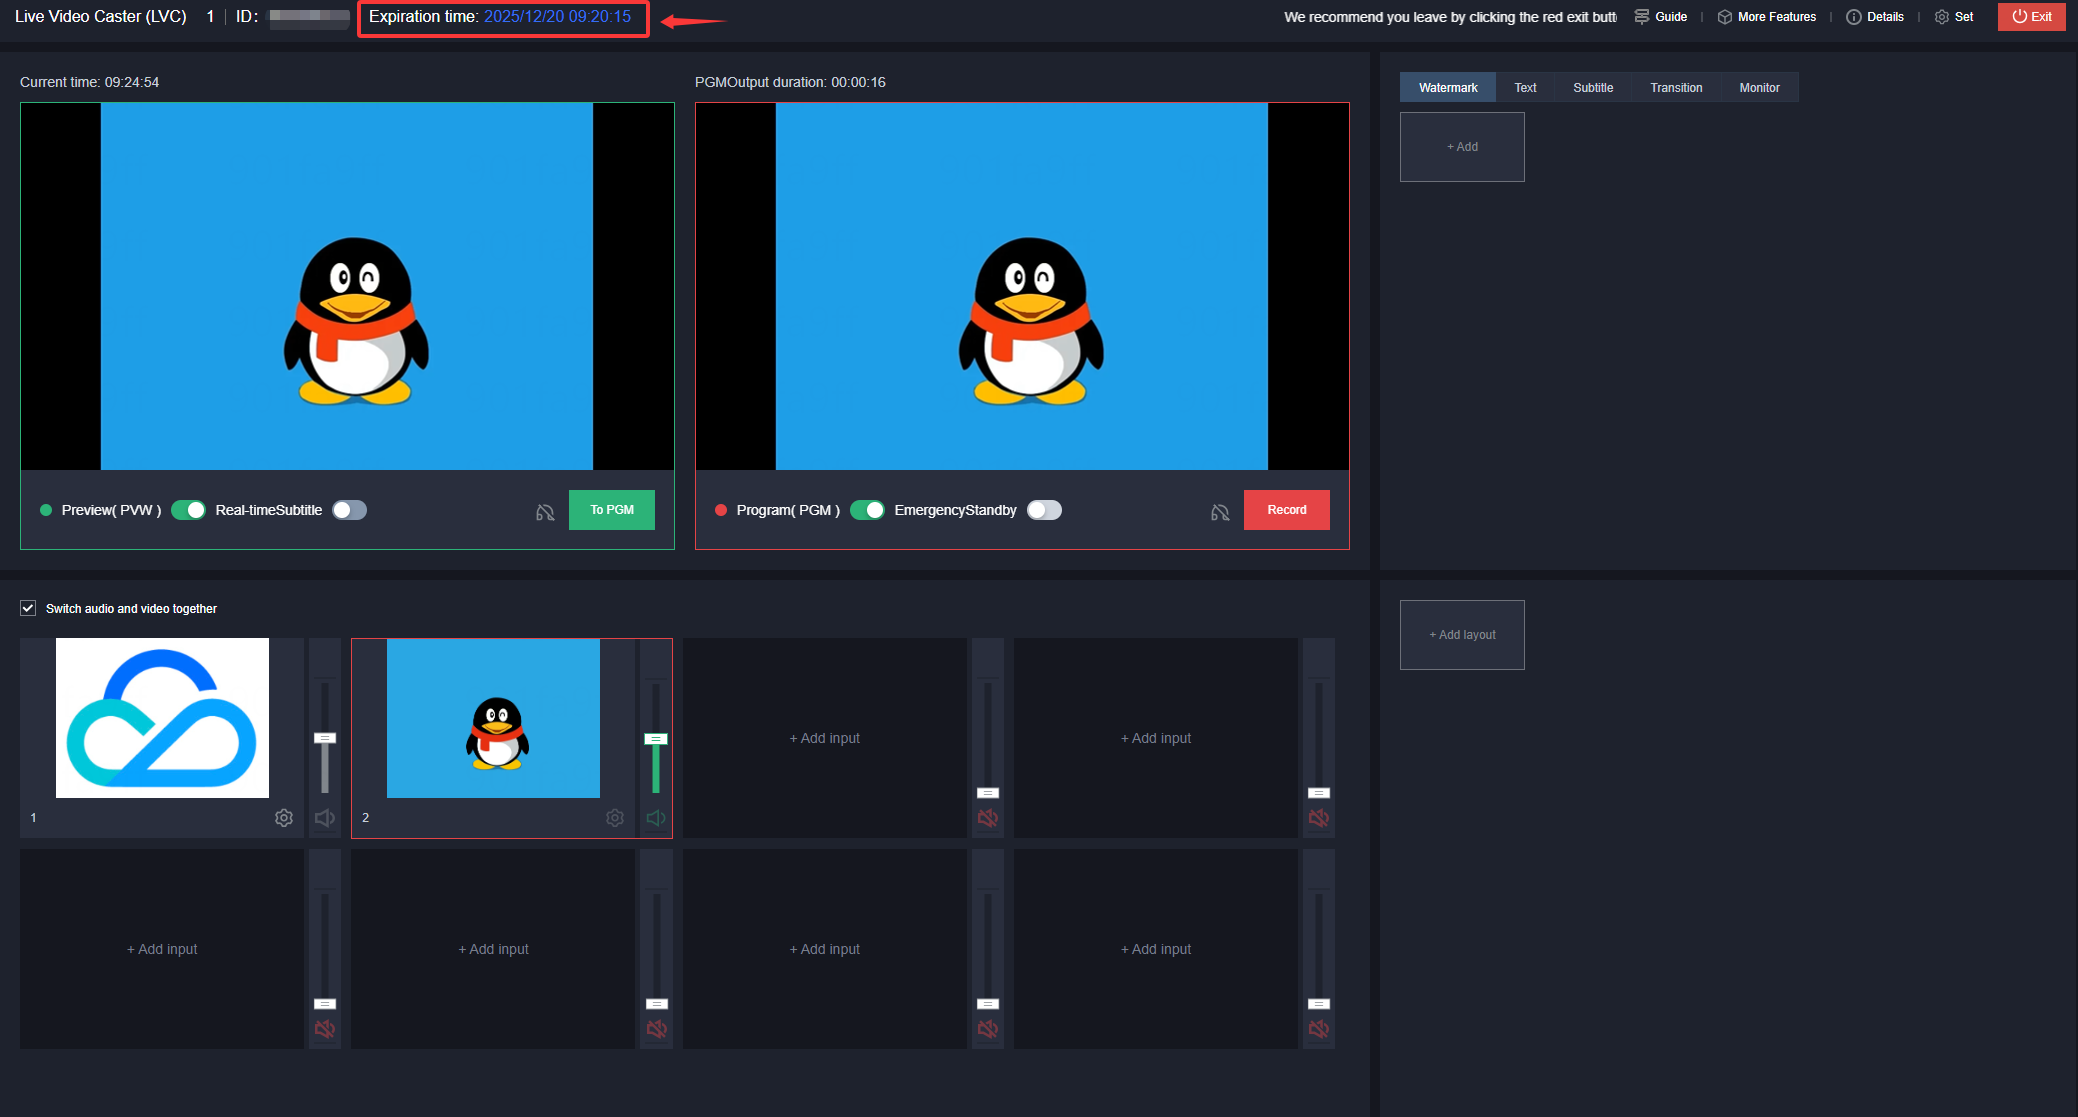
2. After logging in with their authentication key, collaborators will be directly taken to the video caster interface. You can view the link expiration time in the upper left corner of the interface.


Setting a Caster

1. You can view casters you created in the Live Video Caster list.
2. To modify a caster, click Set in the operation column of the caster to enter the caster settings page.

3. After modifying the caster, click Confirm to save the modification.

Copying a Caster

The copy function allows you to quickly duplicate existing caster instances.
1. Go to the Live Video Caster Console, and choose More > Copy in the caster operation column.

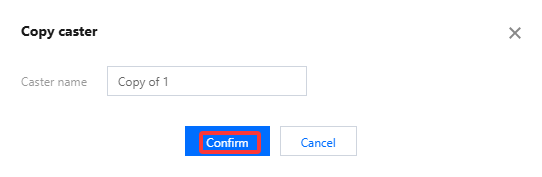
2. The default name of the copied caster is Copy of xx. You can customize the name of the caster. Click Confirm to complete the copy.
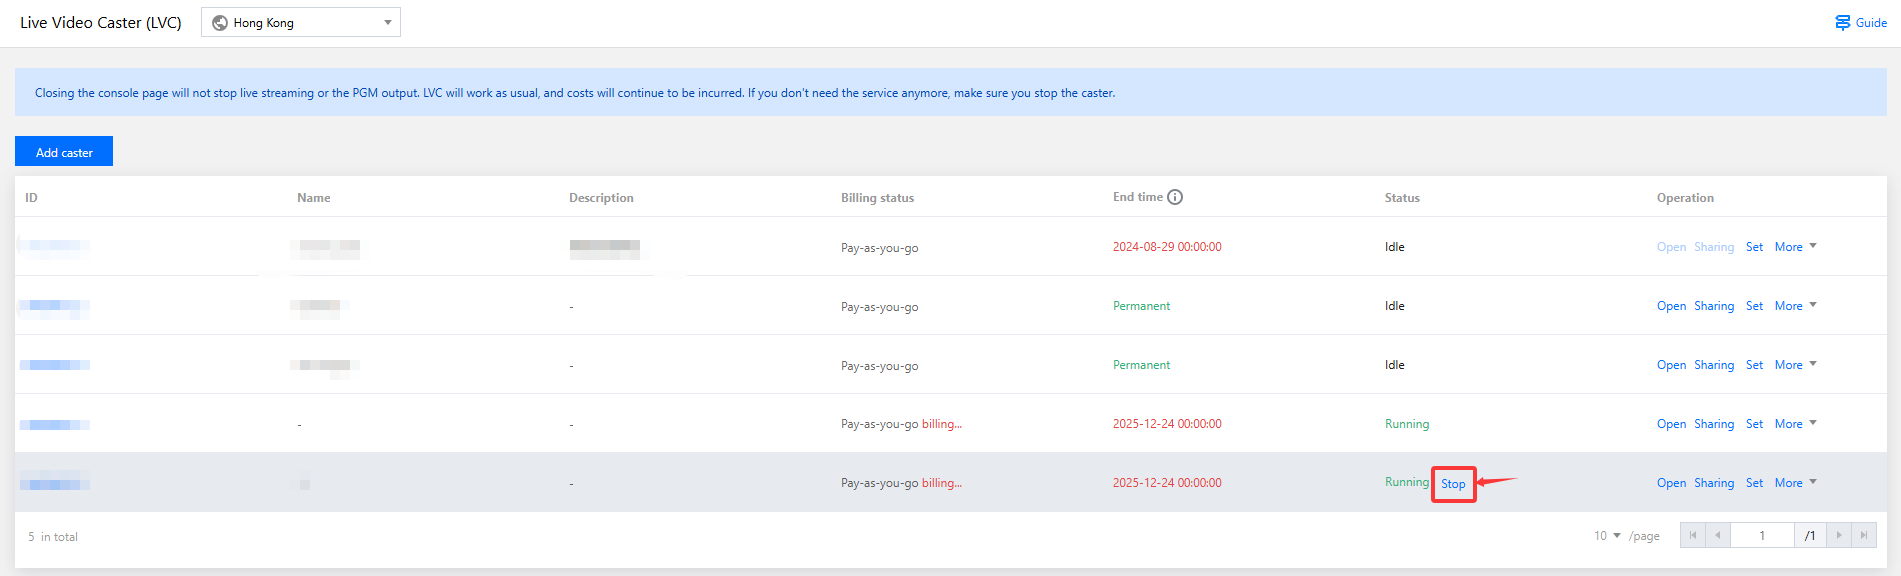

Stopping a Caster

When you are finished using a caster, stop running it in a timely manner. When a caster is stopped, the preview, output, recording, and relay tasks will all stop, but all the LVC settings, including the input, layout, output, and relay settings, will be retained.
1. Go to the Live Video Caster Console and click Stop in the caster status column.

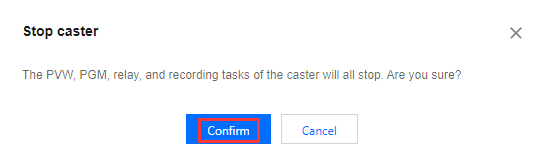
2. A dialog box pops up asking whether to stop running the caster. Click Confirm to stop the caster.


Note:
When a caster is stopped, its status changes from

to

and the billing stops.
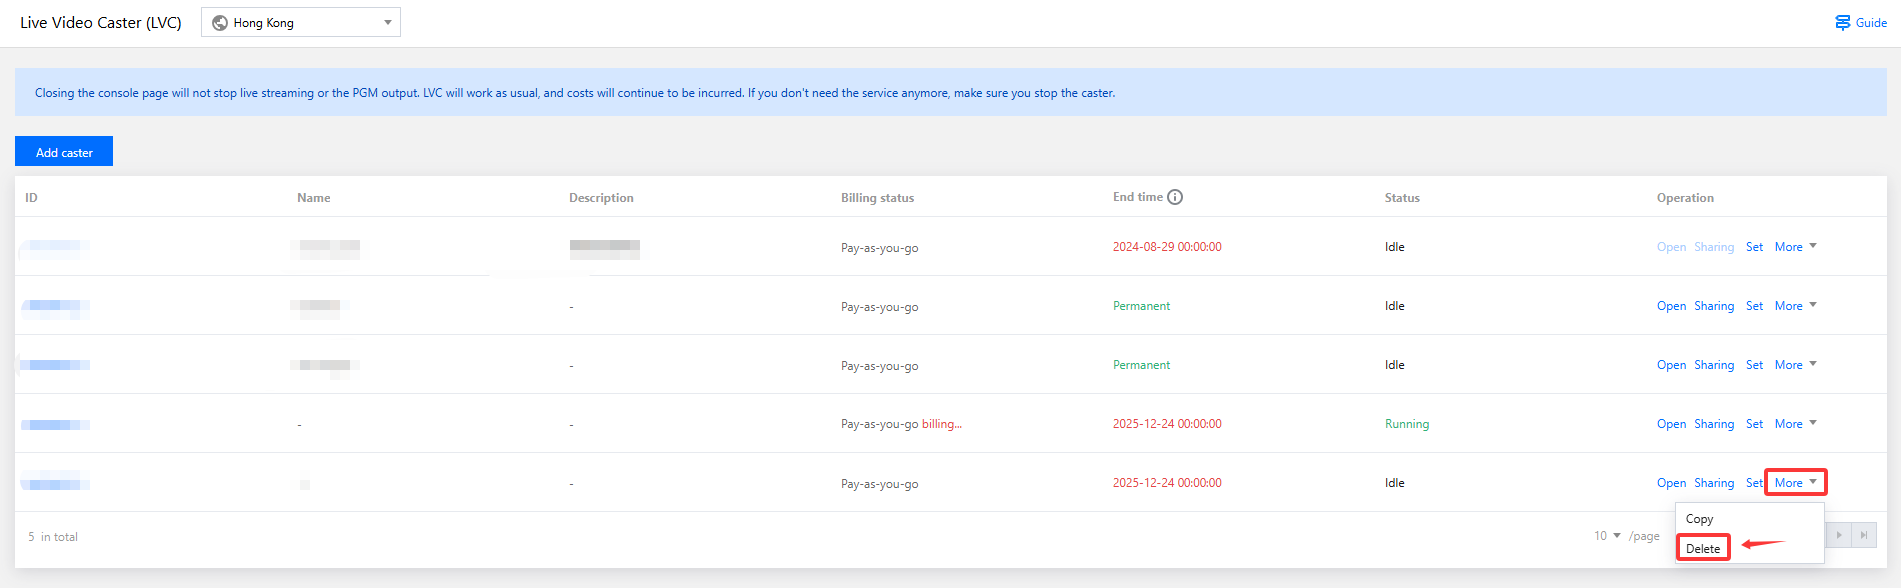
Deleting a Caster

If you no longer wish to maintain a caster, you can delete it. Once a caster is deleted, all its configurations will be deleted, and its preview, output, recording, and relay tasks will stop.
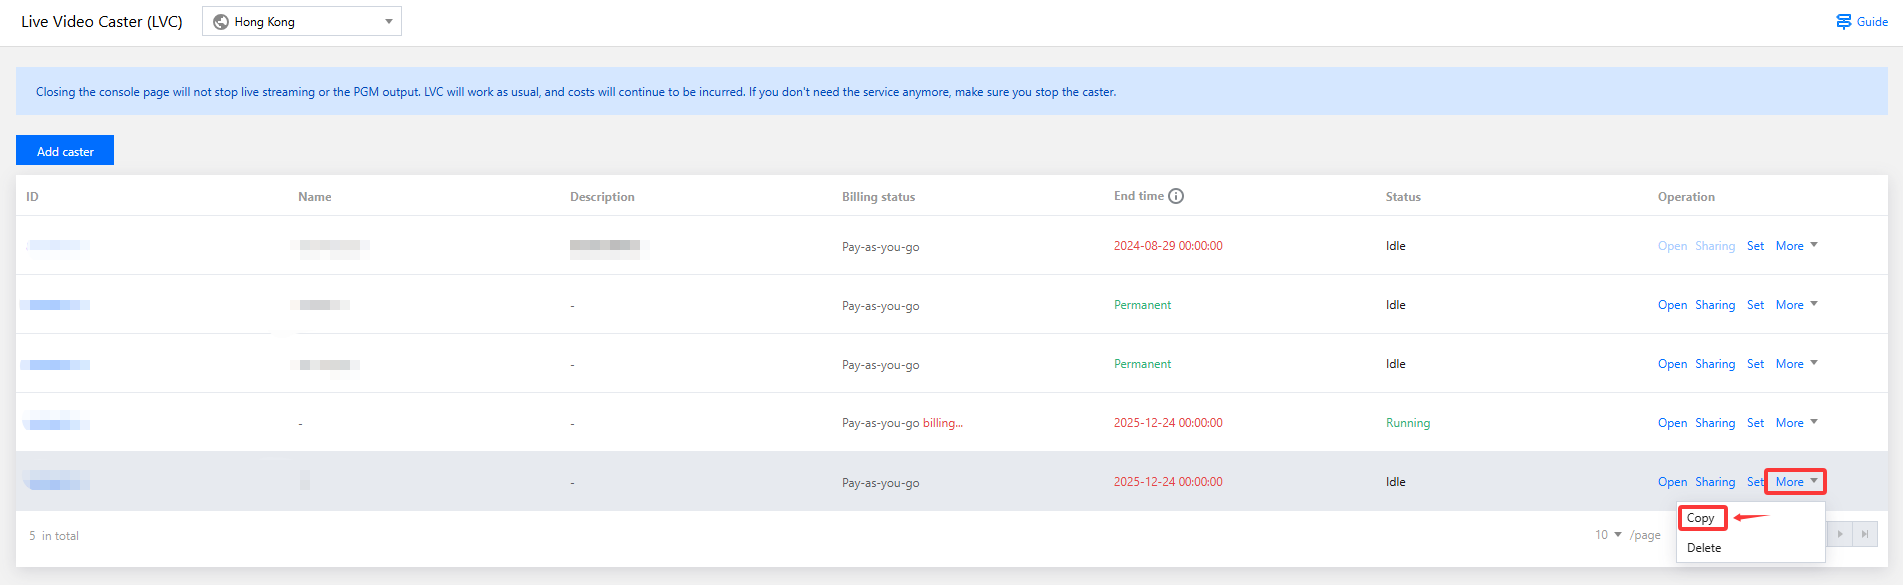
1. In the operation column of the caster you want to delete, choose More > Delete.

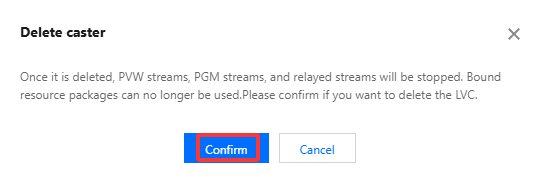
2. In the dialog box that pops up, click Confirm to delete the caster. The deleted caster is no longer included in the instance management page.


Help and Support

Was this page helpful?

Help us improve! Rate your documentation experience in 5 mins.

Feedback