通过 CLB 开启外网服务
Download
聚焦模式
字号
云数据库 MySQL 支持内网和外网两种地址类型,默认提供内网地址供您内部访问实例,如果需要使用外网访问,除了开启外网地址后,通过 Linux 或者 Windows 云服务器连接访问实例,也可通过负载均衡 CLB 开启外网服务进行访问,通过 CLB 开启外网服务必须配置安全组规则。
以下为您介绍通过 CLB 开启外网服务,并通过 MySQL workbench 连接到实例的方法。
前提条件
说明:
通过 CLB 开启外网服务的场景,仅适用于负载均衡 CLB 实例与 MySQL 实例属于同一 VPC 网络,非同一 VPC 网络暂不支持。
步骤1:新购负载均衡
说明:
如果在云数据库 MySQL 同地域已经有负载均衡实例,就可以不用购买。
注意:
地域需选择云数据库 MySQL 所在的地域。
步骤2:配置负载均衡
场景:负载均衡实例与 MySQL 实例处于同一 VPC
1. 打开跨 VPC 访问功能(启用后 CLB 支持绑定其他内网 IP)。
a. 登录 负载均衡控制台,选择地域,在实例管理列表,单击实例 ID,进入实例管理页面。
b. 在基本信息页的后端服务处,单击点击配置。
c. 在弹出的对话框,单击提交即可开启。
2. 配置外网监听端口。
a. 登录 负载均衡控制台,选择地域,在实例管理列表,单击实例 ID,进入实例管理页面。
b. 在实例管理页面,选择监听器管理页,在TCP/UDP/TCP SSL监听器下方,单击新建。
c. 在弹出的对话框,逐步完成设置,然后单击提交即可完成创建。
步骤3:绑定 MySQL 实例
1. 创建好监听器后,在监听器管理页,单击创建好的监听器,然后单击右侧出现的绑定。
2. 在弹出的对话框,选择目标类型为其他内网IP,输入 MySQL 实例的 IP 地址和端口,单击确认完成绑定。
注意:
步骤4:配置 MySQL 安全组
1. 登录 MySQL 控制台,选择地域,在实例列表,单击实例 ID 或操作列的管理,进入实例管理页面。
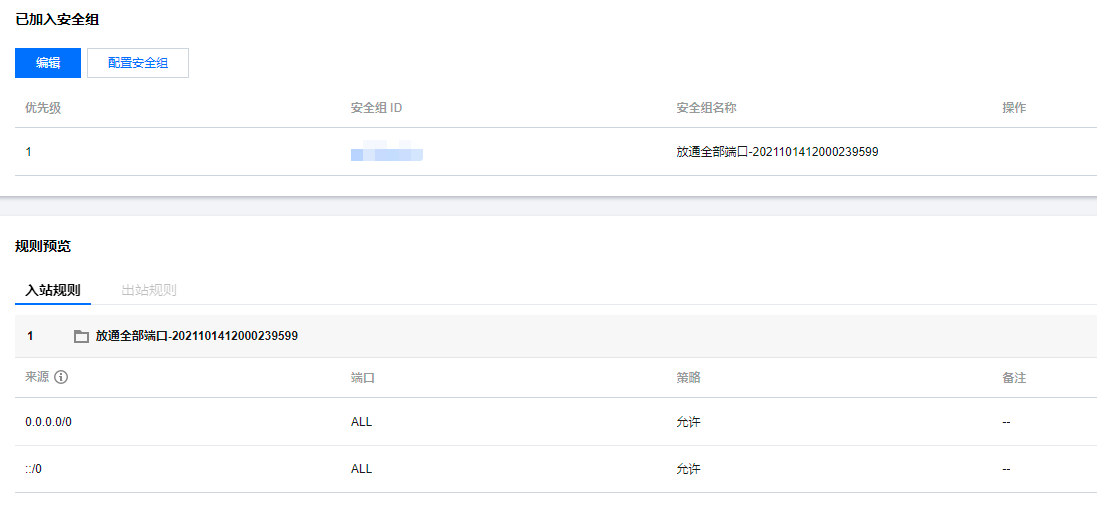
2. 在实例管理页面,选择安全组页,单击配置安全组,配置安全组规则为放通全部端口,确认安全组允许外部 IP 访问,详细配置方法请参见 配置安全组。
步骤5:通过 MySQL Workbench 客户端连接实例
1. 安装 MySQL Workbench,官方下载地址请参见 MySQL Workbench 下载页面。
2. 进入下载页面后单击 MySQL Workbench。
3. 跳转页面后在 Windows (x86, 64-bit), MSI Installer 后单击 Downloads。
4. 单击 No thanks, just start my download。
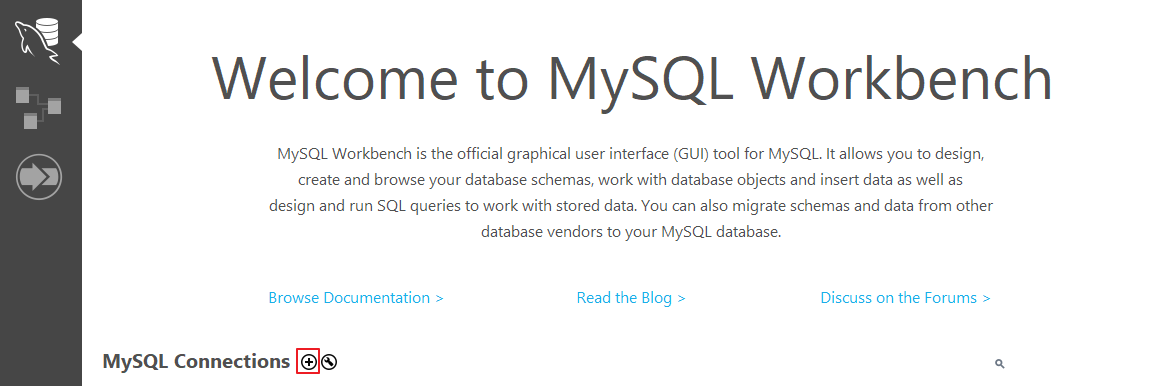
5. 安装完成后打开 MySQL Workbench,在 MySQL Connections 后单击加号添加待连接的实例信息。
6. 在弹出的窗口下,完成如下配置后,单击ok。
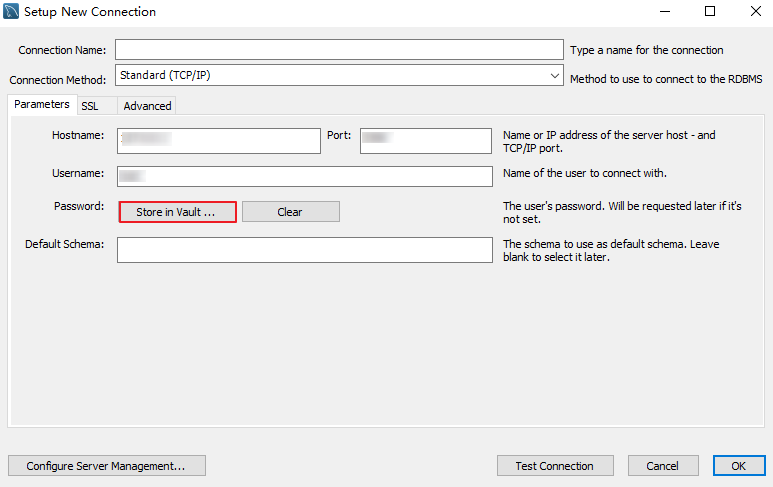
参数 | 说明 |
Connection name | 为此连接命名。 |
Connection Method | 连接方法,选择 Standard(TCP/IP)。 |
Hostname | 输入负载均衡 CLB 实例的地址。在 CLB 实例详情页的基本信息下可查询 VIP 信息。 |
Port | 输入负载均衡 CLB 实例的端口。在 CLB 实例详情页 > 监控器管理下可查询 TCP 端口号。 |
Username | 输入待连接 MySQL 实例的账号名。在实例管理页 > 数据库管理 > 账号管理下创建的账号。 |
Store in Vault... | 输入待连接 MySQL 实例的账号密码并会保存此密码。Username 填写账号对应的密码。 |
7. 返回 MySQL Workbench 首页,单击刚创建的待连接实例信息连接到 MySQL 实例。
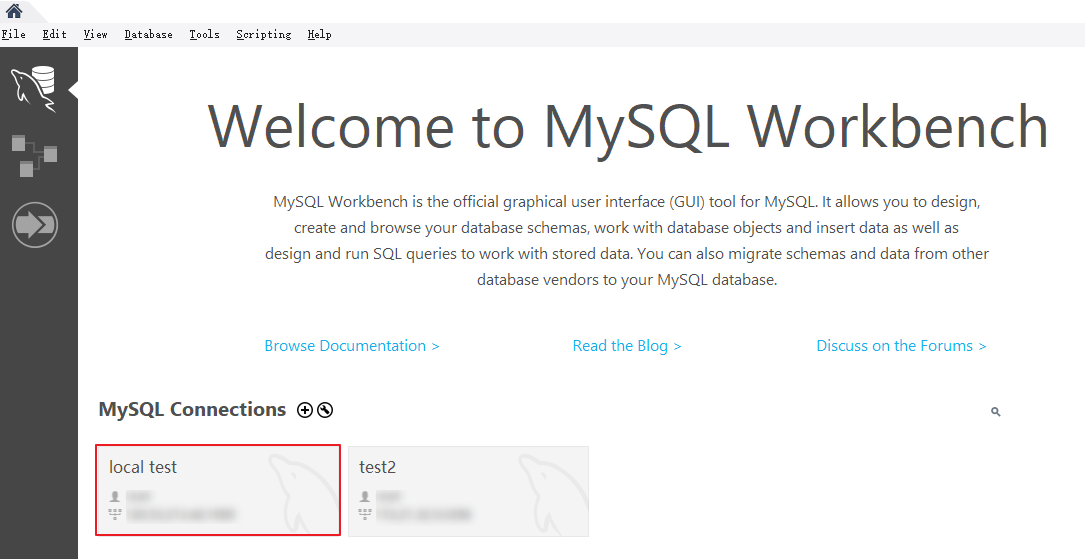
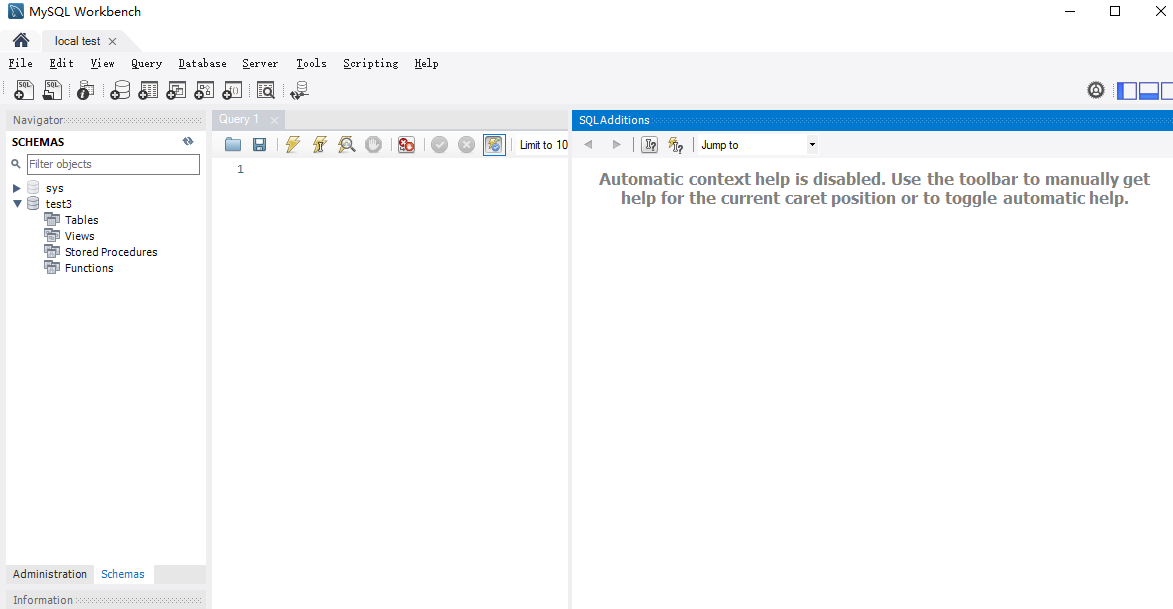
8. 成功连接后的界面如下所示。
文档反馈