Classic CLB routes requests to real server instances that are running normally. This document describes how to add or delete real servers as needed or when you use Classic CLB for the first time.
Prerequisites
Directions
Adding real server to Classic CLB instance
Note:
If a Classic CLB instance is associated with an auto scaling group, CVM instances in the group will be automatically added to the real servers of the Classic CLB instance. When a CVM instance is removed from the auto scaling group, it will be automatically deleted from the real servers of the Classic CLB instance.
2. On the "Instance Management" page, select the Classic Cloud Load Balancer tab.
3. Click Configure Listener in the "Operation" column on the right of the target Classic CLB instance.
4. In the listener configuration module, click Create.
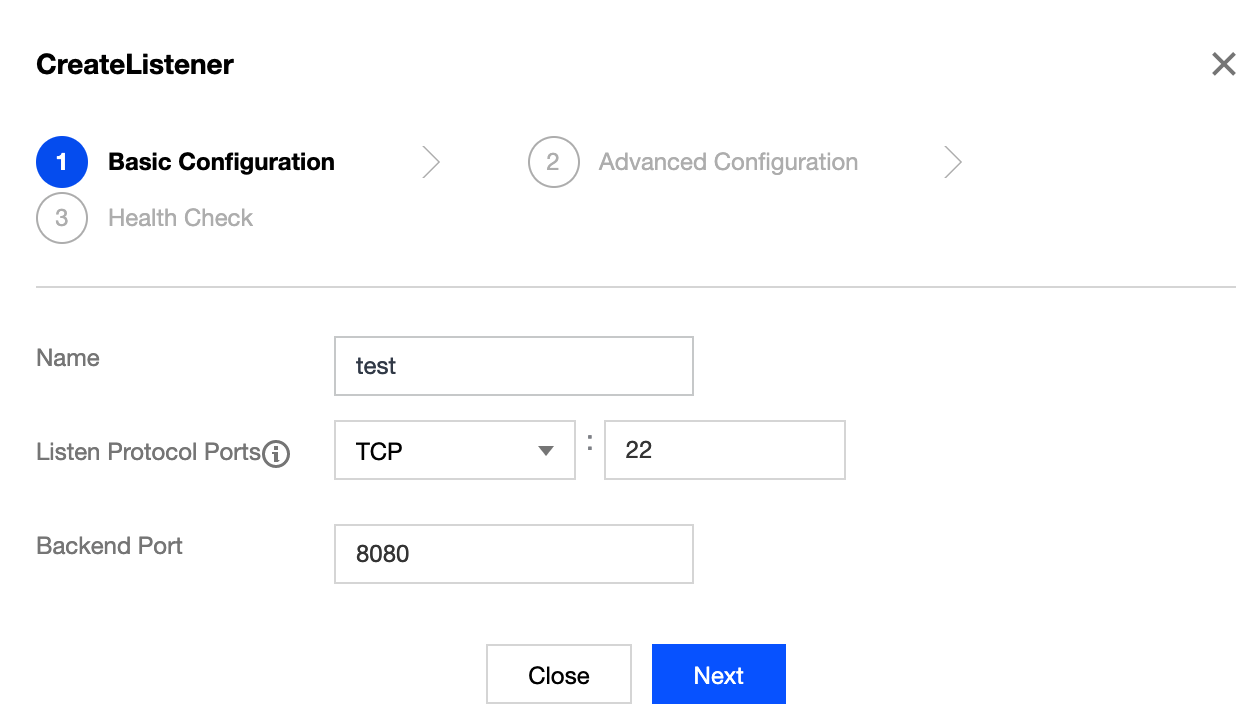
5. In the "Create Listener" pop-up window, enter the "backend port" (for more information on port selection, please see Common Server Ports) and other related fields and click Next to complete the configuration. For more information, please see Configuring Classic CLB. Note:
You need to specify the real server port for Classic CLB during listener creation.
6. After the listener is created, click Bind in the real server binding module.
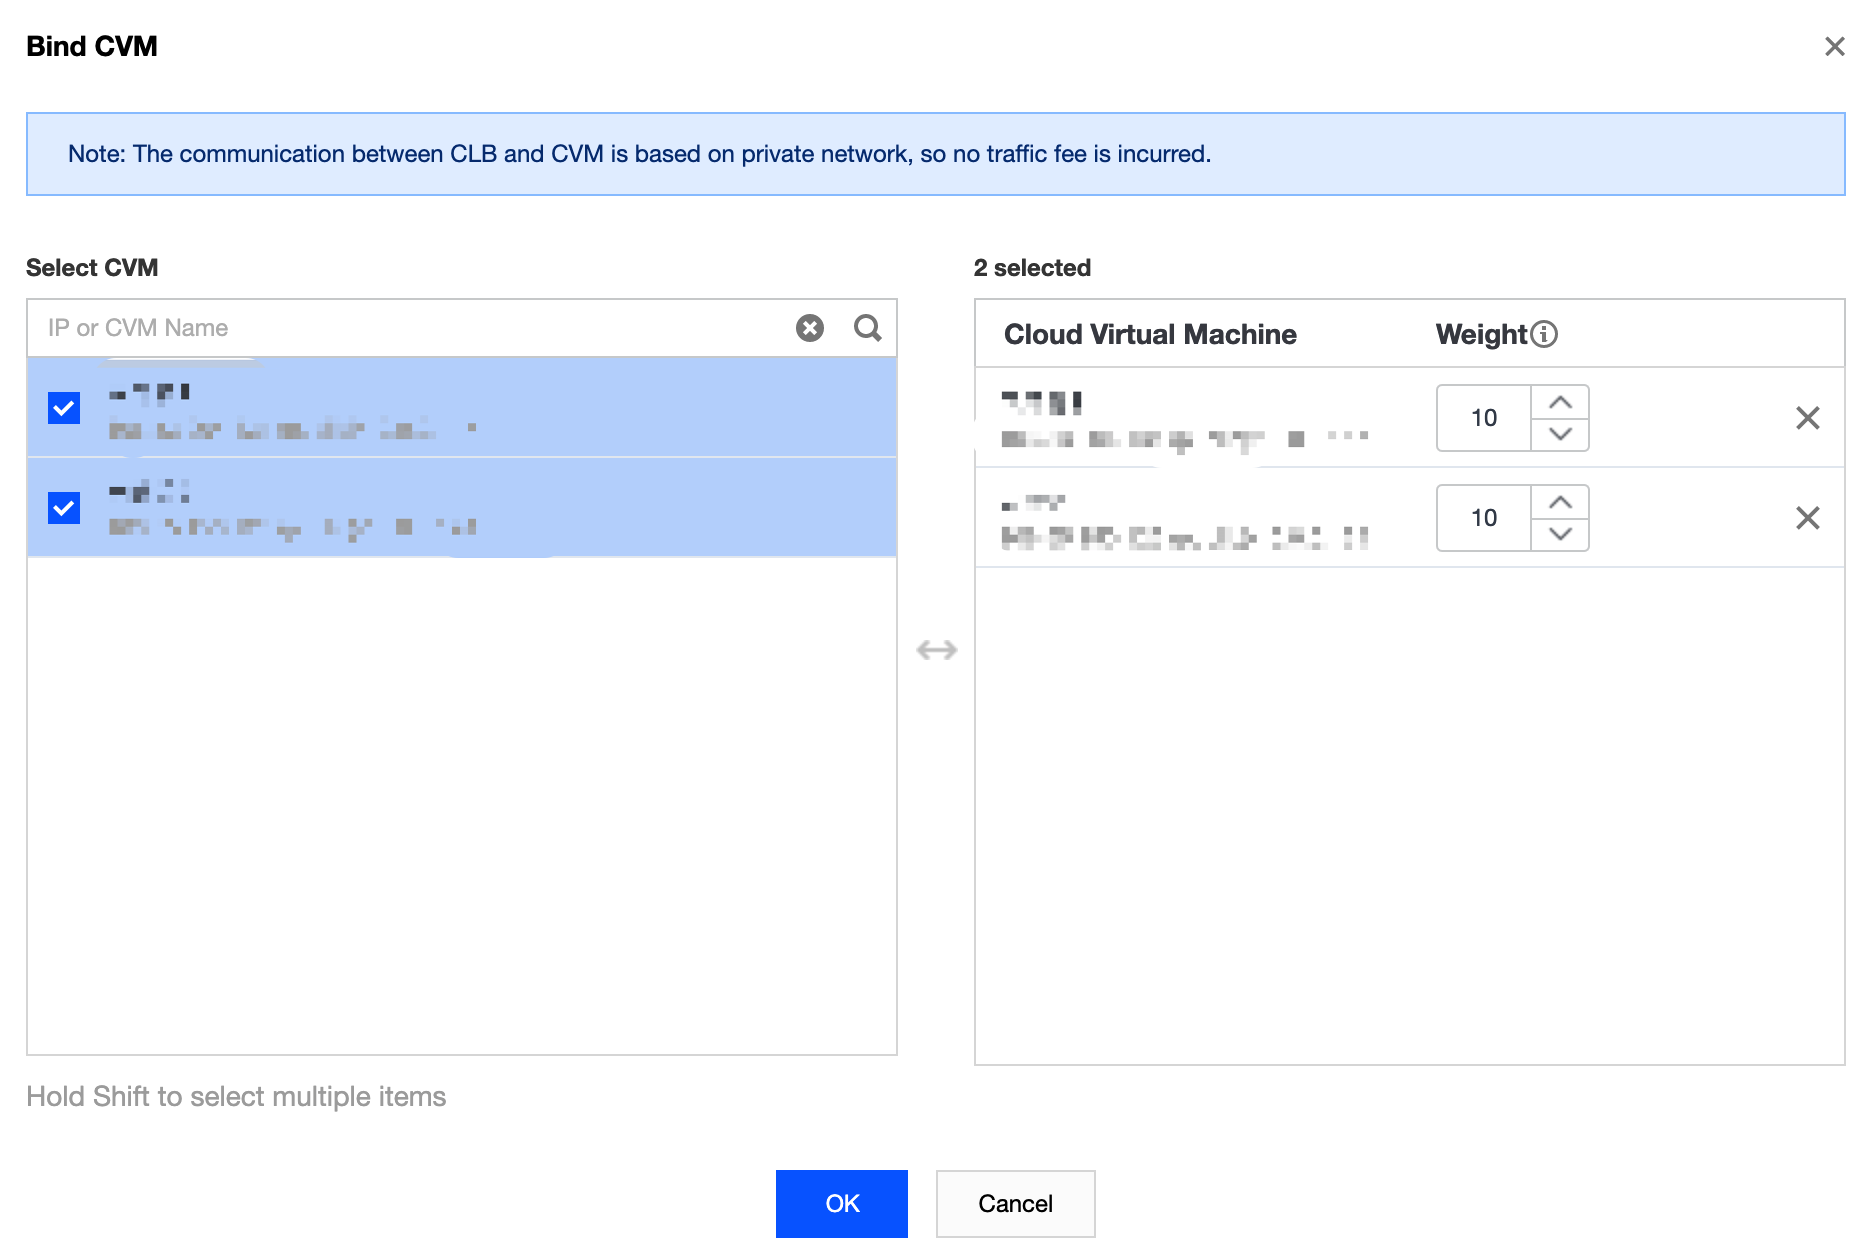
7. In the Bind CVM pop-up window, select the CVM instance to be bound, enter the weight, and click OK.
Note:
The pop-up window only displays available CVM instances in the same region and same network environment that are not isolated and have not expired with peak bandwidth greater than 0.
When multiple real servers are bound, CLB will forward traffic according to the hash algorithm to balance the load.
The greater the weight of a server, the more the requests forwarded to it. The default value is 10, and the configurable value range is 0–100. If the weight is set to 0, the server will not accept new requests. If session persistence is enabled, it may cause uneven request distribution among real servers. For more information, please see Algorithms and Weight Configuration. Modifying real server weight for Classic CLB instance
Note:
Currently, real server weight cannot be modified through APIs for Classic CLB.
2. On the "Instance Management" page, select the Classic Cloud Load Balancer tab.
3. Click Configure Listener in the "Operation" column on the right of the target Classic CLB instance.
4. In the real server binding module, modify the relevant server weight.
Note:
The greater the weight of a server, the more the requests forwarded to it. The default value is 10, and the configurable value range is 0–100. If the weight is set to 0, the server will not accept new requests. If session persistence is enabled, it may cause uneven request distribution among real servers. For more information, please see Algorithms and Weight Configuration. Method 1. Modify the weight of one single server.
4.1.1 Find the server whose weight needs to be modified, hover over the corresponding weight, and click <img src="https://main.qcloudimg.com/raw/4aae0dbec227f8fc18b4a35acf560f62.png" style="margin:0;">.
4.1.2 In the "Modify Weight" pop-up window, enter the new weight value and click Submit.
Method 2. Modify the weight of multiple servers in batches.
Note:
After the batch modification, the servers will have the same weight.
4.1.3 Click the checkbox in front of the servers, select multiple servers, and click Modify Weight at the top of the list.
4.1.4 In the "Modify Weight" pop-up window, enter the new weight value and click Submit.
Unbinding real server from Classic CLB instance
Note:
Unbinding a real server will unbind the Classic CLB instance from the CVM instance, and Classic CLB will stop forwarding requests to it immediately.
Unbinding a real server will not affect the lifecycle of your CVM instance, which can be added to the real server cluster again when necessary.
2. On the "Instance Management" page, select the Classic Cloud Load Balancer tab.
3. Click Configure Listener in the "Operation" column on the right of the target Classic CLB instance.
4. In the real server binding module, unbind the bound server.
Method 1. Unbind one single server.
4.1.1 Find the server that needs to be unbound and click Unbind in the Operation column on the right.
4.1.2 In the "Unbind Real Server" pop-up window, confirm the server to be unbound and click Submit.
Method 2. Unbind multiple servers in batches.
4.1.3 Click the checkbox in front of the servers, select multiple servers, and click Unbind at the top of the list.
4.1.4 In the "Unbind Real Server" pop-up window, confirm the servers to be unbound and click Submit.