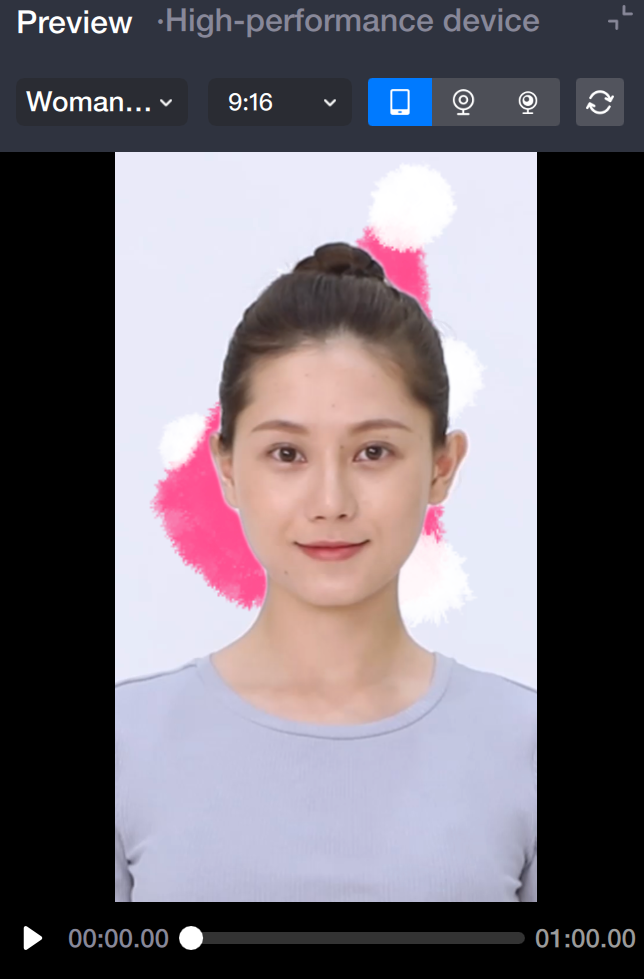
Background segmentation separates the primary subject from the surrounding background in images or videos, resulting in a crisp outline around the subject. For example, the portrait cutout feature in Photoshop is a basic application of background segmentation. Tencent Effect leverages AI algorithms to enable real-time background segmentation for video streams.
Basic Usage
Step 1: Import Assets
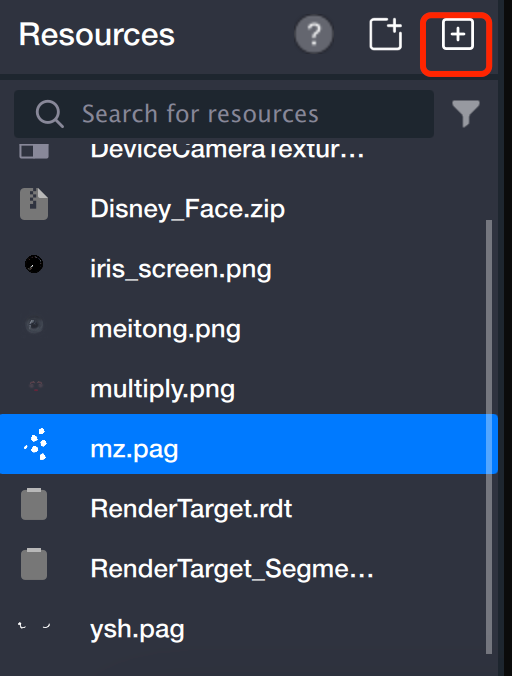
Import a PAG animation into the asset panel to use as your background material. You can also use a PNG image.
Step 2: Create Segmentation Object
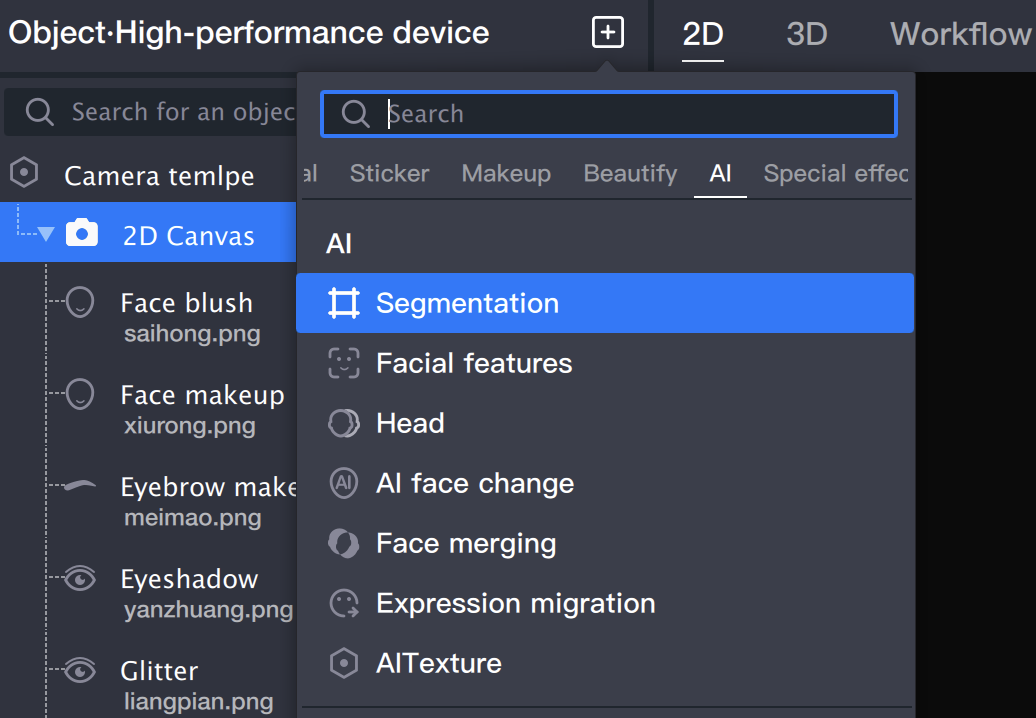
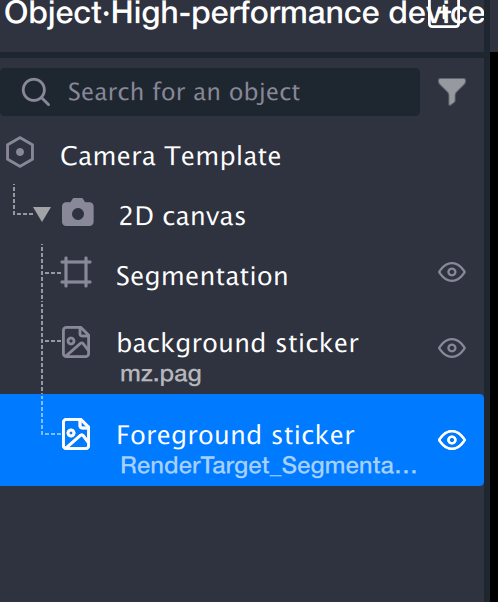
Add a segmentation object in the object panel.
Step 3: Add Background
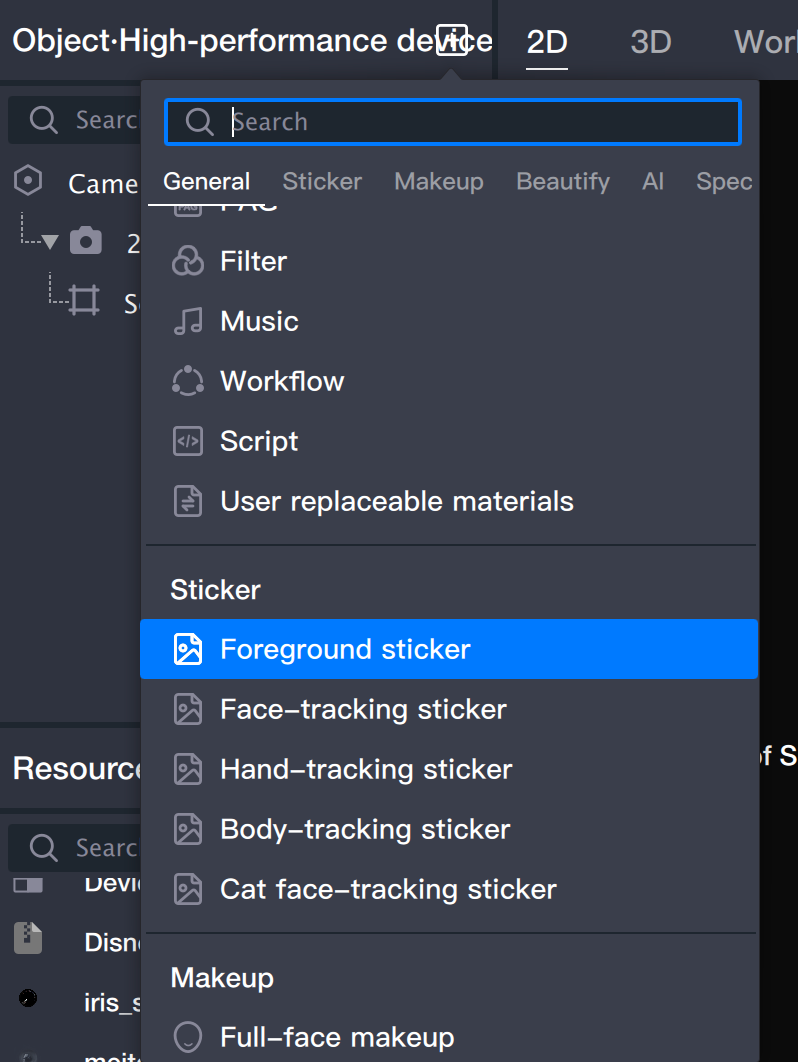
1. Add a sticker object (in this step, the sticker will function as the background).
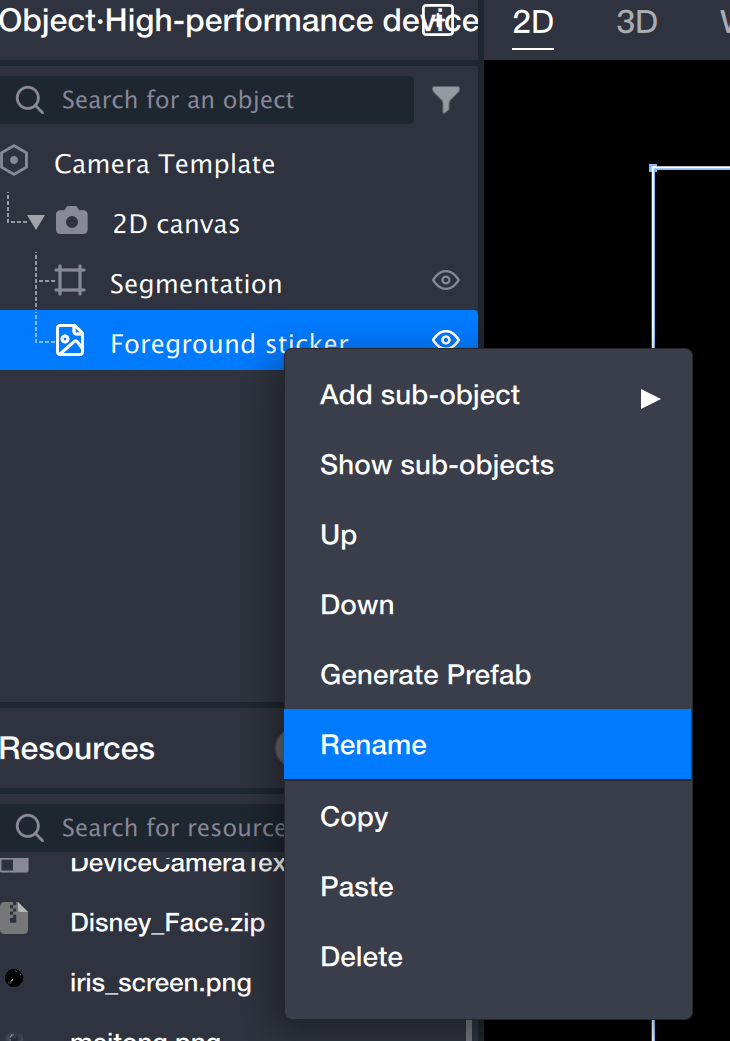
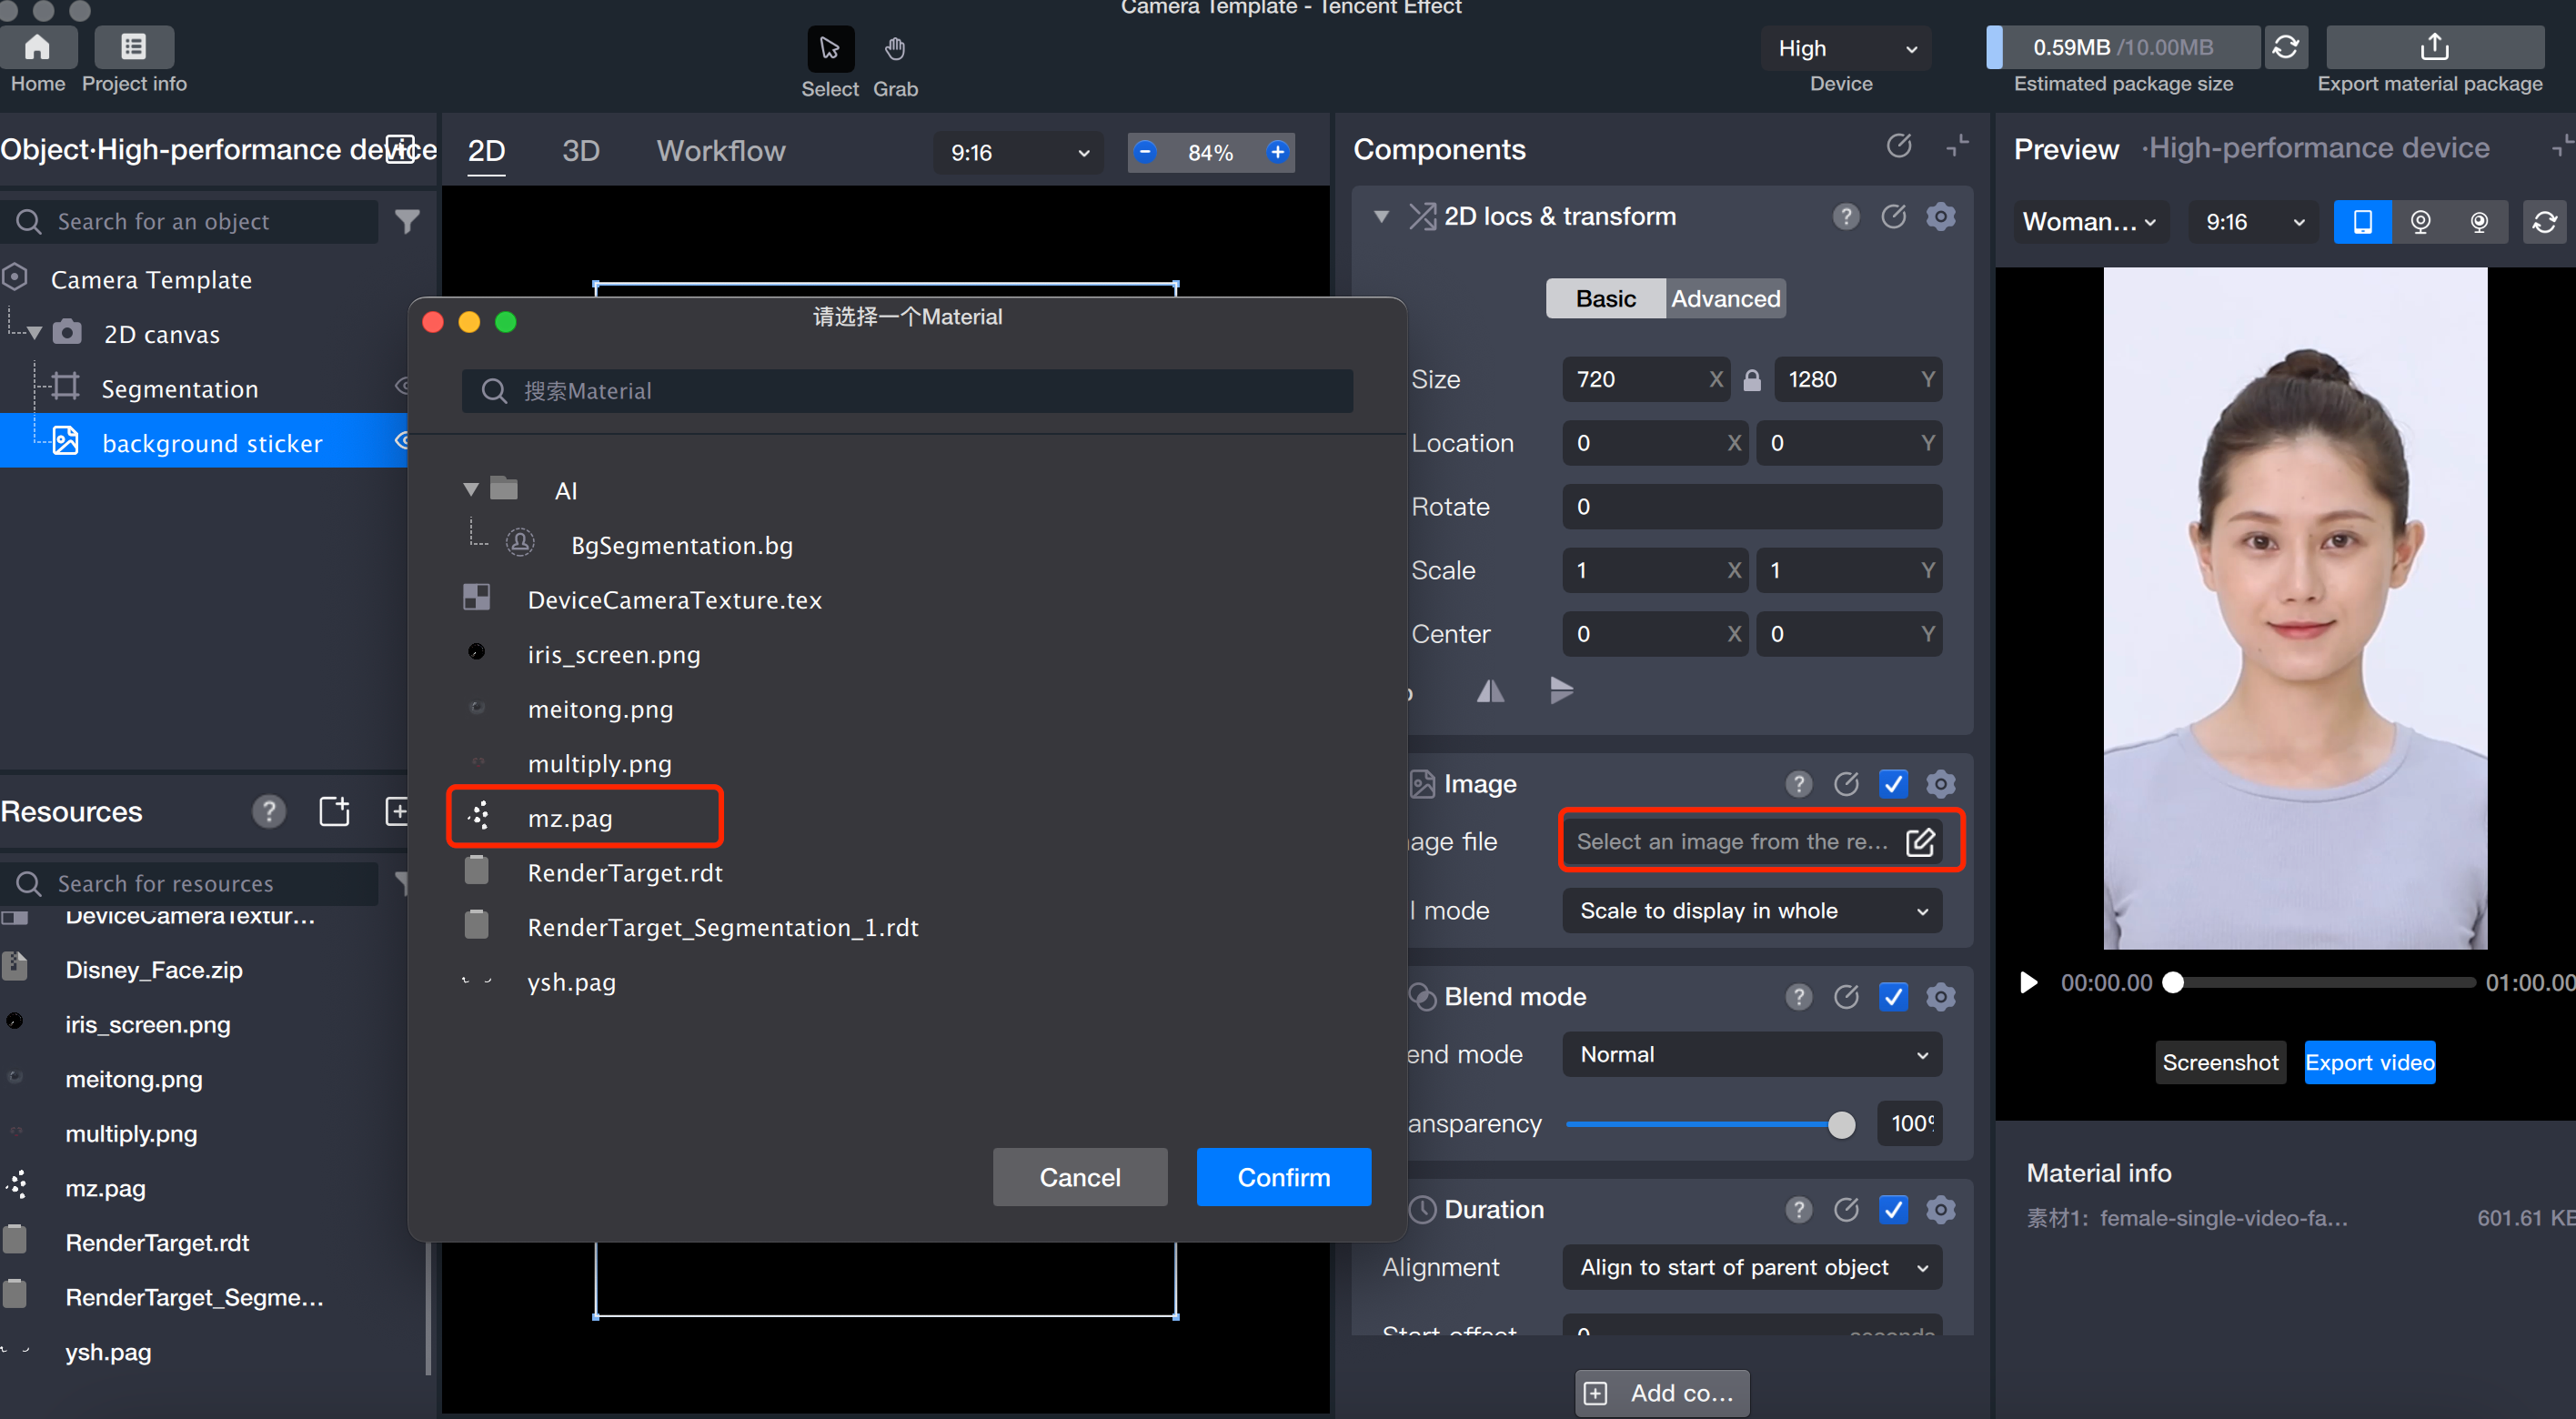
2. Rename the sticker to "Background Sticker": Right-click the sticker and select Rename. This sticker will serve as the background, making it easier to distinguish from the foreground sticker you'll add later.
3. Select the sticker file: With the background sticker selected, click the image file and choose the appropriate sticker file in the pop-up window.
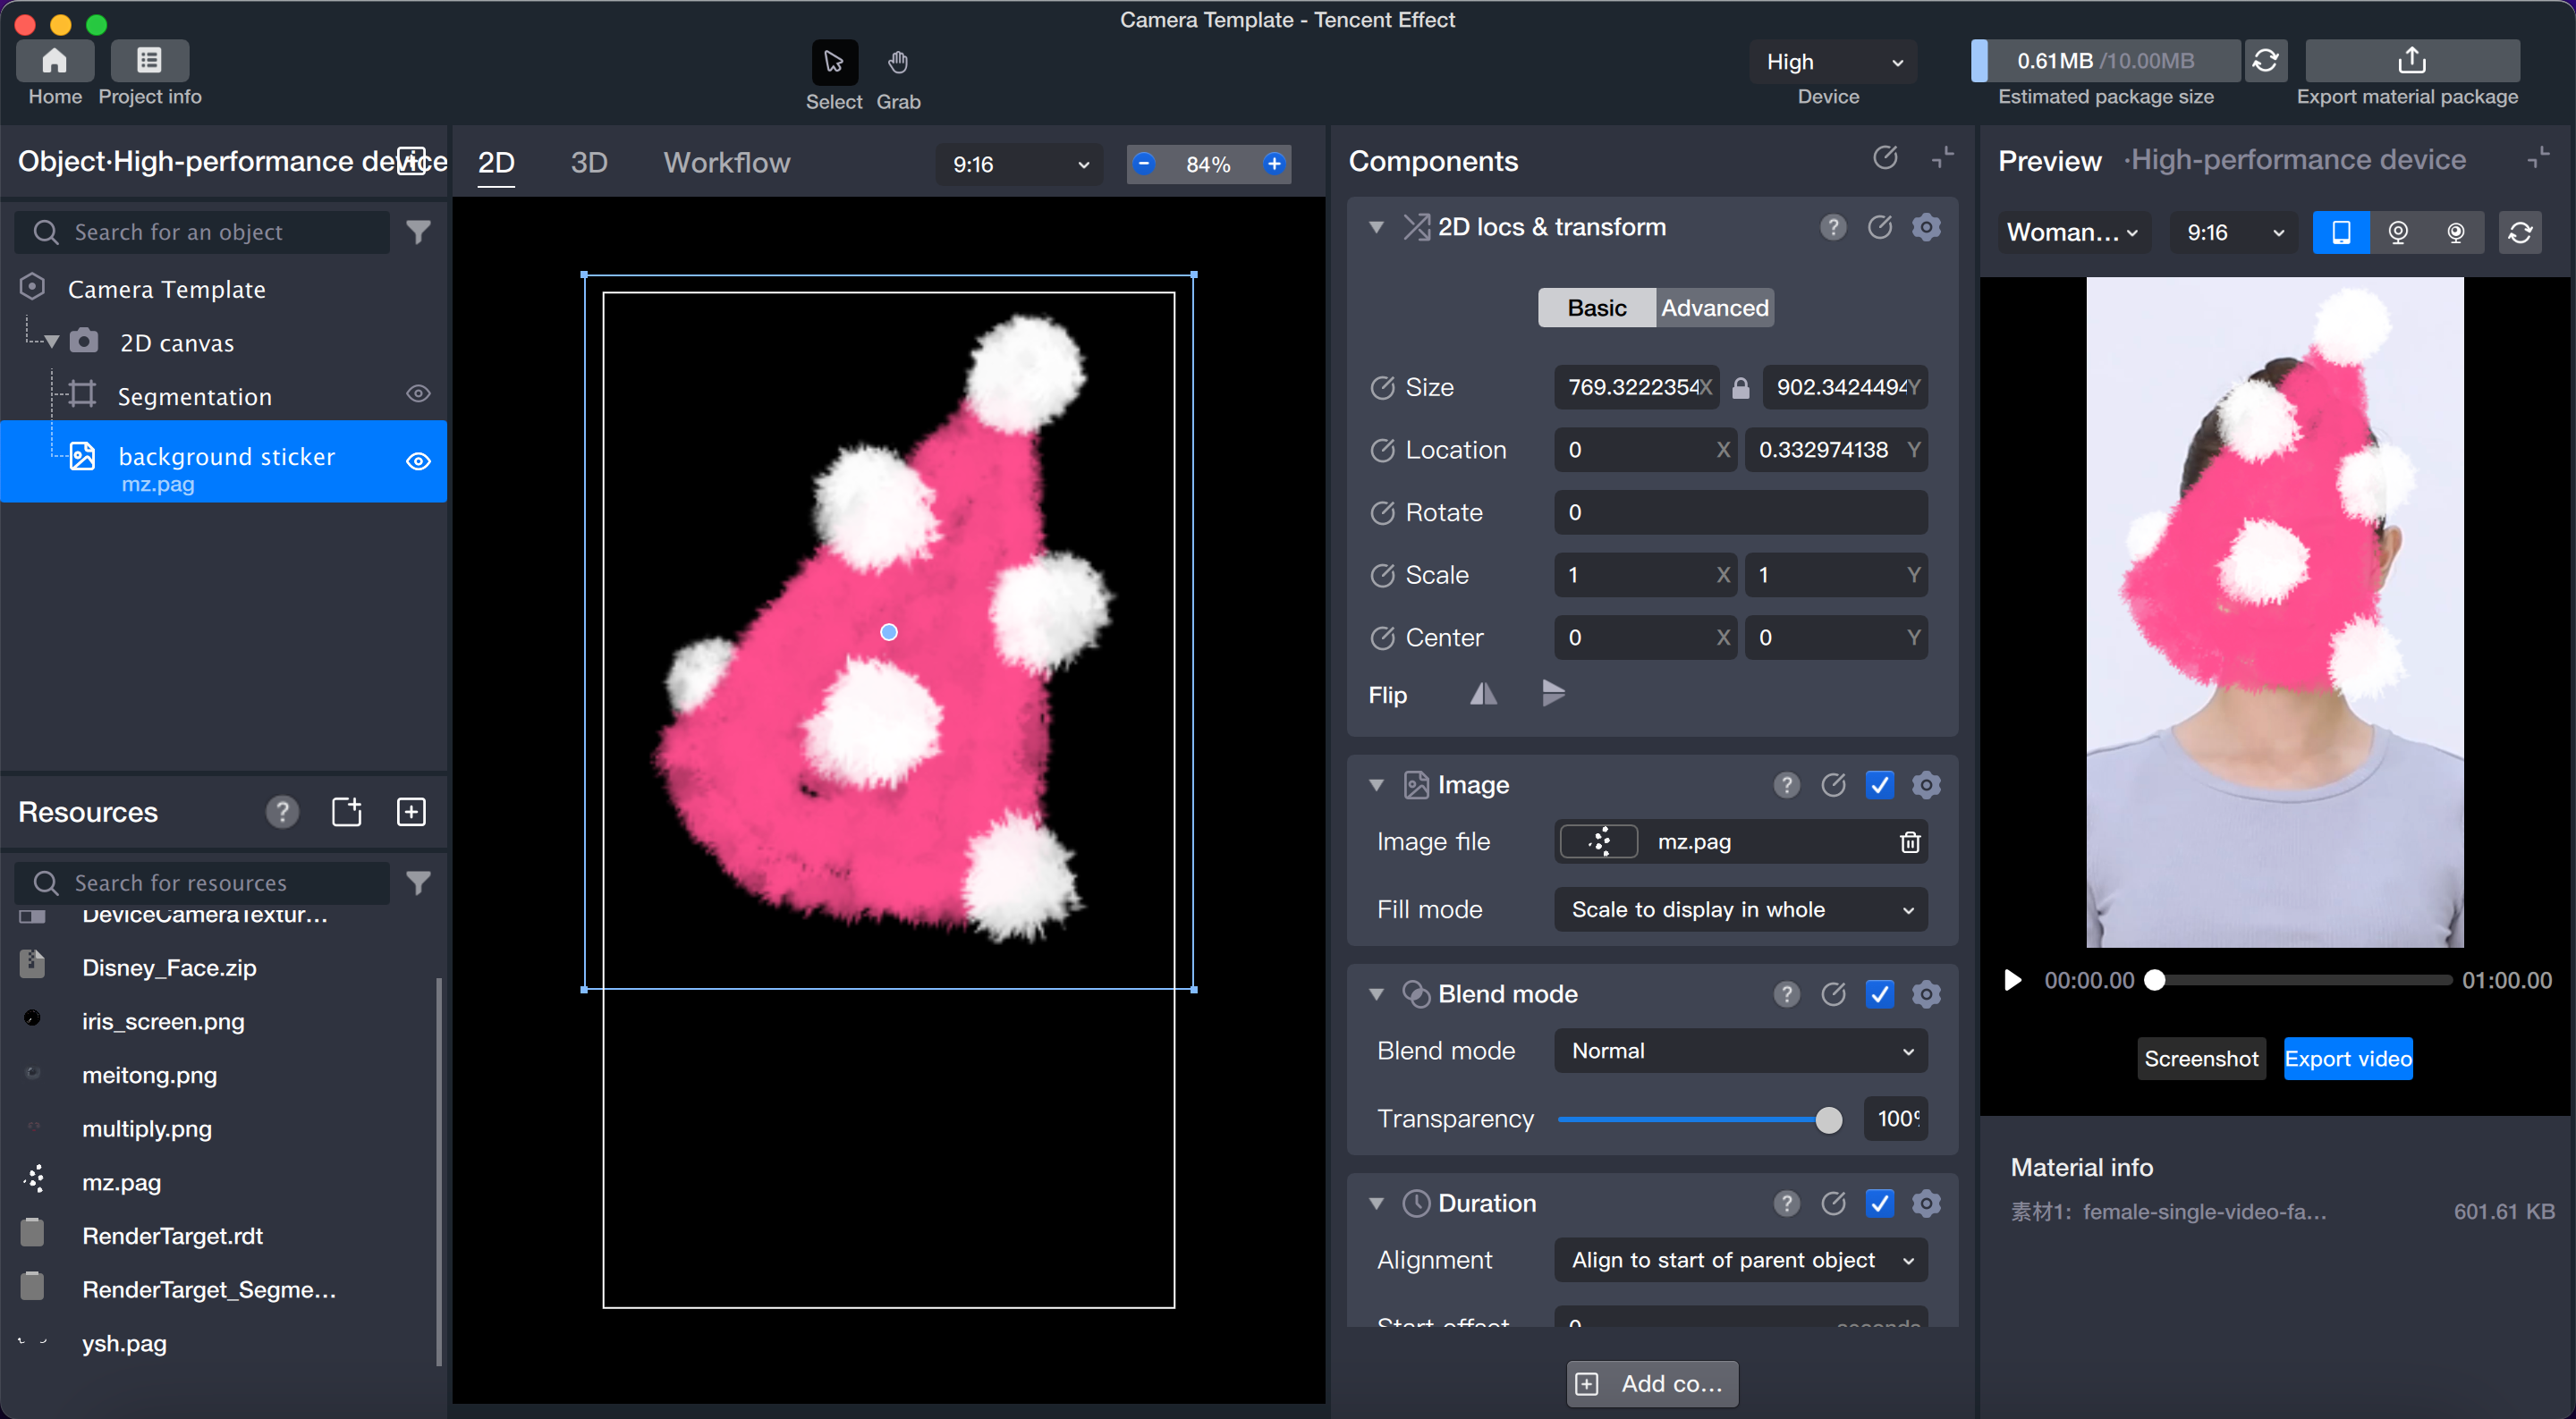
4. Adjust the position and size of the background as needed.
Step 4: Add Foreground
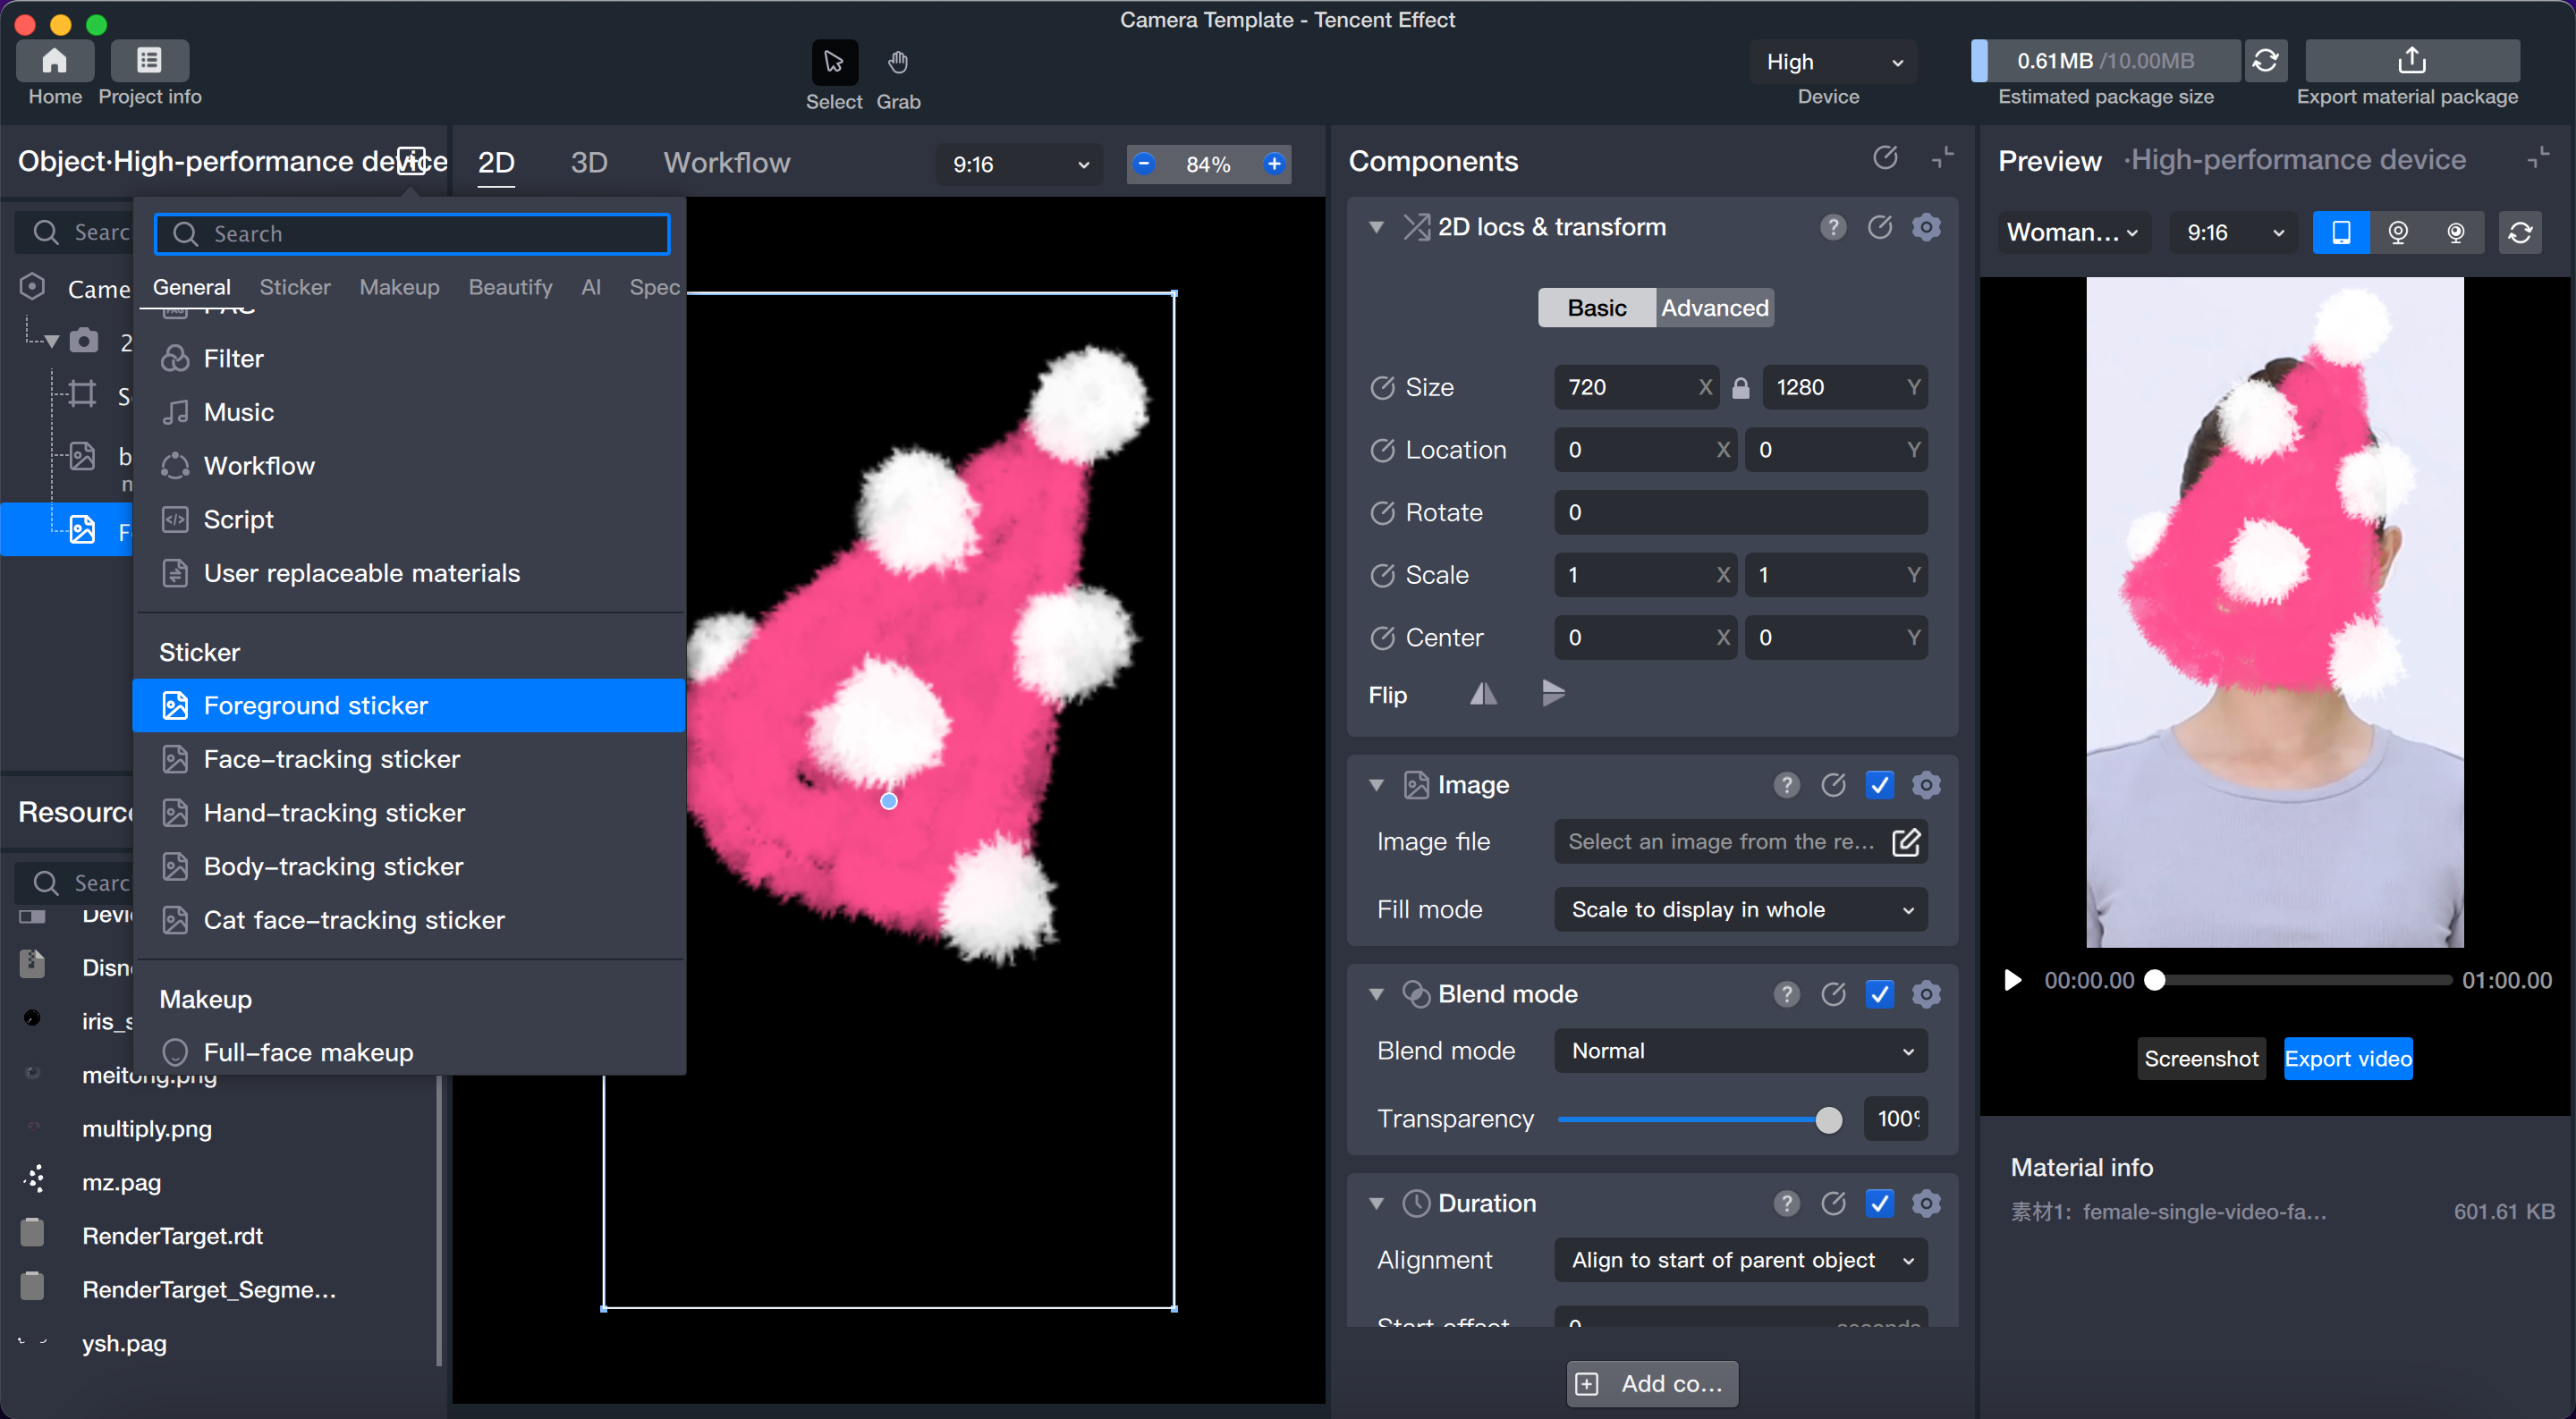
1. Add a foreground sticker object.
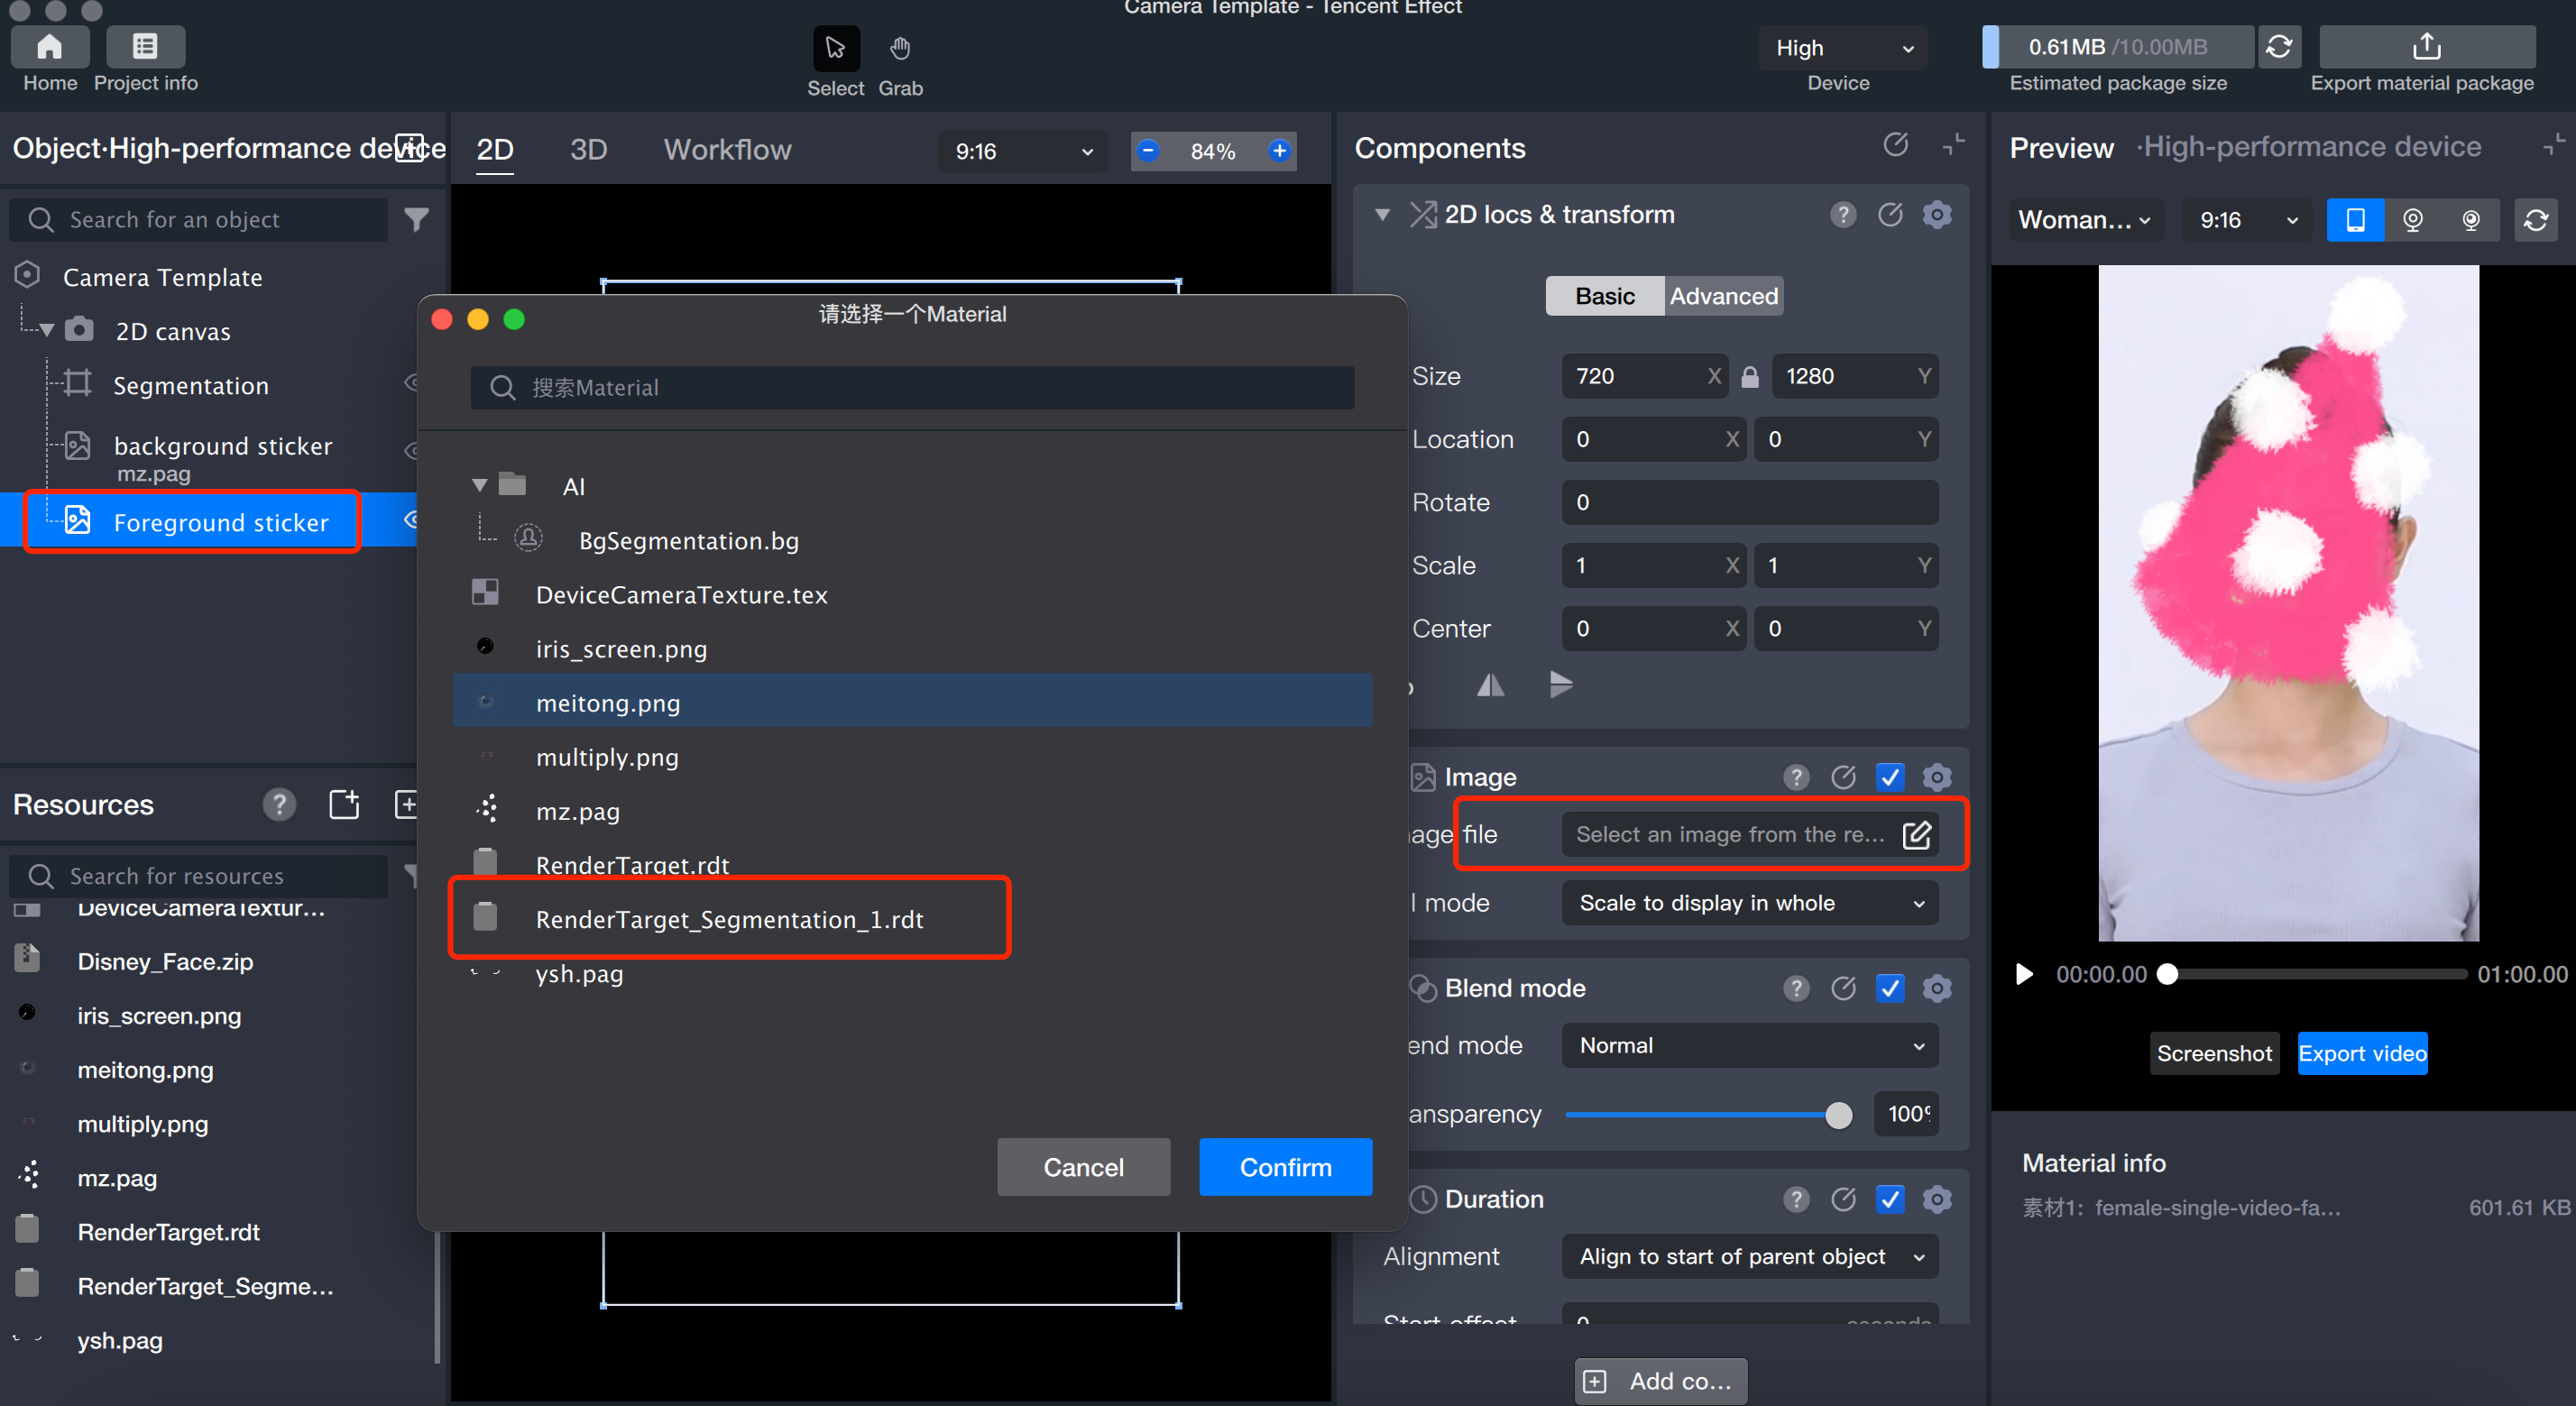
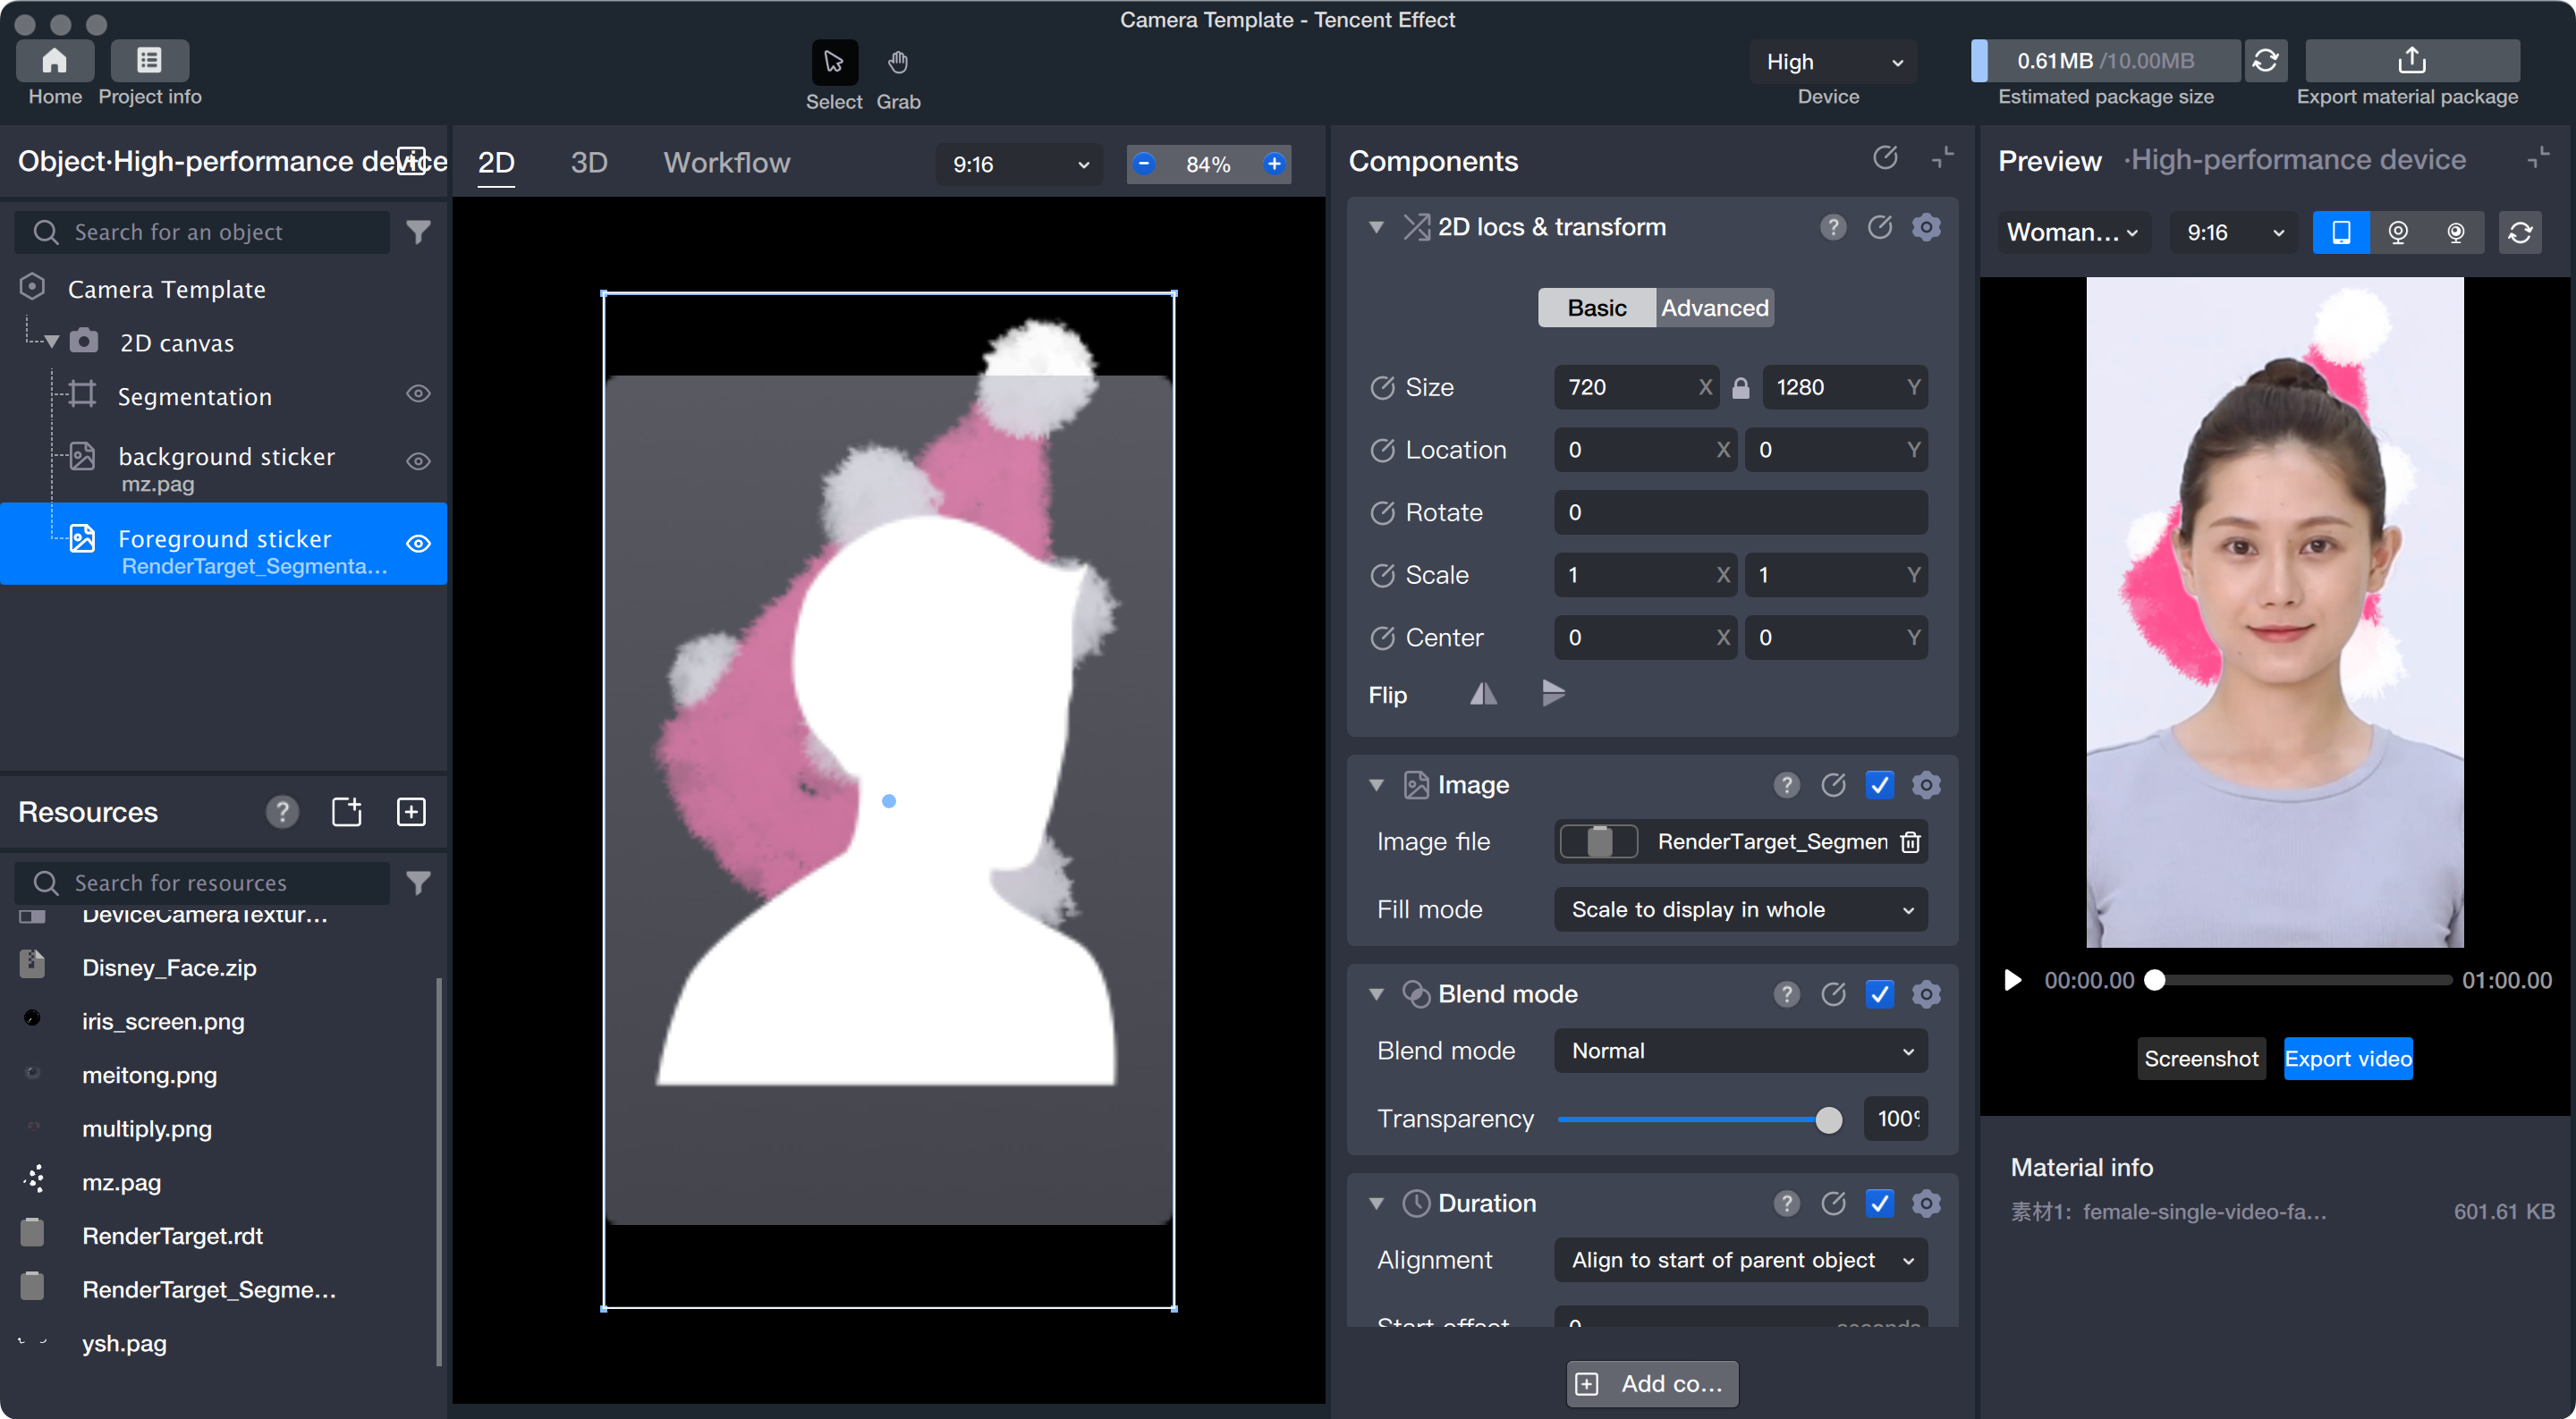
2. Select the sticker file: With the foreground sticker selected, click the image file and choose the RenderTarget_Segmentation_1.rdt file.
The RenderTarget_Segmentation_1.rdt file is generated when you create the segmentation object, and it presents the segmented portrait as the foreground.
Step 5: Adjust Layer Order
The layer order determines the rendering sequence. Arrange the layers so that, from top to bottom, the order is: segmentation object, background sticker, foreground sticker.
Note:
The layer order controls rendering priority—layers at the top are rendered first, and those lower in the list are rendered later. Place the "Foreground Sticker" at the bottom to ensure it appears above the background.