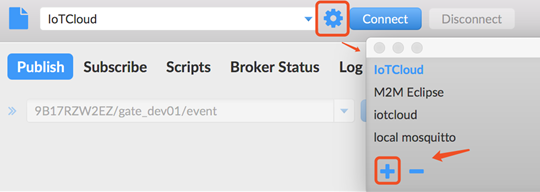
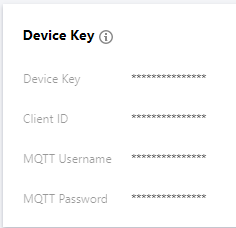
MQTT 协议字段,按照物联网通信约束填入:产品 ID + 设备名,例如:"9****ZW2EZgate_dev01 ",9****ZW2EZ 是产品 ID,gate_dev01 是设备名。
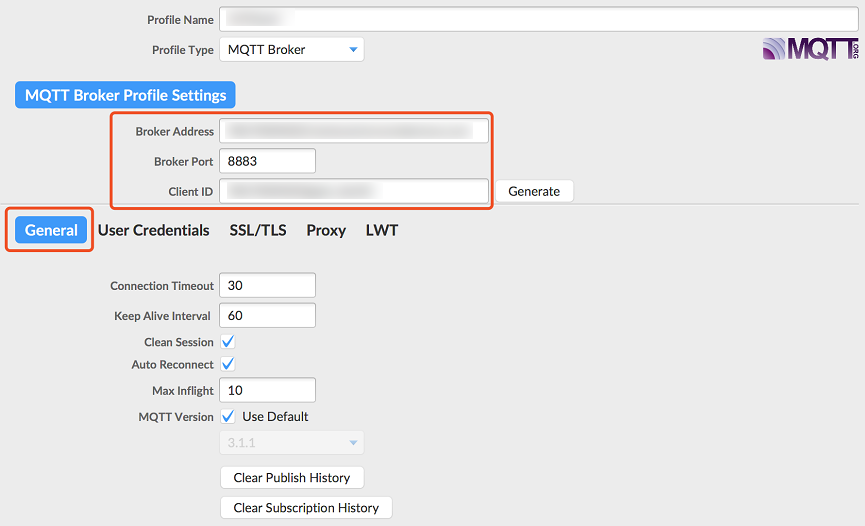
Connection Timeout
连接超时时间秒。
Keep Alive Interval
心跳间隔时间秒。
Auto Reconnect
断网自动重连。
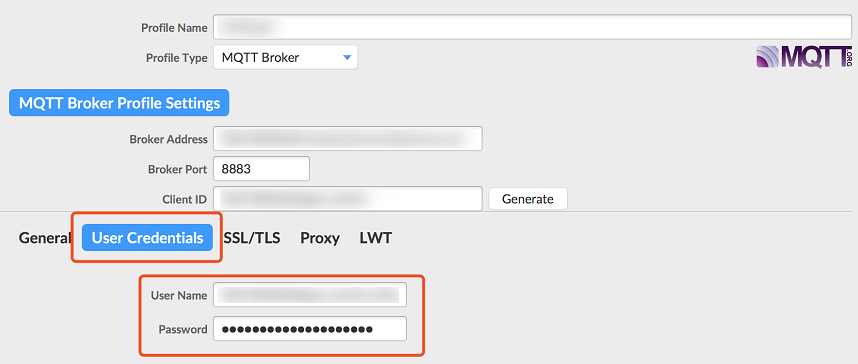
5. 填写 User Credentials 信息。
User Name :MQTT 协议字段,按照物联网通信约束填入:产品 ID + 设备名 + SDKAppID + connid。(创建完产品即可在产品列表页和产品详情页查看 ProductID)如:"9****ZW2EZgate_dev01;12010126;12345",仅替换示例中的产品 ID + 设备名即可,后面的两个参数本身由物联网通信接入 SDK 自动生成,所以这里填写固定测试值。